Before & After

Thrift to Fab

One of my latest addictions is the local thrift store.  I've been stopping in semi-regularly hunting for deals for my sister-in-law's apartment, and last week I hit the jackpot.  A Broyhill Premier mid-century credenza for a whopping $35.  It had obviously been in a basement for the recent history, but it was still in wonderful condition.  There were a few chips and scratches but certainly NOT a candidate for refinishing- its too beautiful. I'm going to be cruel and make you wait to see the full piece, but I will divulge my secrets. So, what's the best way to breathe life back into a quality thrift store find?

Steel wool is your best friend on a project like this.

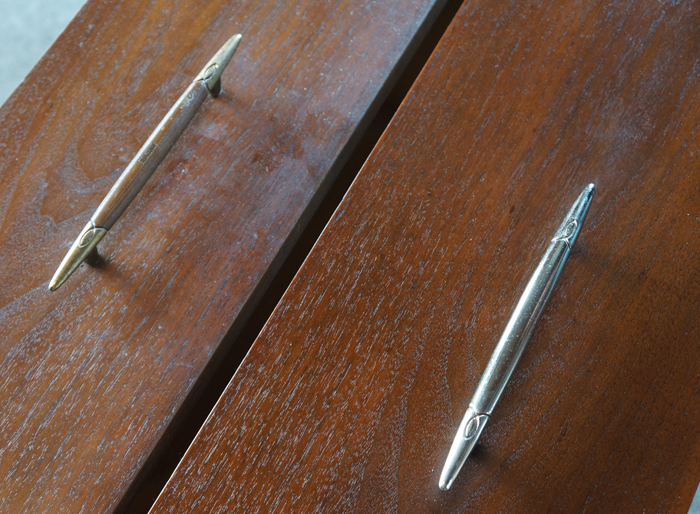
First thing I did was remove the handles from the drawers.  Use a fine steel wool to polish off the old finish and hopefully reveal a shiny fresh surface underneath (this won't work with all metals, so try it first on the back of the knob or someplace that won't be easily seen).  In this case, the faux wood grain and the brassy finish both came off with a little elbow grease.

As I was wandering the paint isles of Home Depot looking for the best way to refresh the piece without restaining, I came across exactly what I was looking for.  I picked up a 'wood finish restorer' and it did the trick.  Apply the restorer to another piece of fine steel wool and rub it into the wood.

I would let it sit for a day before using to allow the refinisher to set in.  The change isn't drastic, but it really brightens up the entire piece. Definitely something to keep in mind next time you're perusing vintage furniture.

Check back tomorrow for my results of the Pinterest Challenge Summer Edition!

Bushwhacked

I hope you had a wonderful long weekend and Memorial Day! I had such a fantastically productive weekend that I needed an extra day to recover before sharing with you.

We planted flowers, dug out and trashed 2 bushes, relocated another bush, trimmed even more bushes, weeded a forest of weeds, dug up some MONSTER rocks, installed a new porch light, planted some arborvitae, added another veggie garden planter, and started planting in this year's edible garden.  Phew!!  It's tiring just listing it all!  Luckily my super duperly helpful parents were willing to lend a hand.  It was their idea, I swear!!  When they offer to come visit to help dig out a bush (or three), I would be a complete fool to say no!

This is what the front yard looked like just a week and a half ago:

Last weekend, the beautification began with planting flowers in the front of the house.  Planting a few (or in our case, more than a few) flowers is a quick way to make a big impact.  It instantly brightens up the yard and makes it feel more landscaped.

That brings us to the holiday weekend.  Remember my plans for the front yard that I detailed here?  Well, I am please to report that major progress has been made on that front.

Bush: gone.  Arborvitae: planted.  Rock wall: created from the gazillion rocks I dug up in my few days of landscaping.

As a reminder, this was the offending bush:

And now:

I planted the arborvitae a little further from the house than I initially had wanted, since we have meters on the house in that spot.  I'm hoping that they fill in and fill out as they're supposed to, then they'll bridge the gap a bit more.

Since removing the large bush was shockingly easier than any of us expected, we decided to move our focus to the next targets:  the side yard's bushes.  They were in the way of us adding another raised planter,  more tomatoes, and a rain barrel.

The azalea was kinda cute and, aside from its location, quite unoffensive, so it got relocated to a formerly empty corner of the yard.  The holly bush, however was not as lucky.

With those bushes out of the way, we added 1 more raised planting bed in our veggie garden and got started on planting.

This was all done, of course, with the proper supervision.

The cherry on top (curb-appeal-wise) was installing the new porch light that we've had hanging out in the closet for almost a year.  It has such a fresher look than the rusted, dated fixture of yesteryear.

Now that I've teased you with all the pieces, this is what the entire front yard looks like right now:

After spending the majority of my weekend covered in dirt, I wish I had finished products to show for it.  I do find it reassuring, though, that with all we did last year in the yard, and all we're doing this year, we'll be pretty well set up for next year and will just have regular maintenance- or at least that's the plan.

Remaining 2012 Yard To Do List:

  • Potentially regrade the front yard a bit
  • Plant grass in front
  • Put down landscape fabric, stepping stones, and mulch around veggie planters
  • Fill all 3 veggie planters with edible goodness
  • Mulch.  A lot.
  • Plant ground-cover on the driveway side of the house
  • Get a rain barrel

Getting Fresh in the Bathroom

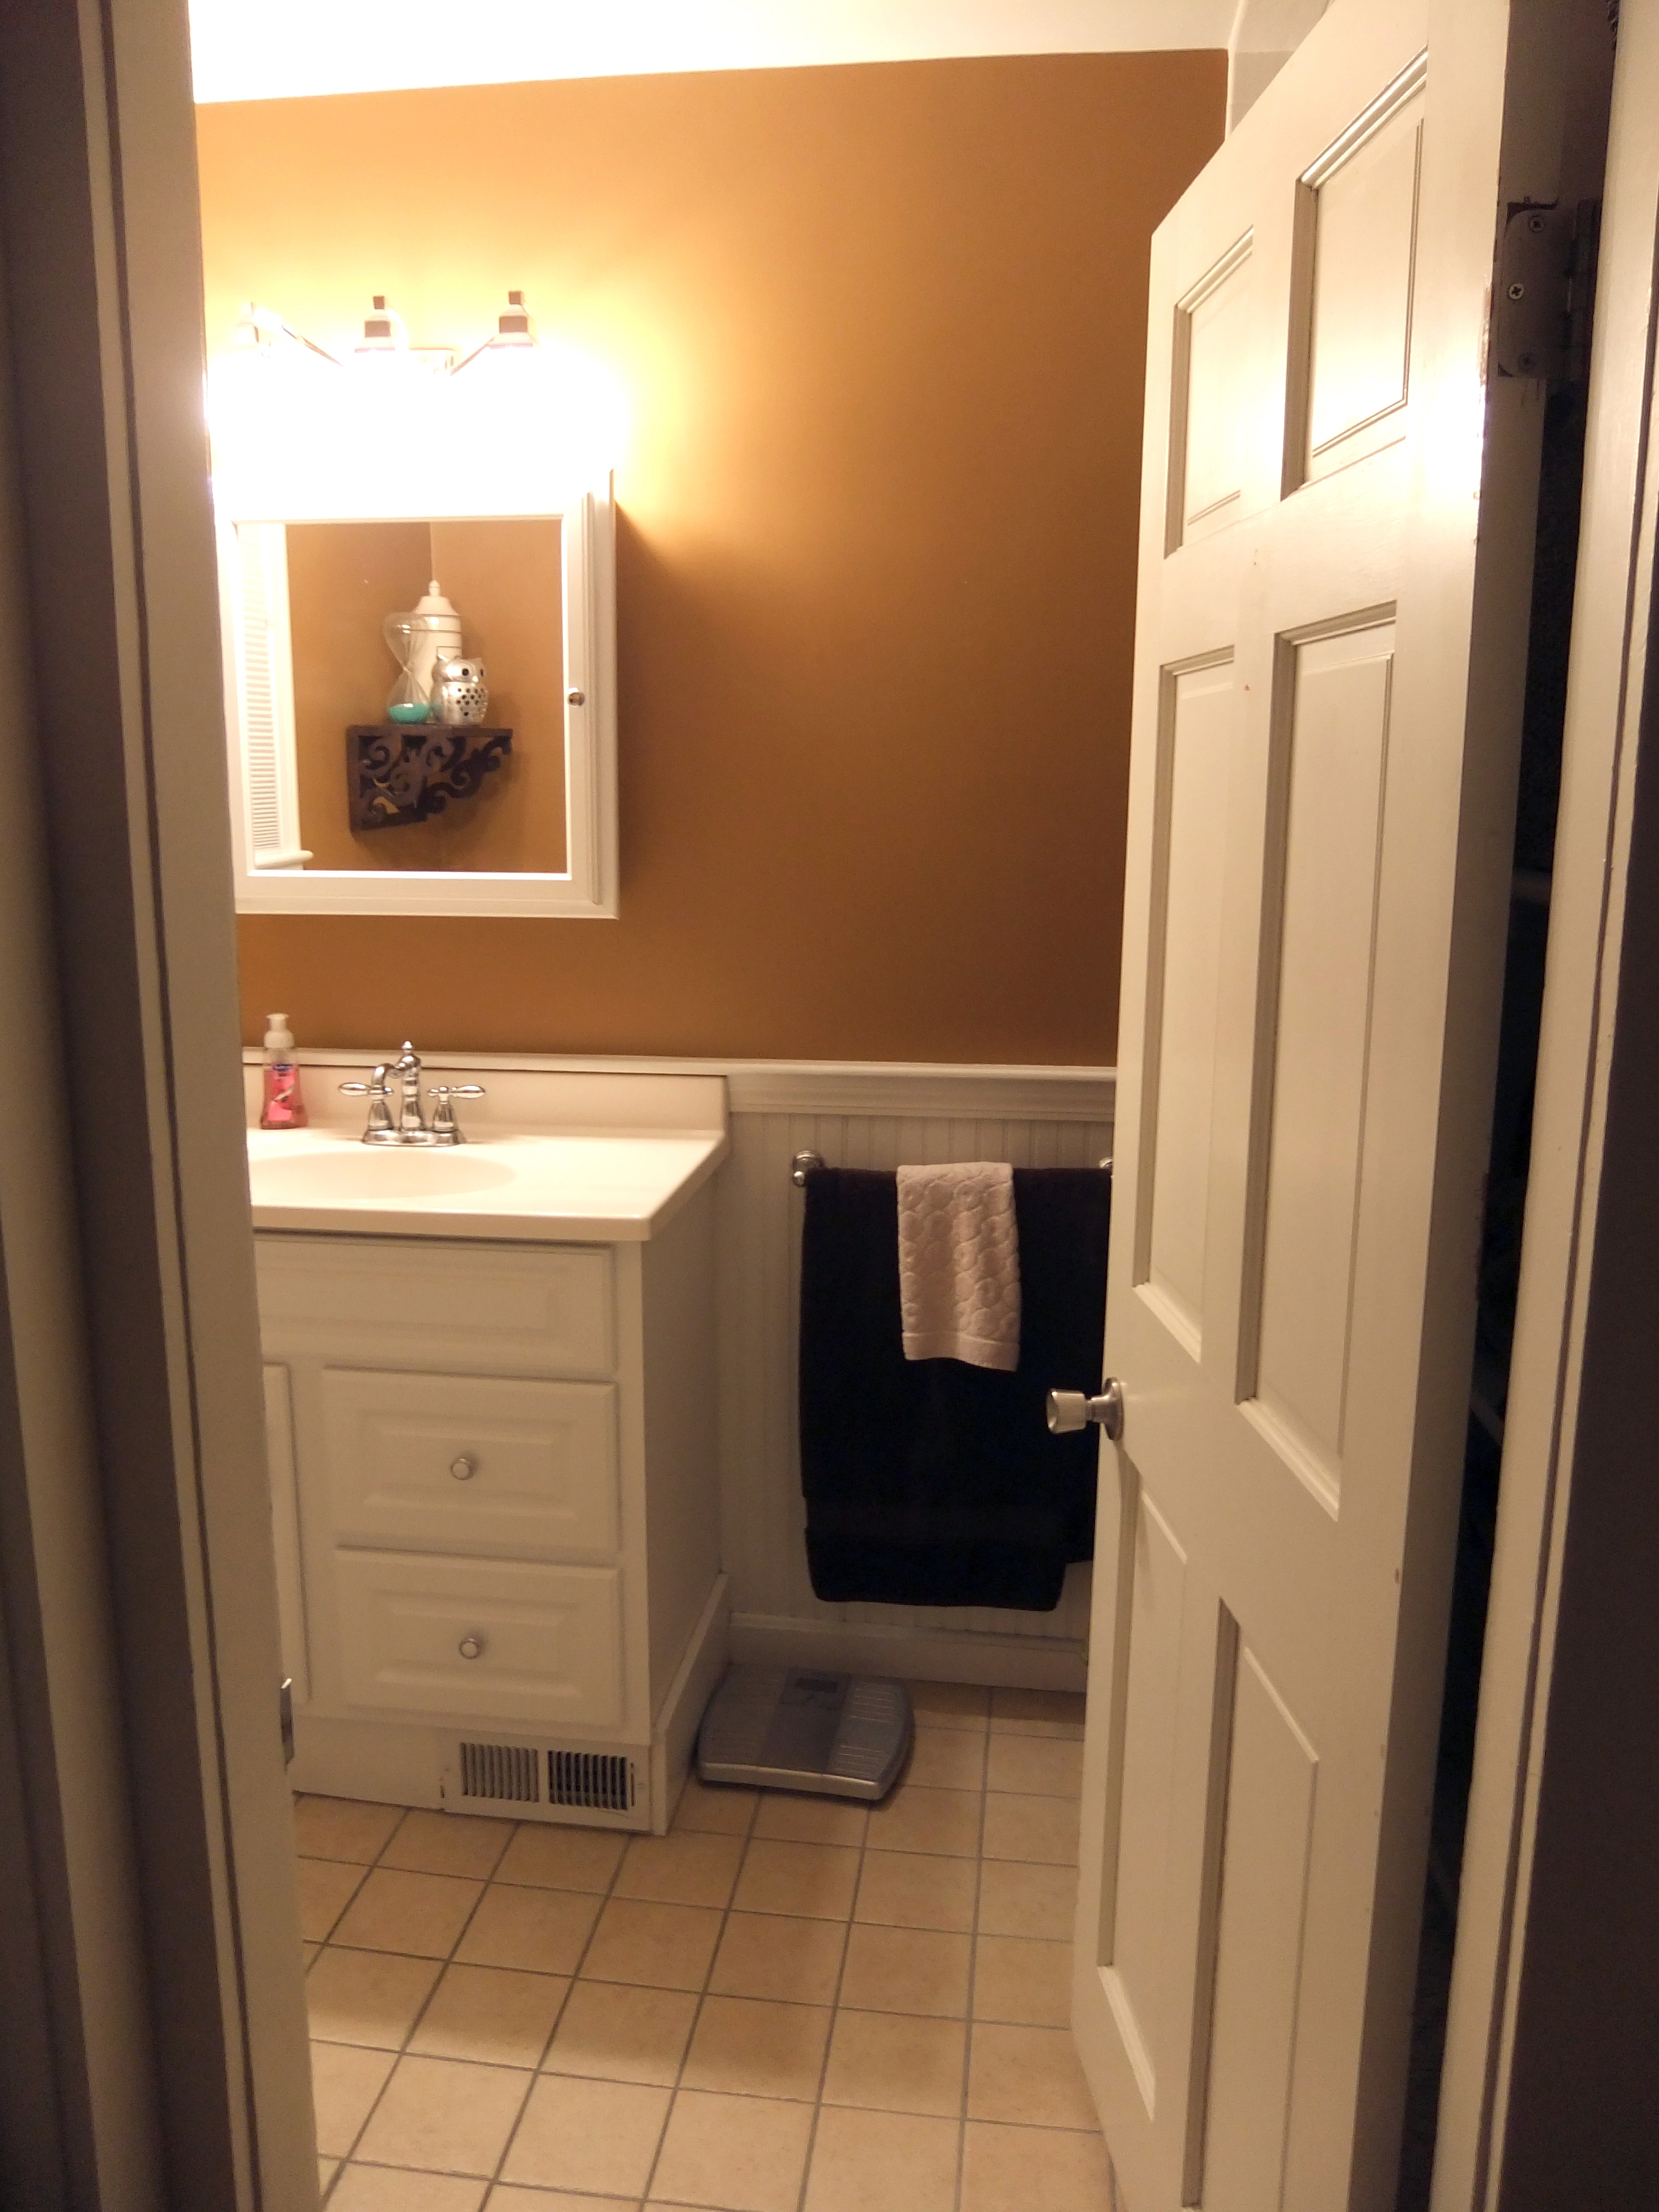
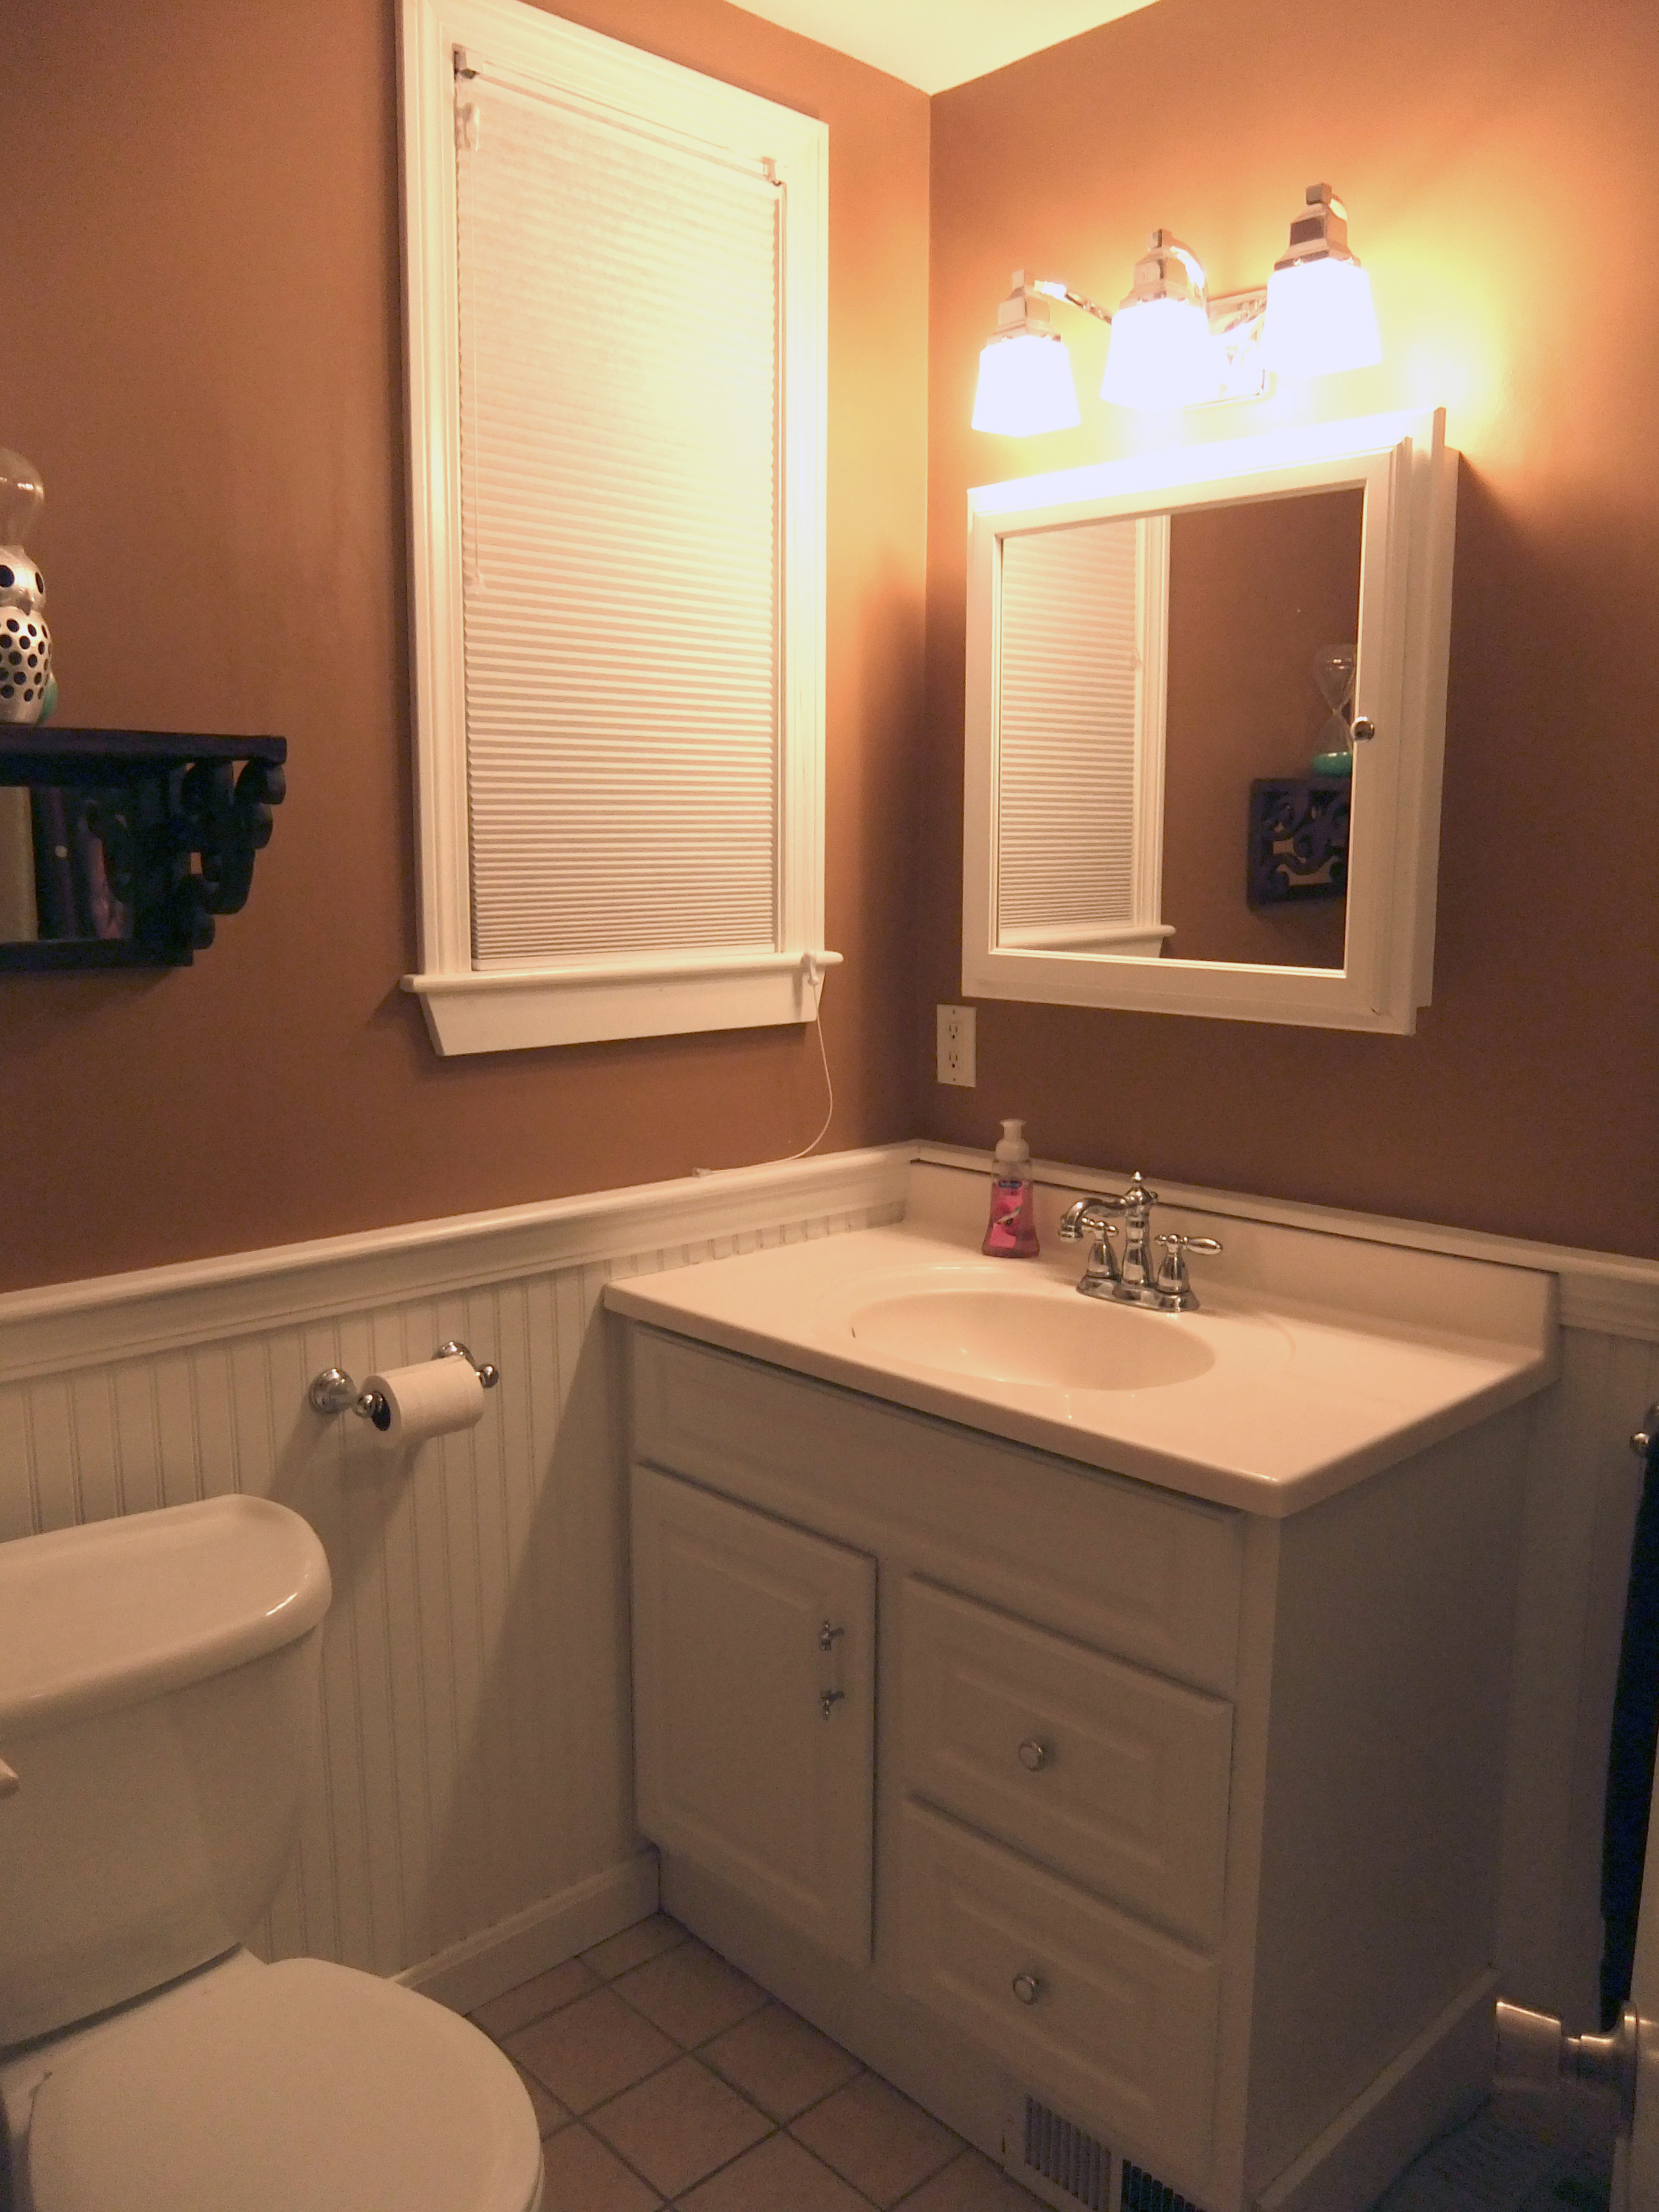
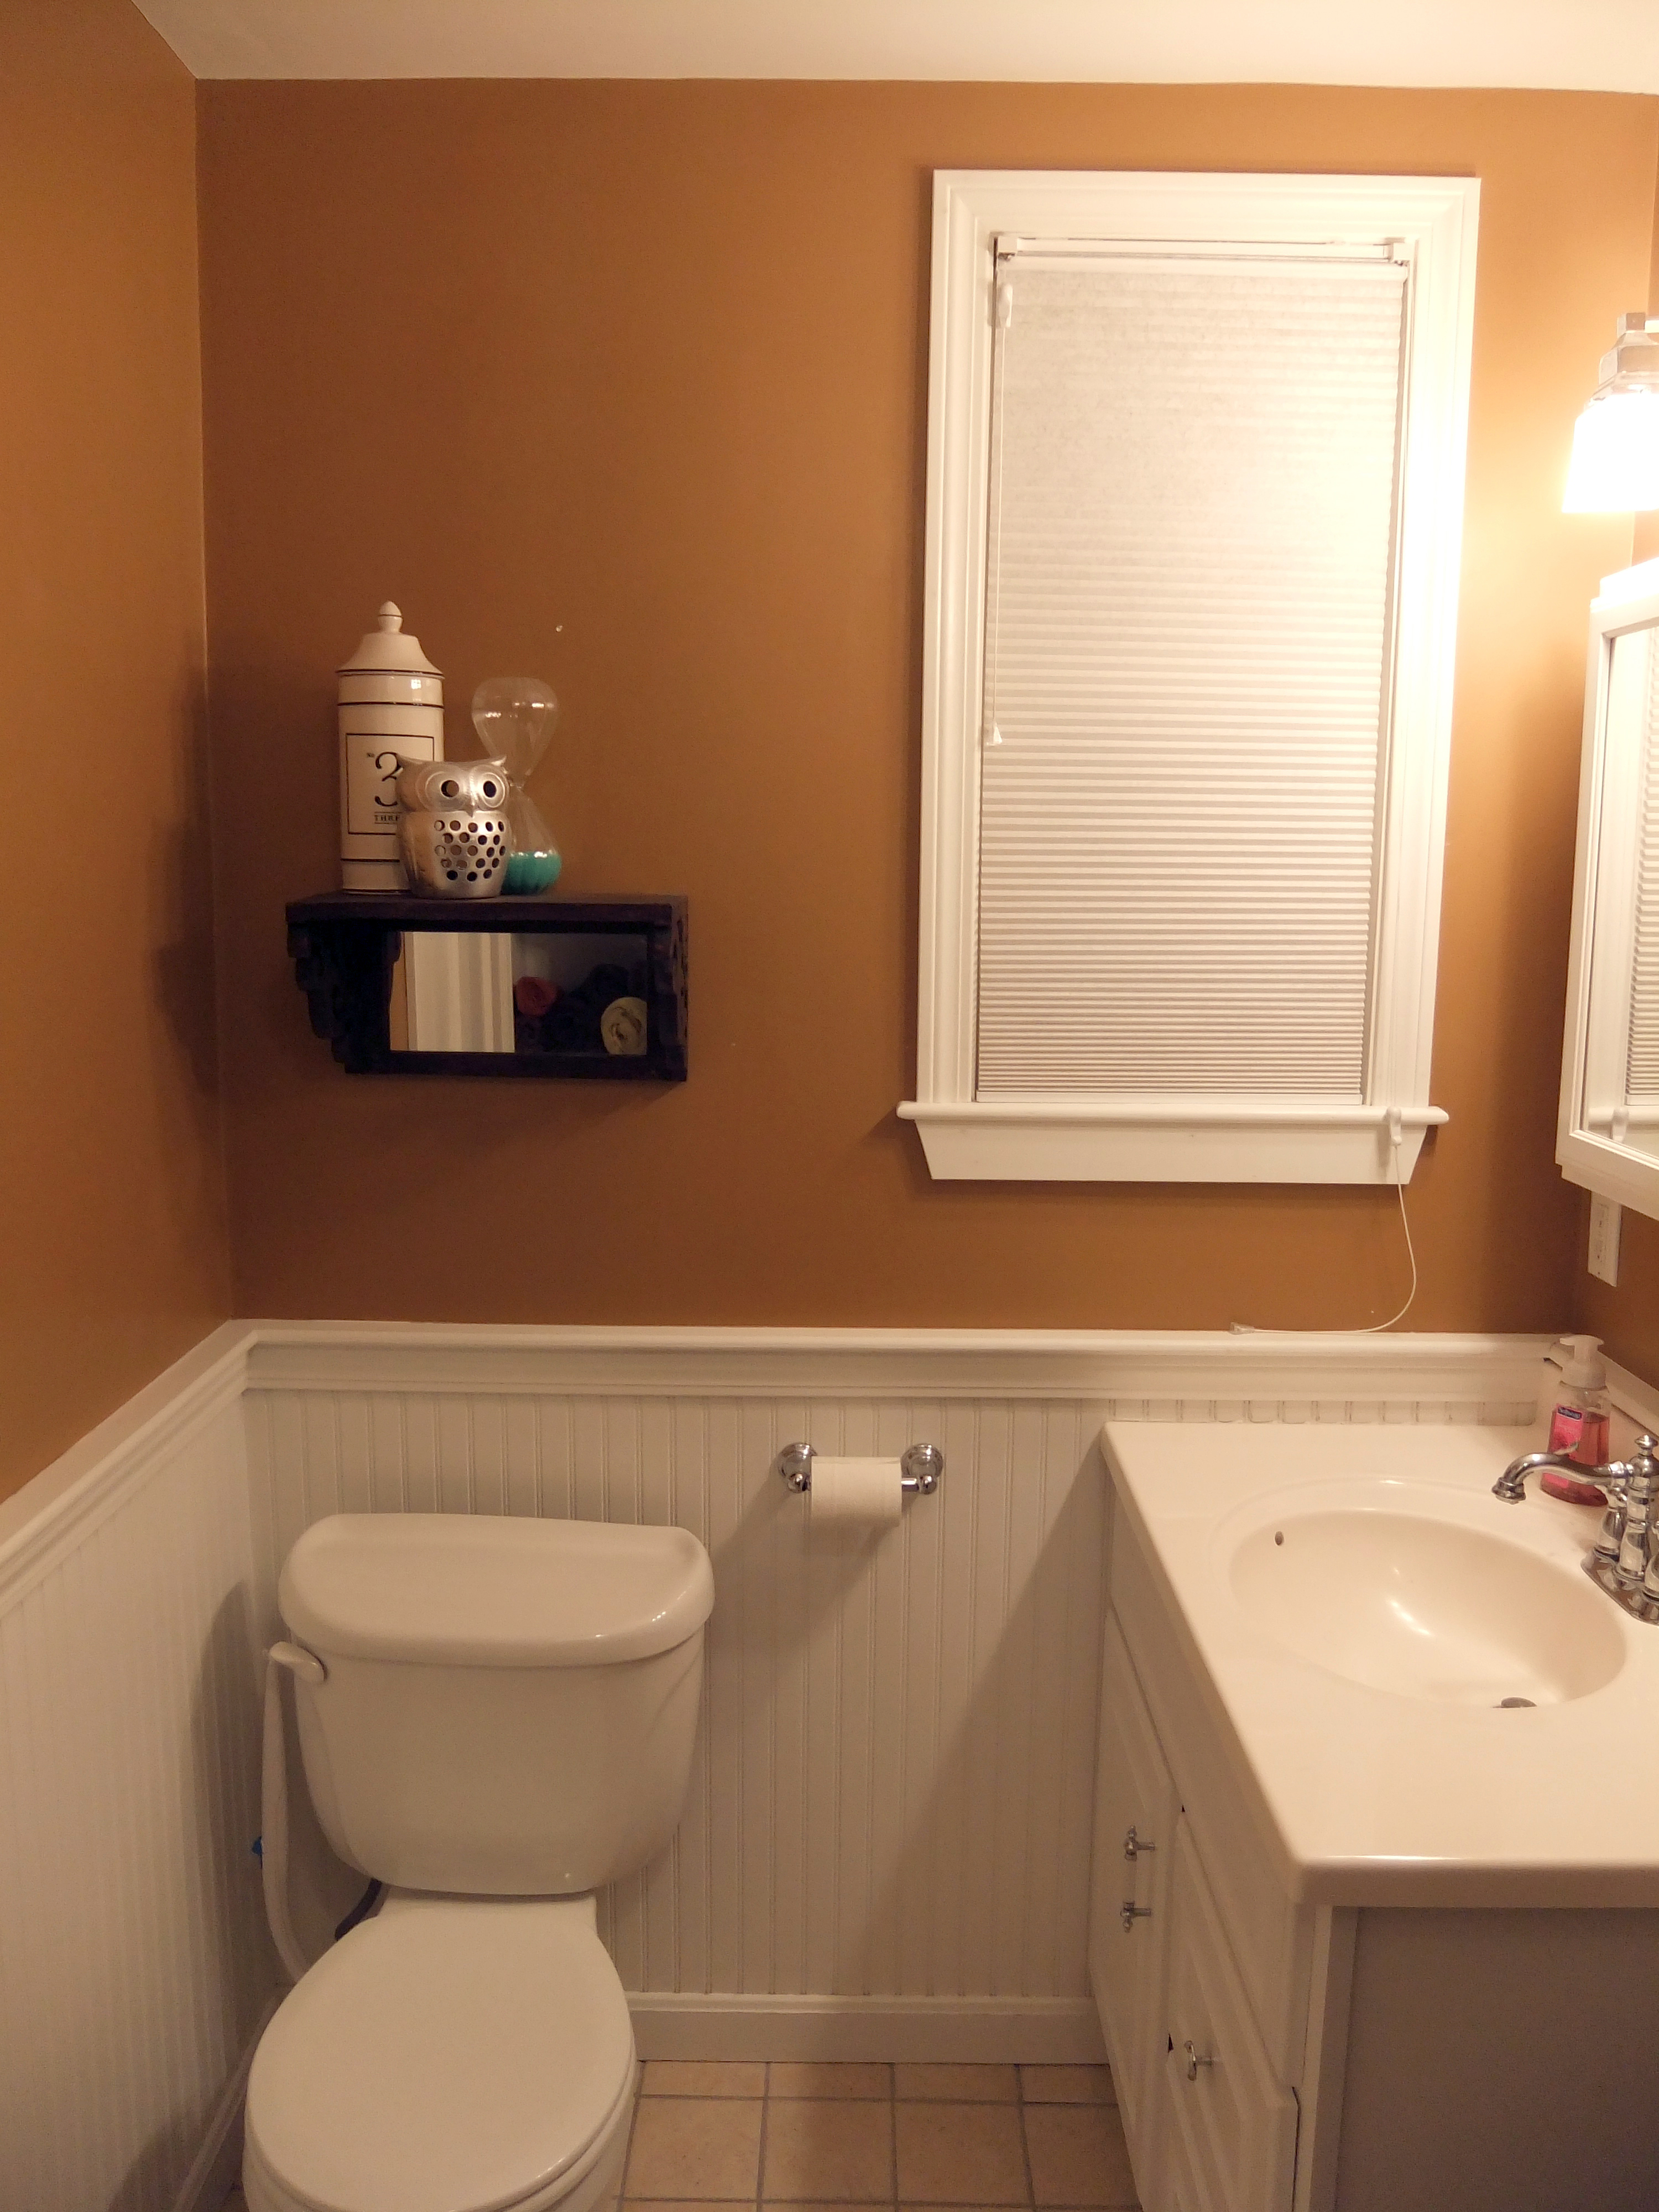
Remember when I started telling about my bathroom make-over way back when?  Well, I've finally worked out some final details and am ready to show you the reveal!  I know, you can hardly contain your excitement, right?? First, let me remind you of where it started.

It was nothing special at all.

Kind of a snooze actually.

Even the burnt orange walls didn't add interest.

Drum roll please.....

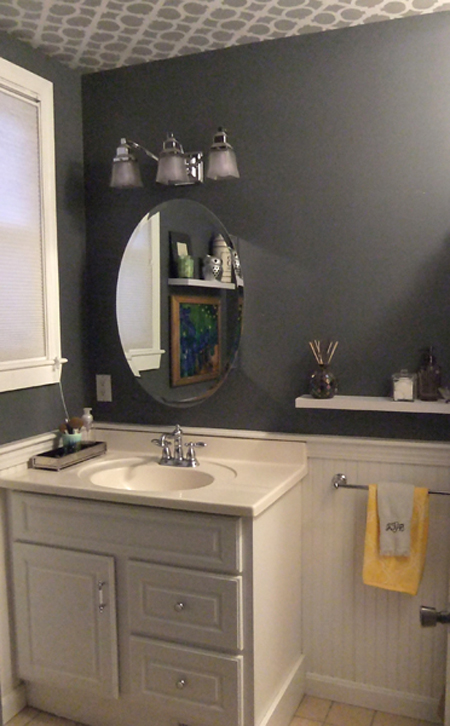
Now the bathroom has a whole new personality!

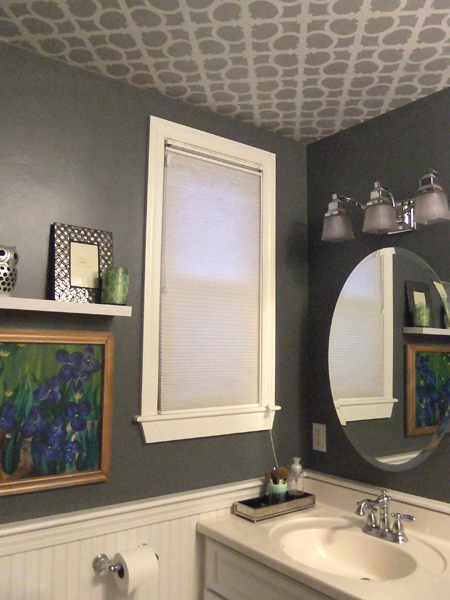
Step 1- Paint!  I splurged on Sherwin Williams Duration paint and it was money well spent.  The bathroom walls used to look like they were dripping even when no one had taken a shower.  It was delightful, really.  Well, the bleeding walls are no more!  I stenciled the ceiling, then painted the walls a darker shade of the same gray.  Let me tell you- stenciling a ceiling is not for perfectionists.  Gravity is trying to foil you at every turn.  It is NOT easy!!  I still have to take my little detail brush and touch up pretty much the entire ceiling.  At least I can say the effort was worth it- I love the way it looks!

Step 2 (and the catalyst for this whole project)- medicine cabinet!  She's a sexy beast, no?

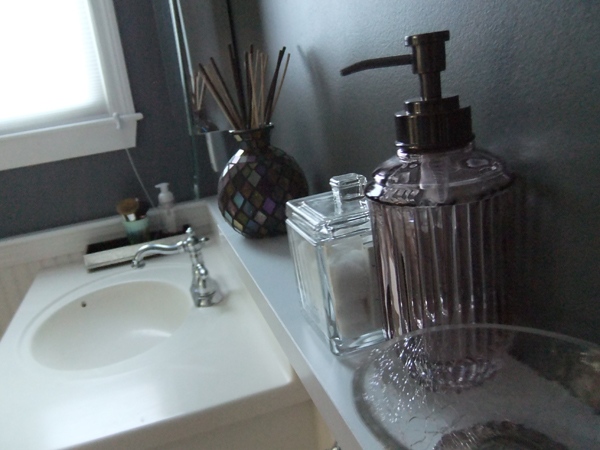
Step 3- Accessorize!!!

I would like to draw your attention to the painting- my personal version of Van Gogh's Lilies.

You wouldn't know it by looking at it, but I am NOT a painter.  I'm a DIYer.  I think painting and DIY use different parts of the brain.  The brilliant idea that is the Paint Bar, however drew out my inner painter.  My birthday was a few weeks ago (one more b-day before the big one) and I really wanted to try a lesson at the Paint Bar.  Best. Idea. Ever.  Myself and 5 of my closest friends (in addition to about 20 or more strangers) were lead, step by step, into creating awesome pieces of art (facilitated by good wine and an awesome playlist).

And now for a few more indulgent pictures of my finished bathroom.

Pending ceiling and trim touch-up, the bathroom will be officially the first room 'done'* in this house!

*of course when I say done, I really mean "not in need of any immediate projects, but will still be constantly evolving"