Before & After

Franken-Table

Do you remember this cute little table that came home with me from a tag sale about a year ago for $10?  I took her home because she has nice legs. side table before

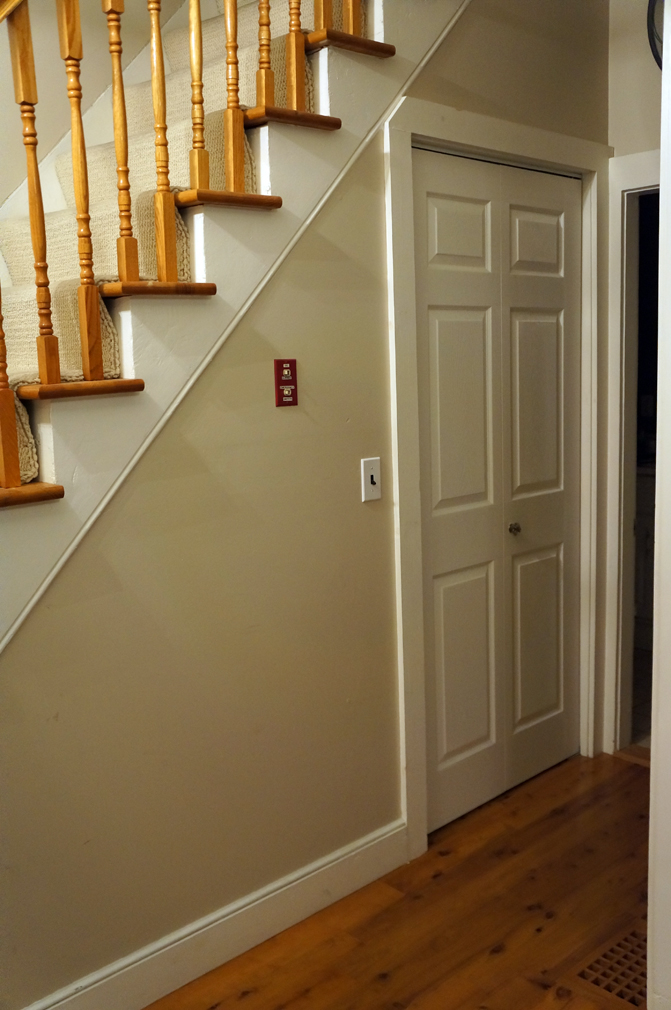
Her proportions were a bit off from what I wanted, though.   Let me back up for a sec.  We don't really have an entry way...  digging up a picture from before the bathroom makeover, this is the immediate view when you walk in the house.  (The living room is directly on the right.)  I've been searching for ways to 'ground' the pseudo-entry way a bit and add some personality.

entry way

A console table would be the perfect use of space, but all the console tables out there were too deep and completely blocked the flow.  What's a girl to do??

table apart

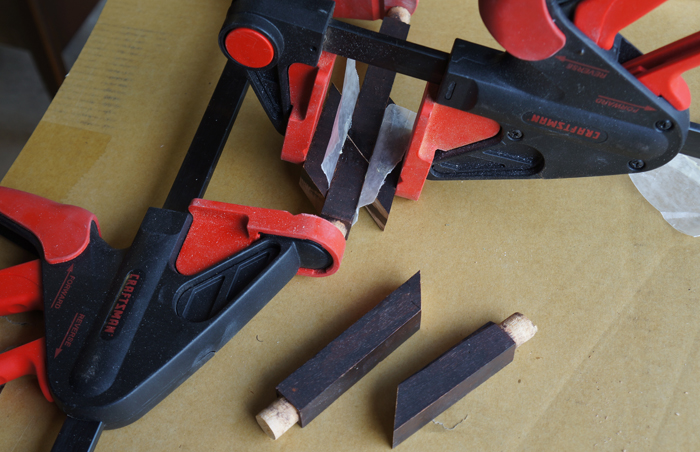
If your answer was enlist Handy Dad's help and make one, you are RIGHT!  Recognize those sexy legs?  Once I figured out the ideal size for the space, Handy Dad helped me work out a plan and get all the pieces ready.  We reused the legs and re-sized the dowels between the legs.

cut down piece

extended piece

Handy Dad was kind enough to cut a new top and side pieces for me before all his tools got packed up and put into storage before the move.  I've had the pile of console pieces sitting in a box for almost 2 months just waiting to be assembled.

console pieces

Thanks to my new friend Kreg ,

the new console table came together in an afternoon!  I've heard amazing things about the Kreg jig, but I have to say, it was easier to use than I expected.  The Kreg creates pocket holes that make joining 2 pieces of wood a cinch.

kreg holes

kreg assembly

Today, this once awkward wall

awkward wall

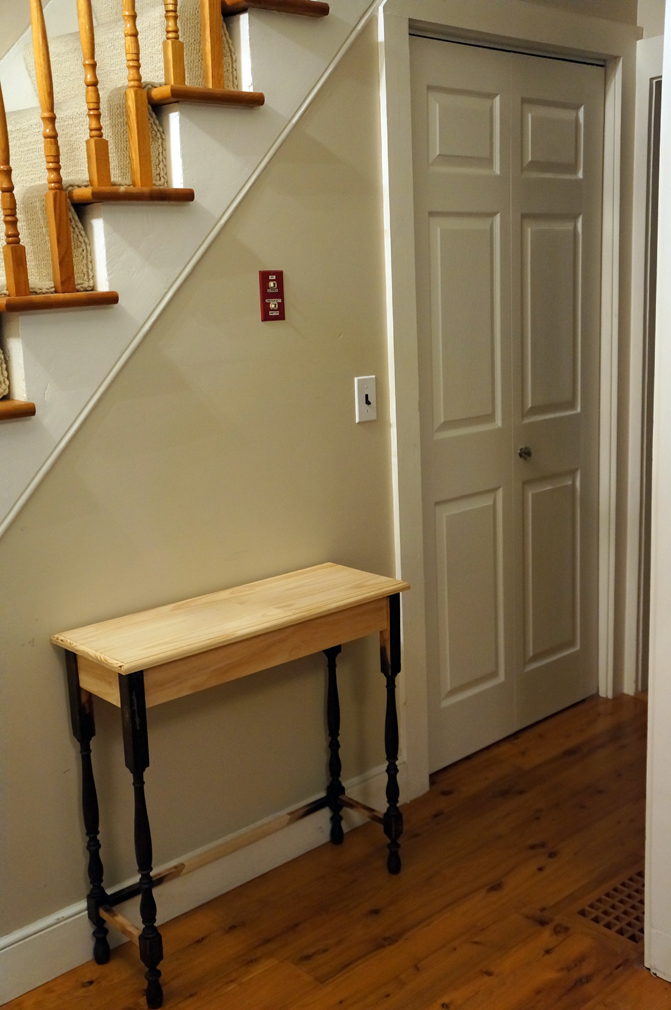
has a custom Frankenstein-ed console table built especially to fit.

wall after

Now my biggest dilemma is what color to paint little miss sexy-legs-franken-table my new creation.

franken table

Veggie Garden Lessons

This is our second year making an attempt at a veggie garden. veggie garden path

We were quite a bit more successful this year than last, but it's still been a learning experience.  I do think it's still kind of remarkable considering where the veggie garden started.

And now:

This year we learned...

morning glories

Morning glories would stage a coup of the whole yard if we let them.

I can't take credit for these, the previous owners had them and they keep coming back with vengeance.  I seriously have to go out and trim it down every other day to keep it from going too far into the path.  But I've figured out how to control them!  In addition to trimming them frequently, mulching on our side of the fence made a huge difference.  I still have to weed the little stragglers that keep trying to pop up, but it's finally manageable.  In the summer, they're 100% more attractive than the naked chain link fence.  No chain link fence is sexy.  Not even naked ones.

green pepper

If you leave green peppers on the plant long enough, they'll turn into red peppers or even yellow peppers.  Who knew??  Ok, I know this isn't revolutionary, but I didn't know!

Our strawberries have been producing fruit ALL summer!  We didn't get to eat any until a month ago though.  Why?  Chipmunks decided they looked tasty too and kept beating us to them.  Thankfully, a neighbor recommended the perfect remedy.  Boil hot pepper seeds in water and then spritz the plants with the pepper water.  Works like a charm, and since we're also growing jalapenos in the garden, it was a free fix!  No, the strawberries don't end up tasting like peppers.

Tomatoes get diseased, but generally still produce tons of fruit.  Cucumber plans catch tomato's sickness and most of the plants wither away.  We've gotten several cucumbers, but we would have had dozens if the plants stayed health.  This obviously needs to change next year.  Since we don't have enough room to rotate our crops as recommended, I'm going to hunt for an organic treatment for the soil that will protect the plants next year.

Good thing eggplants don't catch the same sickness- I can't wait to try these!  Only thing I'd change about these next year is the location we planted them.  They get huge and are encroaching on my carefully planned path.  I'll forgive them though, since they're going to end up giving us several awesome looking eggplants.

One thing's for certain though- we certainly can grow tomatoes.  More than we can ever eat.

Time to make some pasta sauce!

Trim by Numbers

picture-rail-trim1.jpg

A year and a half living in this house, I'm finally starting to feel 'settled in.'  I guess all it took was addressing the dining room- why didn't I do it sooner?? Warning- this is going to be a long one.  Lots of steps.

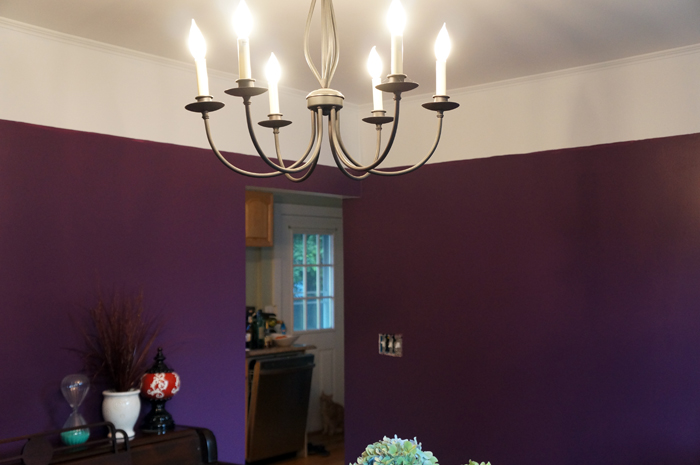
Before I get to the "HOW," lets take a look again at the results

Ok, so how did someone with zero moulding/trim experience add detail to my dining room that looks like it's been there 100 years?

Well, the first step was paint.  I measured down from the ceiling, then used a laser level to connect the dots.  Since the trim was going over the line, I didn't have to be precise.

I ordered actual picture rail online from here since the local big box stores don't carry such specialized trim.

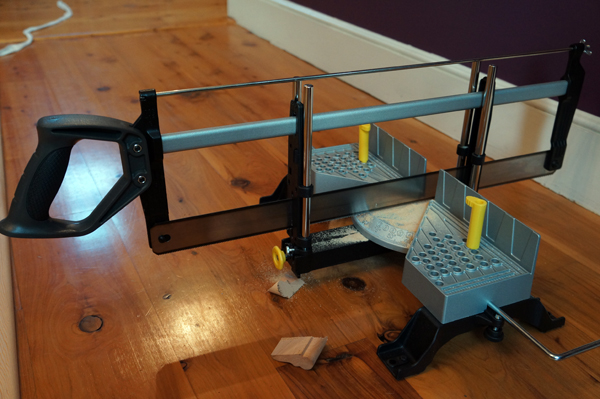
When it comes to cutting the trim, this guy certainly helped.  Meet my new adjustable miter saw.  45 degrees? no prob!  60 degrees? piece of cake!  70? no sweat.  Ok, so it couldn't really do anything in between increments of 5, but that's where caulk and wood filler come in.

The room has some wonky corners, so it was like putting a puzzle together.

So why not treat it as a puzzle?  I picked a starting point and numbered the wall where each piece of trim needed to be.

As I cut each piece, I numbered it accordingly to avoid the inevitable confusion later.

Even with all my planning, I still managed to forget to cut one piece and had to go back and cut it once all the rest were painted and installed.  That's how it goes.

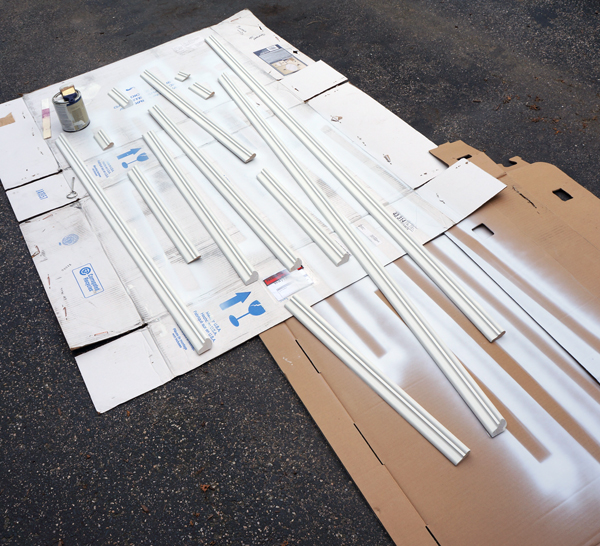
I primed and painted the pieces before installing.  That way I would only have to do touch-ups once all the trim was up.

I'm just noticing now that I think I got a little overeager.  I did get pictures of the rest of the process, but they're so rushed!  Sorry!  I got a little too excited about the end result.

But how can you not be excited when a corner like this

ends up like this

I swear that's the same corner!

I borrowed Handy Dad's nail gun and attached the trim to the wall at the studs with finish nails.  I neglected to get pictures before I started with the fillers, though.  Wood filler covered the nail holes and caulk filled the gaps at edges, corners, and the bottom edge of the trim (since my walls were shockingly not totally straight).  The caulk/lack of gaps is really what makes the trim look like it's always been there.

After sanding the wood filler and touching up lots of paint, I got to do my happy dance.  Although my happy dance looked deceptively like melting into the couch exhausted.  In my head I was doing cartwheels, though, I assure you.

Without any heavy construction, somehow the room feels 2 times the size.  Mission accomplished!