Before & After

Millie: Week 10

I hope you enjoy these weekly updates as I learn to navigate through the business of flipping houses.  This flip, Millie is the most challenging and most exciting yet! You can find more about this house and about my 3 previous flip houses here. After 10 long weeks, the exterior of the house is almost done!  If we just look out here, I can pretend the whole house is almost done!  I'm throwing a lot of before pics into this post because they really show how far this house has come.

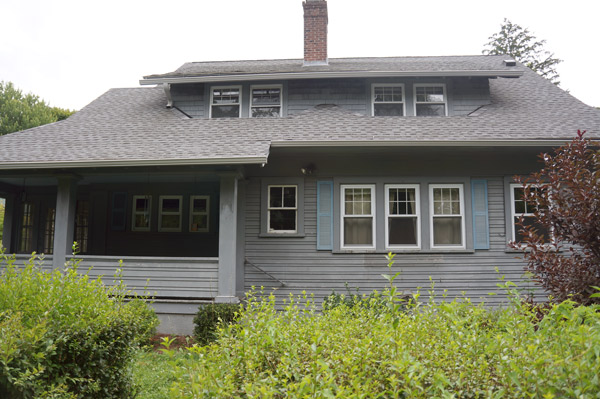
When we bought her, Millie was an overgrown gray box, remember?

Millie-exterior

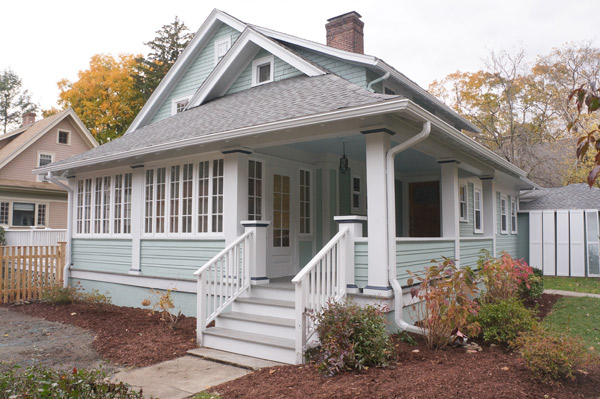
Aside from a few minor touch ups, painting is done!

Millie week 10 painted house front via Year of Serendipity

As I mentioned a few weeks ago, as I uncovered the house from the weeds, I realized that the side was intended to be the curb-appealed front, so I treated it as such.  You never would have known before-

Millie-Ext-1

but this was hiding underneath.  Wow I took out a lot of trees/bushes.  Now I just need the grass to grow there! (The painters also painted my yet-to-be-installed new garage door as you can see leaning on the garage)

Millie week 10 painted house curb appeal via Year of Serendipity

I'm ridiculously happy with the new fence that my contractor installed on this side.  The old fence spanned the length of the yard,returned to the front porch stairs and was about to fall down.

millie-before-old-fence

The new fence extends only to the end of the back deck, letting the sun room and front porch become the 'front'.  And it's pretty.  And has a gate so you can actually get a lawn mower to the back yard.  What a novelty!

Millie week 10 craftsman fence via Year of Serendipity

If you haven't noticed in the front yard pics, new mulch has been spread throughout the entire yard.  66 bags to be precise, and my back is tired.  BUT the result is so worth it.  I apparently don't have any pics of this view of the back yard before we started attacking weeds, but even from this week 2 progress pic

Millie-w2-back-yard

there's a little bit of a change.  Looking a little less jungle-like in my opinion

Millie week 10 back yard transformation

And just for effect, let's look at the side yard again.  The side yard was wholly unusable due to weeds before.

Millie-Ext-13

It's almost hard to believe that the overgrown holly at the corner of the deck above is the same nicely groomed one below.  Not pulling your leg, I swear.

Millie week 10 side yard

The other side of the house, or the lanai as I like to call it

Millie-Ext-11

also got some new fencing (to replace rotten fencing) and more mulch, but nothing drastic.

millie week 10 lanai

Traveling inside, I was destructive once again.  In the kitchen, I pulled up the top layer of linoleum and it's accompanying plywood and started to remove about 5 kagillion staples.  I know it doesn't look like much since there are still 3- THREE!!- layers of vinyl tile that still need to go away to reveal my hardwoods underneath.

Millie week 10 kitchen floor

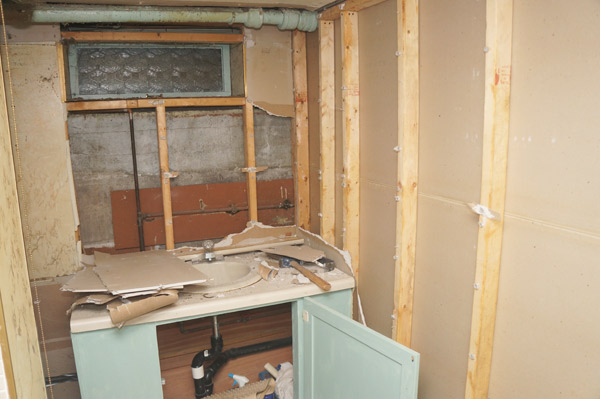
And in the anticipation of my plumber getting started next week, I smashed more- this time in the icky basement bathroom.

millie week 10 basement bathroom

But since the outside is far and away the prettier view currently, I'll leave you off with that view.

Millie week 10 curb appeal via Year of Serendipity

Still left on the exterior is fence completion on the lanai side, trim and door repair on the garage, exterior lights, growing grass (or sodding, we'll see), fixing one broken pane of glass, replacing door knobs/locks/deadbolts, repairing the front door, installing a screen door on the back door, and adding house numbers.  Seems like nothing compared to how far she's come already!!

Happy Halloween and have a great weekend!!

Concrete for the Little

Yesterday, once I finished sealing a bit of Ardex (and my hands in the process) I made a dresser delivery for a special little lady. Little Miss Lyla, my new niece, is a whopping 4 days old and has cheeks for days.

Lila and Lisa

And she's the reason that I played with Ardex.

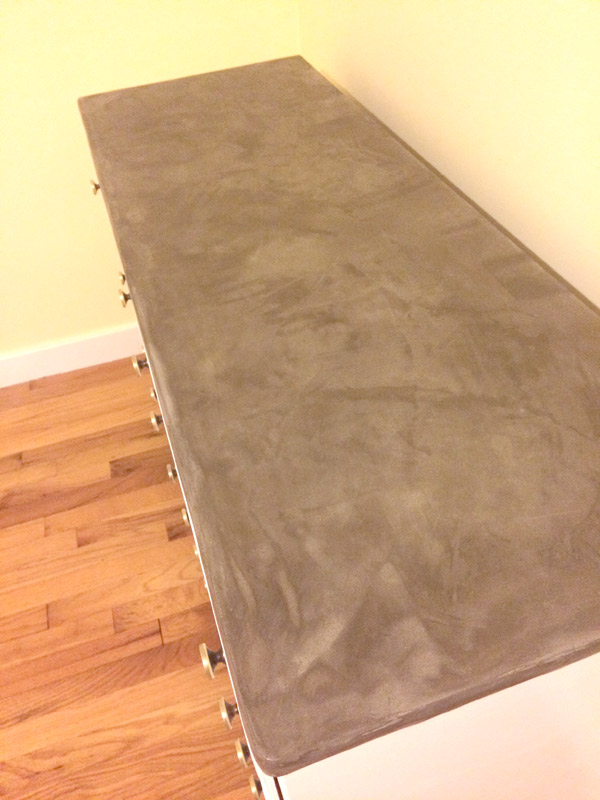
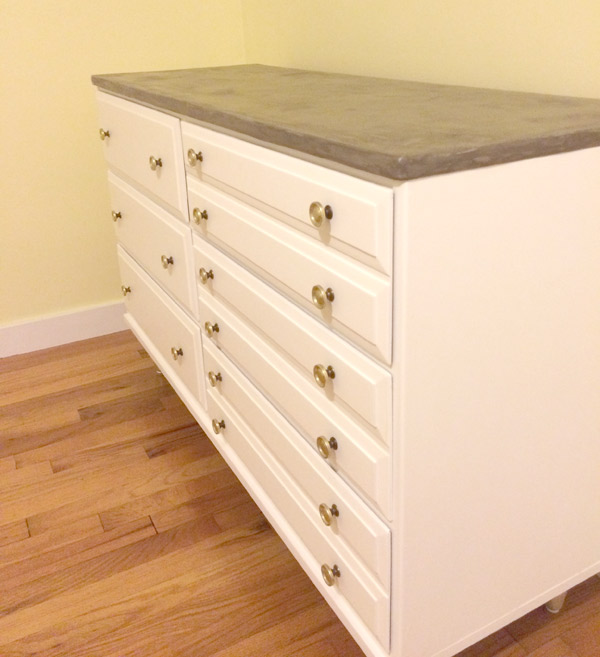
Ardex topped dresser

This is a very unofficial before and after since I clearly ran out of daylight by the time I delivered the dresser and didn't have my good camera on me.  I'll give you a quality before and after with more detail and steps very soon but I was dieing to share.

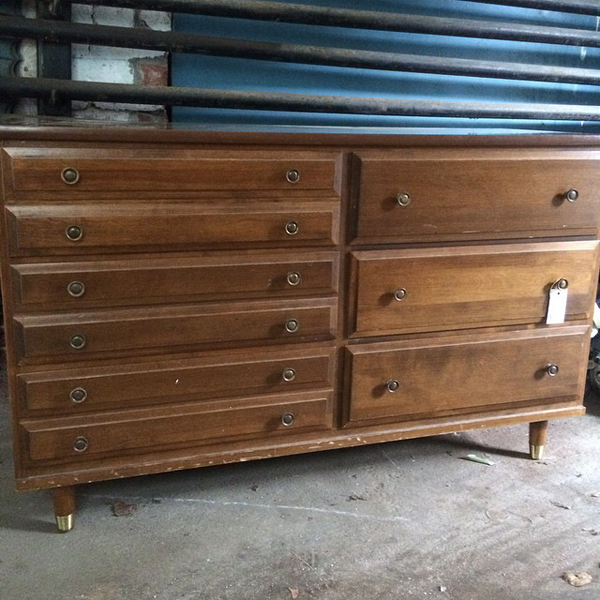
If you remember the dresser that I started with:

lyla dresser before

Very solid with nice detail... except the top.  The top was a product of its age, and although the rest was wood with dovetailed drawers, the top was laminate with plastic edging.  Even if I got it to hold paint, I doubt the paint would hold up in a kid's room.  Which is what lead me to consider Ardex Feather Finish, like I posted about previously.  If concrete can't hold up to kids, then I don't know what would.

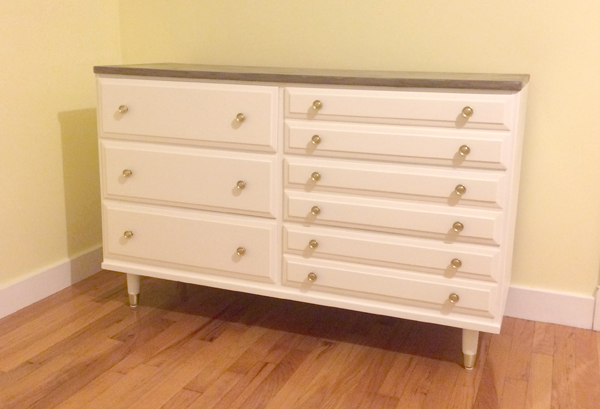
Lyla dresser

It was applied directly onto the existing top kind of like icing a cake, so the concrete is only a fraction of an inch thick.  I sealed it with concrete sealer so it will stand strong and be stain resistant.  The jury is still out about the final result.  I probably went a little heavy with my first coat which made it more difficult to get an even edge.  But I don't hate it! (isn't that always the goal with projects?  Not to hate it)


I do love the finish that I was able to get on the body of the dresser.  I used my handy dandy Critter Sprayer and the finish looks like it could have been done by a factory.  If the top had been real wood, I would have refinished it and left that wood as a contrast, but alas, so with the Ardex, I just accomplished the contrast in another way.

Lyla dresser

The room color looks a little wonky in this light, but it's a delightful shade of light yellow that you may have gotten a glimpse of on instagram.

calla lily bm paint

Now that the ball is rolling and Little Miss is leaving the drama at the hospital, hopefully the room will come together quickly!

So, tell me- do you agree with my Mom that I'm nuts to put a concrete topped dresser in a little girls nursery?

Lyla dresser


Sofa!!

The excitement really only needs a one word title.  After 3+ years of lamenting our too-large-for-the-living-room lumpy (but oh so comfy) couch.... Living room before with out of scale furniture

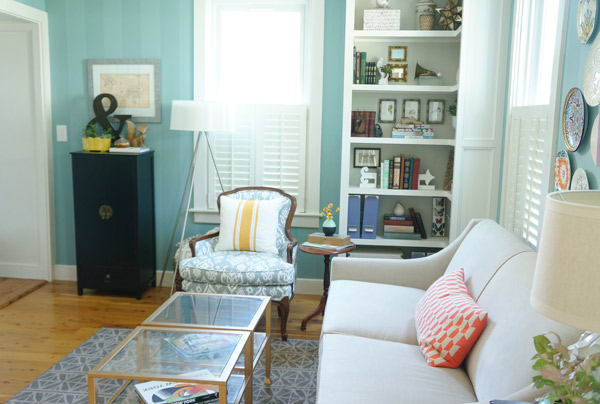
We finally have a sexy adult sofa that will hold up for more than a couple years.  The word 'sofa' just sounds so much more sophisticated than 'couch,' don't you think?

MGBW Diane's Sofa via Year of Serendipity

We splurged for the Diane's sofa from Mitchell Gold + Bob Williams in the stock velvet (aka unable to be ruined by little kitty paws), and I.am.in.love.

Living room with new  stylish but neutral sofa via via Year of Serendipity

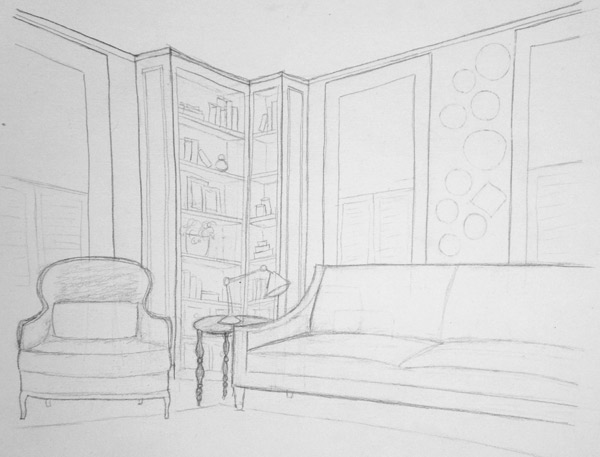
I'm also so amazingly happy with how far the living room has come this year!  From the highly artistic and totally accurately perspectived sketch that I showed you back in January, I think I can say- mission accomplished.

Living room plan sketch

Living room sketch turned reality via Year of Serendipity

All the puzzle pieces have finally come together and I'm giddy!  Just a few last finishing touches needed *coughpillowsandrugcough* and I will soon be able to put the Done(ish) stamp on this room.  When is a room in my house ever fully done?  Well, done enough to take some new pics for my Home Tour.

Living room with new  stylish but neutral sofa via via Year of Serendipity

Hubby's still rather neutral on pretty new Diane- I think because the color is almost identical to our old one, but OMG, I personally think having the right scaled sofa for the space is a breath of fresh air!!

eclectic living room with stylish but neutral sofa via via Year of Serendipity

Since my sketched out plans in January, the living room has gotten:

So, are you as in love with Diane as I am??