DIY

Dining Room Beginnings

First, let me apologize to you if you saw the in-progress post that accidentally got published yesterday.  Finger slip when I was trying to save the draft... oops!!

_____________________________________________________

As I obsess about focus on some rooms of the house, others seems to be pulling themselves together on their own. The dining room is one that I have been giving little thought to, but its been coming together slowly nonetheless.

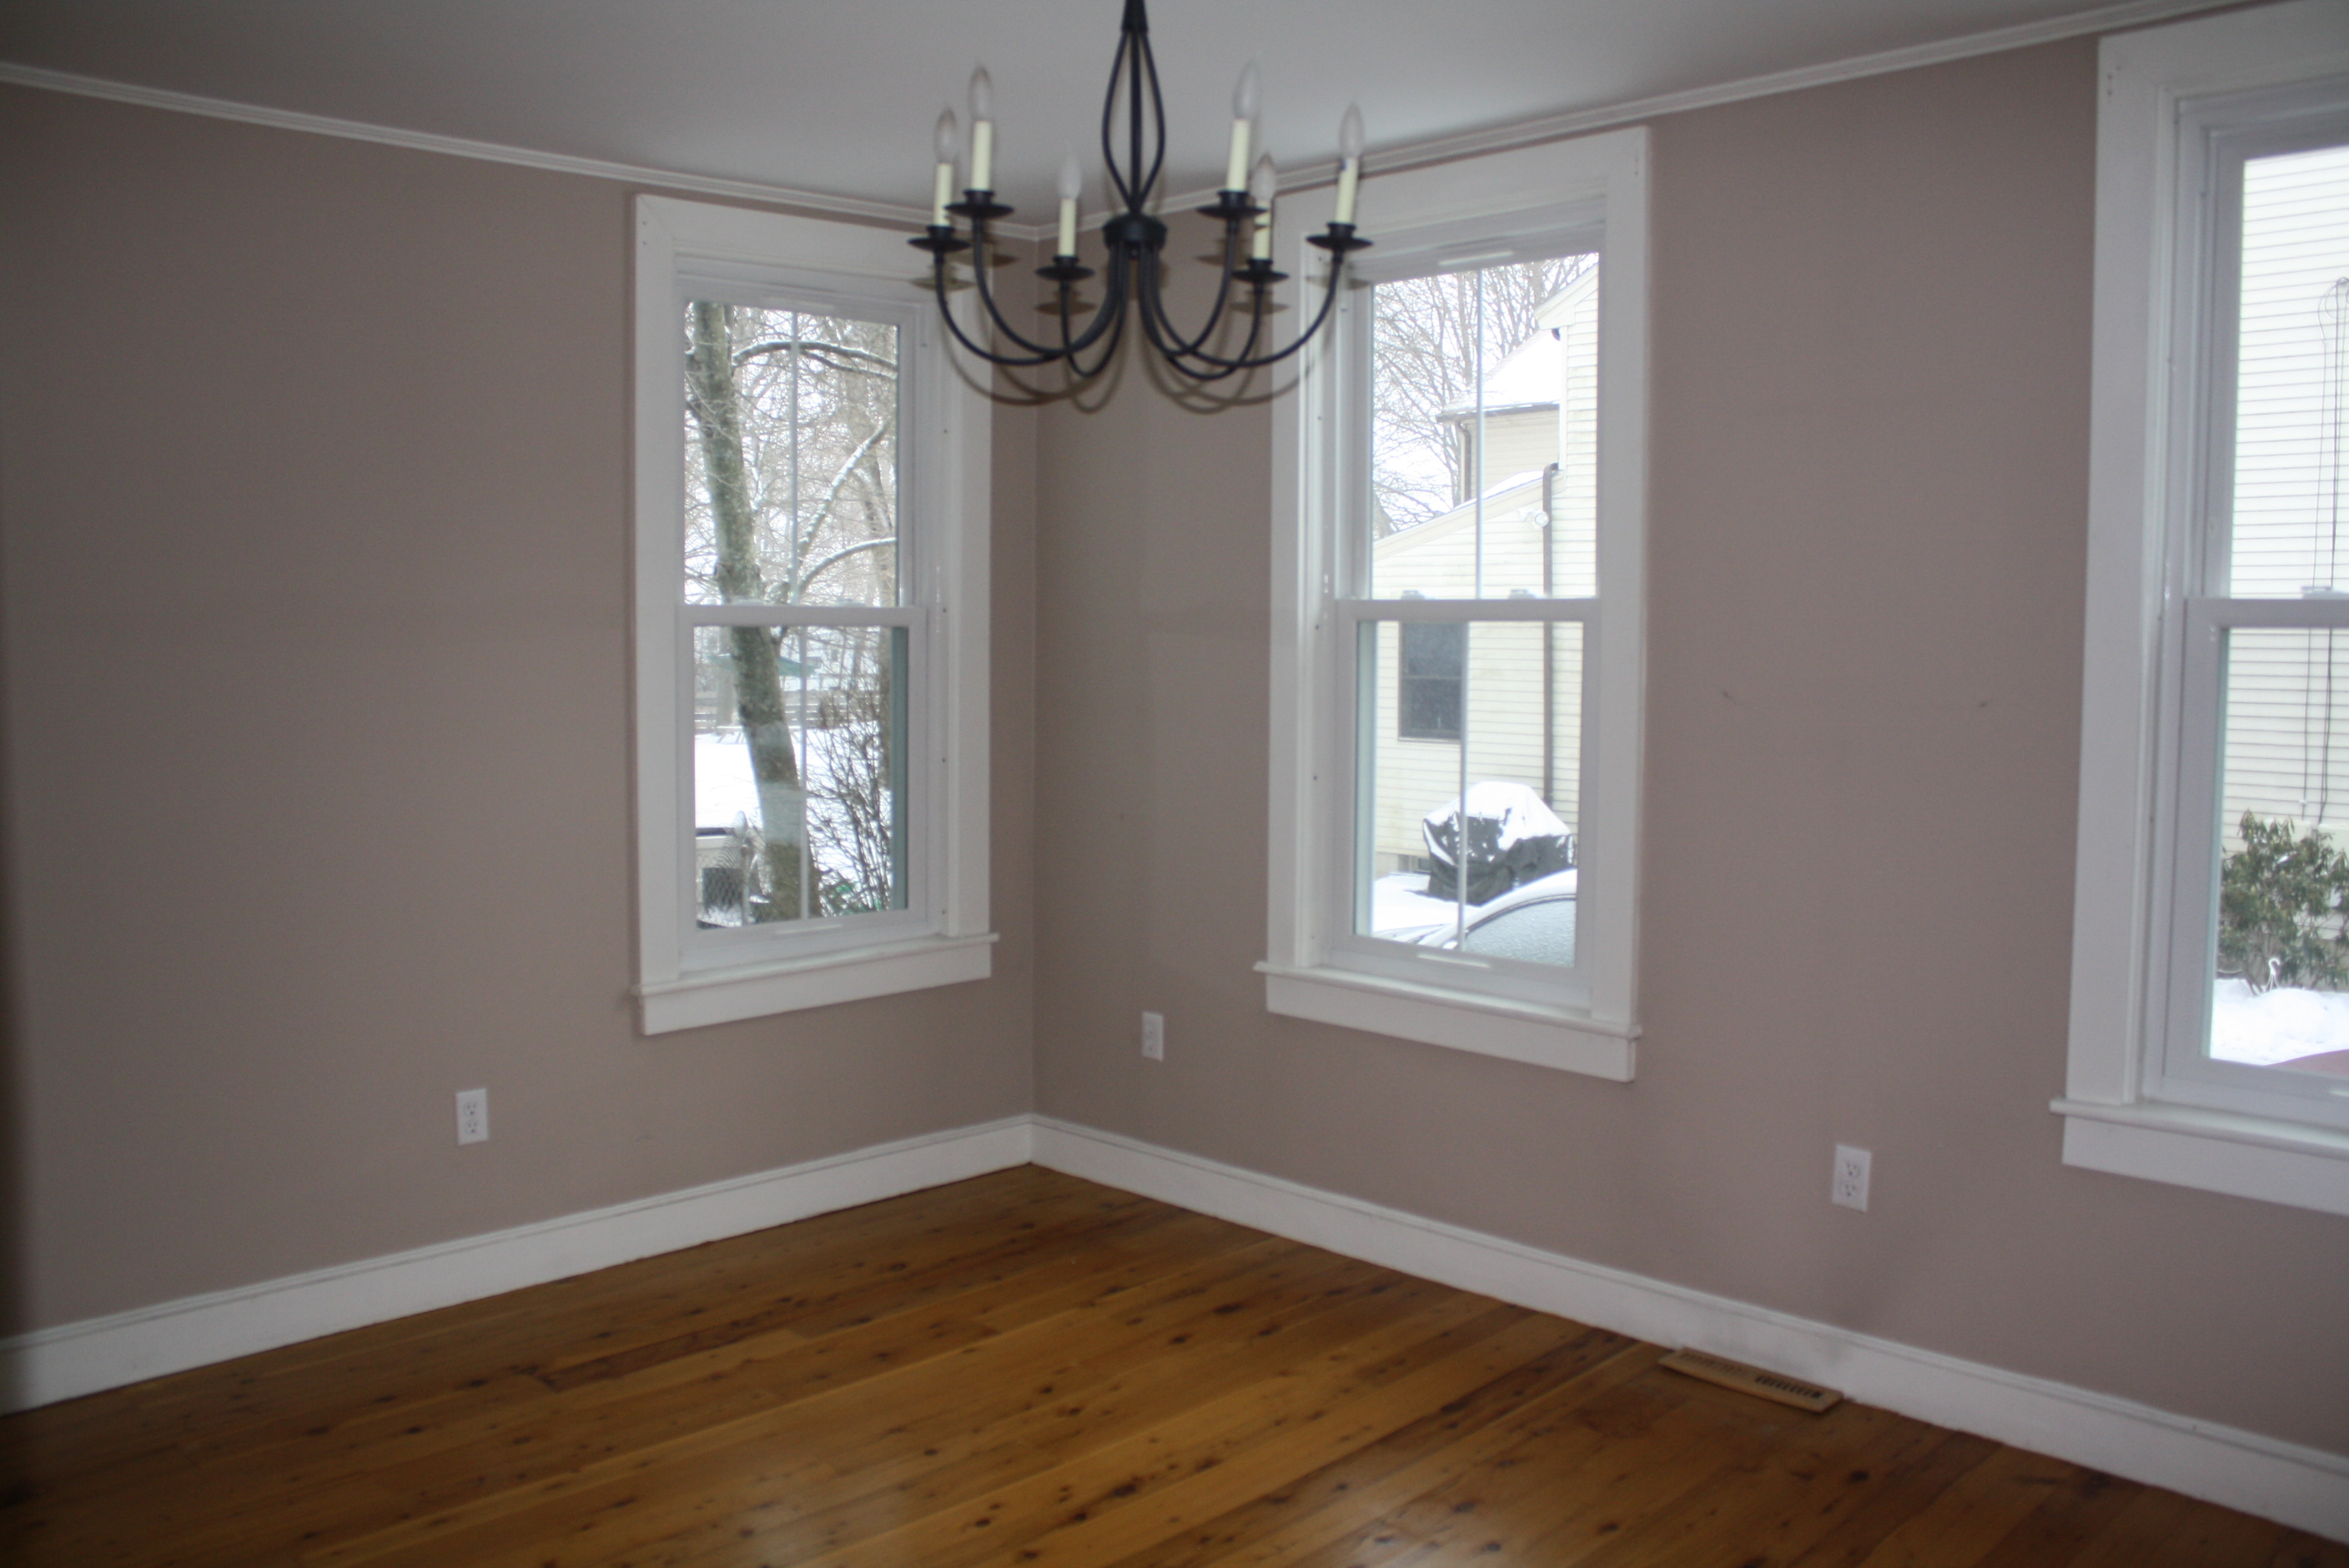
Here's where the dining room started:

Here's what it currently looks like with our existing furniture and the curtains from our old bedroom at the apartment:

I was pleasantly surprised how it came together without even trying.  It still needs some love, though...

The Plan so far:

  • Mis-matched chairs w/uniform finish and upholstery. +/- 4 standard dining chairs, 1 bench, 2 upholstered chairs for either end of the table.
  • New chandelier swagged over the table.  (current one to be refinished and probably end up in the bedroom)
  • Decorative paint treatment behind piano.  New paint all walls.
  • New curtains.
  • Refinish 'liquor cabinet.'  Final location TBD.
  • Create built-in china cabinet by kitchen.

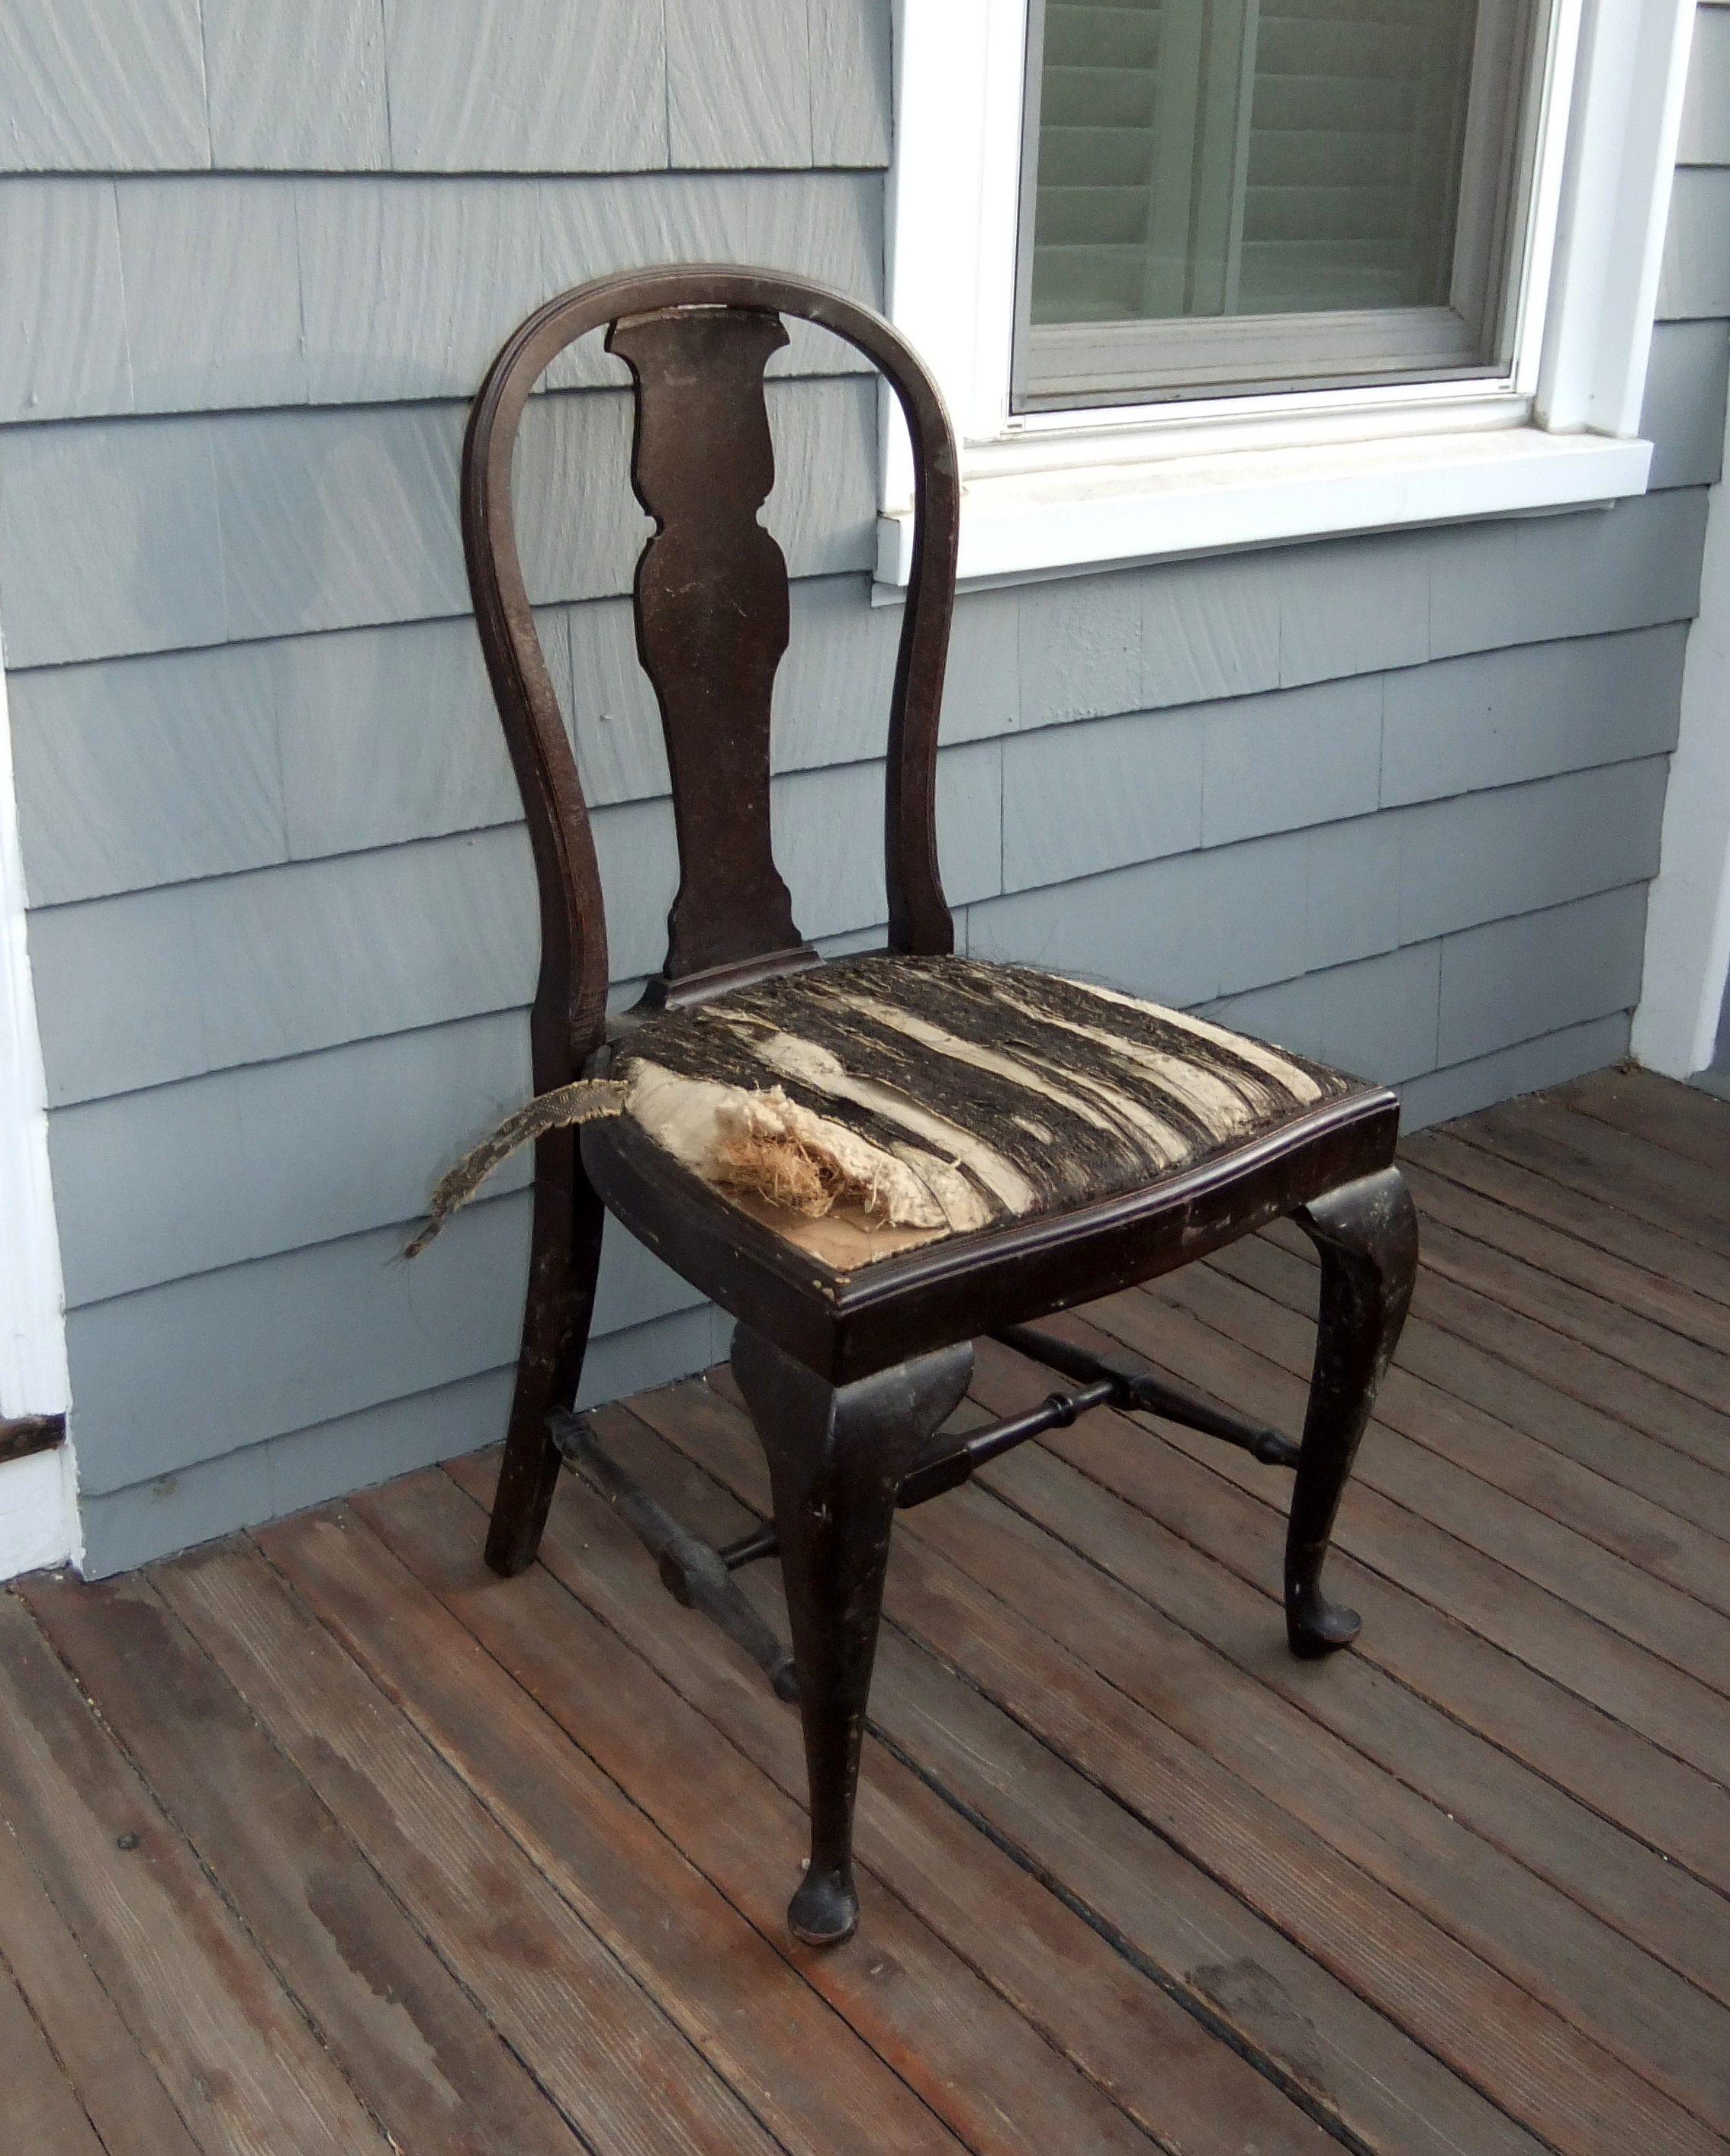
At a tag sale over the weekend, I found the first piece (for $5!) of what will ultimately be the collection of mis-matched coordinating seating.

Isn't she pretty? (Yes, I've decided the chair is a 'she.')  She was buried in a garage with other matching and non-matching chairs, but none were in as good a shape as this one.  I want a project, not a gigantic undertaking, so I only bought the 1 in the best condition.

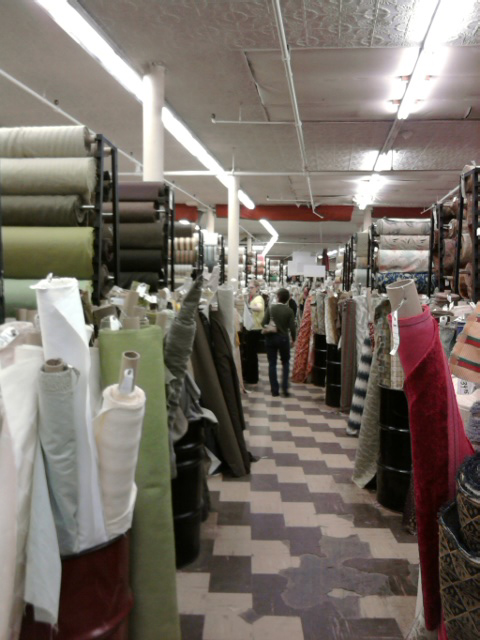
After tag-sale-ing, on a recommendation, I went to a new (to me) fabric store and found Mecca!  (Or at least fabric store Mecca)

...and I fell in love...

....with a fabric!

It wasn't exactly a discount fabric, but it made me stop dead in my tracks.

I needed to own it.

I only purchased 1 yard to start with while I devised a plan for it (and made sure Hubby didn't hate it before I made a big fabric investment).  This gorgeous fabric will most likely be the starting point for the dining room design.  It will upholster the seating and the many fabulous colors in it will find their way around the room.  Every time I walk through the dining room (where I currently have the fabric draped), it makes me smile.  I may take inspiration from John and Sherry over at Young House Love with their 'Sue the Napkin' and name my pretty new textile inspiration.  Maybe something exotic... any ideas?

Chair Tease

$4 at a yard sale and hopefully a priceless outcome... only time will tell. The chair I purchased a few weeks ago got a few coats of fresh white paint over the weekend.  It requires some filler in a few spots and touch-ups in other spots before it gets its finished white lacquer coat (so excited!). I'm hoping to be able to do the touch-ups evenings this week then go Lacquer-happy next weekend.

As a tease, here's what it looked like before and what it looked like after the first coat of white.  Can you see my vision for it??

Now I need to find fabric for the seat so people can actually sit on it!

Nuptial Nostalgia: Centerpieces

Wedding season is quickly approaching and as I help a close friend through the beginning phases of the planning process, I've been reminiscing about my own wedding almost 2 years ago (my how the time flies!!). I decided to share with you some of my favorite DIY elements that I created for our Old Hollywood inspired bonanza.  I think I'll break this post into a few weekly posts so I don't overwhelm you with a novel of a post.  It was a wedding on a budget, so I had to prioritize the money (location, photography..) and DIY whatever I could.

Part 1: DIY Centerpieces!

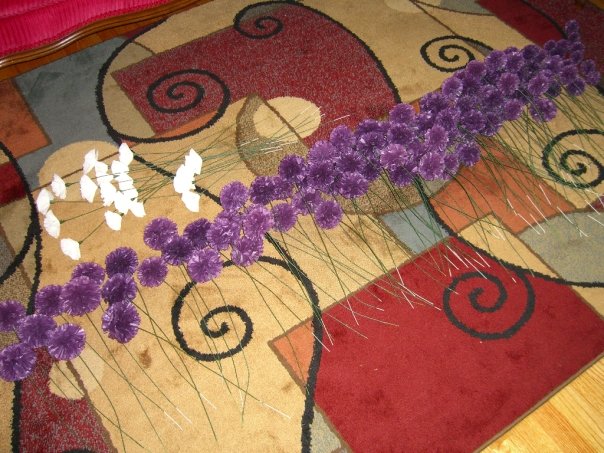
The tablescapes I created for my wedding included DIY menu cards and centerpieces.  I had quite a time trying to figure out what to do for the centerpieces.  We had our wedding at The Bushnell, a historical theater in Hartford, CT.  The beautiful room(part of an addition on the historical part) that our reception was in had 35' windows on 3 sides and a spectacular orange Chihuly glass sculpture on the ceiling.  I didn't want my centerpieces to compete with the views or the sculpture (or the 18 piece swing orchestra we had as a wedding gift from Brian's parents, tee hee), and the flower centerpieces that I could envision just weren't in my budget.  What other choice did I have?  I hand made 200+ tissue paper flowers of course.   Although it was a daunting task, I had a quite a bit of fun with it.

I took Martha's Pom How-to and played with it until I came up with a small-scale flower that looked elegant and a little quirky.  You should have seen my apartment as I went through the process!  Purple tissuepaper everywhere!  And Hubby was still willing to marry me- amazing!

Each bunch of 16 - 20 (depending on flower size) got bound with flower tape and shoved placed into silver bud vases.  I also printed table numbers on acetate and used a wire holder to suspend them over the 'flowers.'  On the table the bud vases got placed onto a square mirror which was placed diagonally on a larger square of green fabric.  The green fabric was actually fabric napkins and came surprisingly in the size I was looking for (yay HomeGoods).  All they needed was a quick iron.  I was so happy with the way it looked when it all came together.  AND I had guests wanting to take the bouquets home (which of course I let them)!

Did you make DIY centerpieces for your wedding?  I'd love to see!

*all the wedding photos above are courtesy of our fantastic photographer, Erica Lyn