DIY

Challenge Accepted!

What do you do when your favorite bloggers join forces and issue a design challenge based on one of your website addictions? [youtube=http://www.youtube.com/watch?v=Nepysk5rOf4]

Emily Henderson from my favorite HGTV show Secrets from a Stylist, Sherry from Young House Love, Katie from Bower Power Blog, and Lana from Joey and Lana Make a House a Home have issued a Pinterest Challenge!

You should totally go over to the link above and check out the hilarious video that explains the challenge.  And check out their blogs while you're at it, because they're all fantastic and someone could loose hours poking around (in theory of course, because I would never do that... yeah, lets go with that.)

Basically they've all decided to take on a DIY project THIS WEEK based on an inspiration image from pinterest and challenged all their readers to do the same.  You bet your pants I'm joining in the fun!

I have one project in mind that I was hoping to tackle soon anyway, so why not do it before next Tuesday?  I may even get ambitious and try to get to more than one.  Maybe.

Anyway, here is my chosen Pinterest inspiration image:

A plate wall/custom wall art.  I know it's not a HUGE undertaking, but I'm planning to repurpose wall art that I already have to make this happen.

I have this piece of mass-produced metal art.  We got it for the (pictured) kitchen in the apartment and have had it for almost 2 years.  I still like it, but I do not like seeing it in everyone else's houses too. (That's the design snob in me talking again.)

The metal art as it is existing is going to be chopped apart and if I can pull some free time out of my hat, I'll play with paint on a few of them too.  I have more ideas of how to make this project super special and totally new and improved, but you'll just have to wait and see what happens!!

Do you have any pinterest inspired DIY projects you've been wanting to do?  Now's the perfect time to jump in!  Not on pinterest yet?  What are you waiting for?!?!

Reflections and New Mirrors

After the whirlwind cleaning and house prep for the housewarming last Sunday, its been a week of mental recovery.  I was pleased with the way the house looked for the housewarming, but its still not where I want it to be.  I suppose its pretty darn good for only having lived there for only 4+ months, but it still doesn't look designed.  Call me crazy (and I'm sure you will), but I feel like as a designer, my house should be held to a different standard.  ...But as I've ranted before, too much corporate design has atrophied my residential design chops.  I'm planning a trip to the library (or maybe an order to Amazon) to get some inspirational books that keep repeatedly popping up on my radar: Details: A Stylist's Secrets to Creating Inspired Interiors, Undecorate: The No-Rules Approach to Interior Design, and Decorate: 1,000 Design Ideas for Every Room in Your Home to start with. Before the housewarming I didn't realize how busy I was making myself and how much I just needed to stop for a minute and relax.  So I've been making up for that this week ;-).  Between needing a break from house projects and a painfully quiet week at the 9to5, its been tough to find inspiration in the past few days.  Forcing myself out of this funk, I still have a pre-housewarming project to share with you!

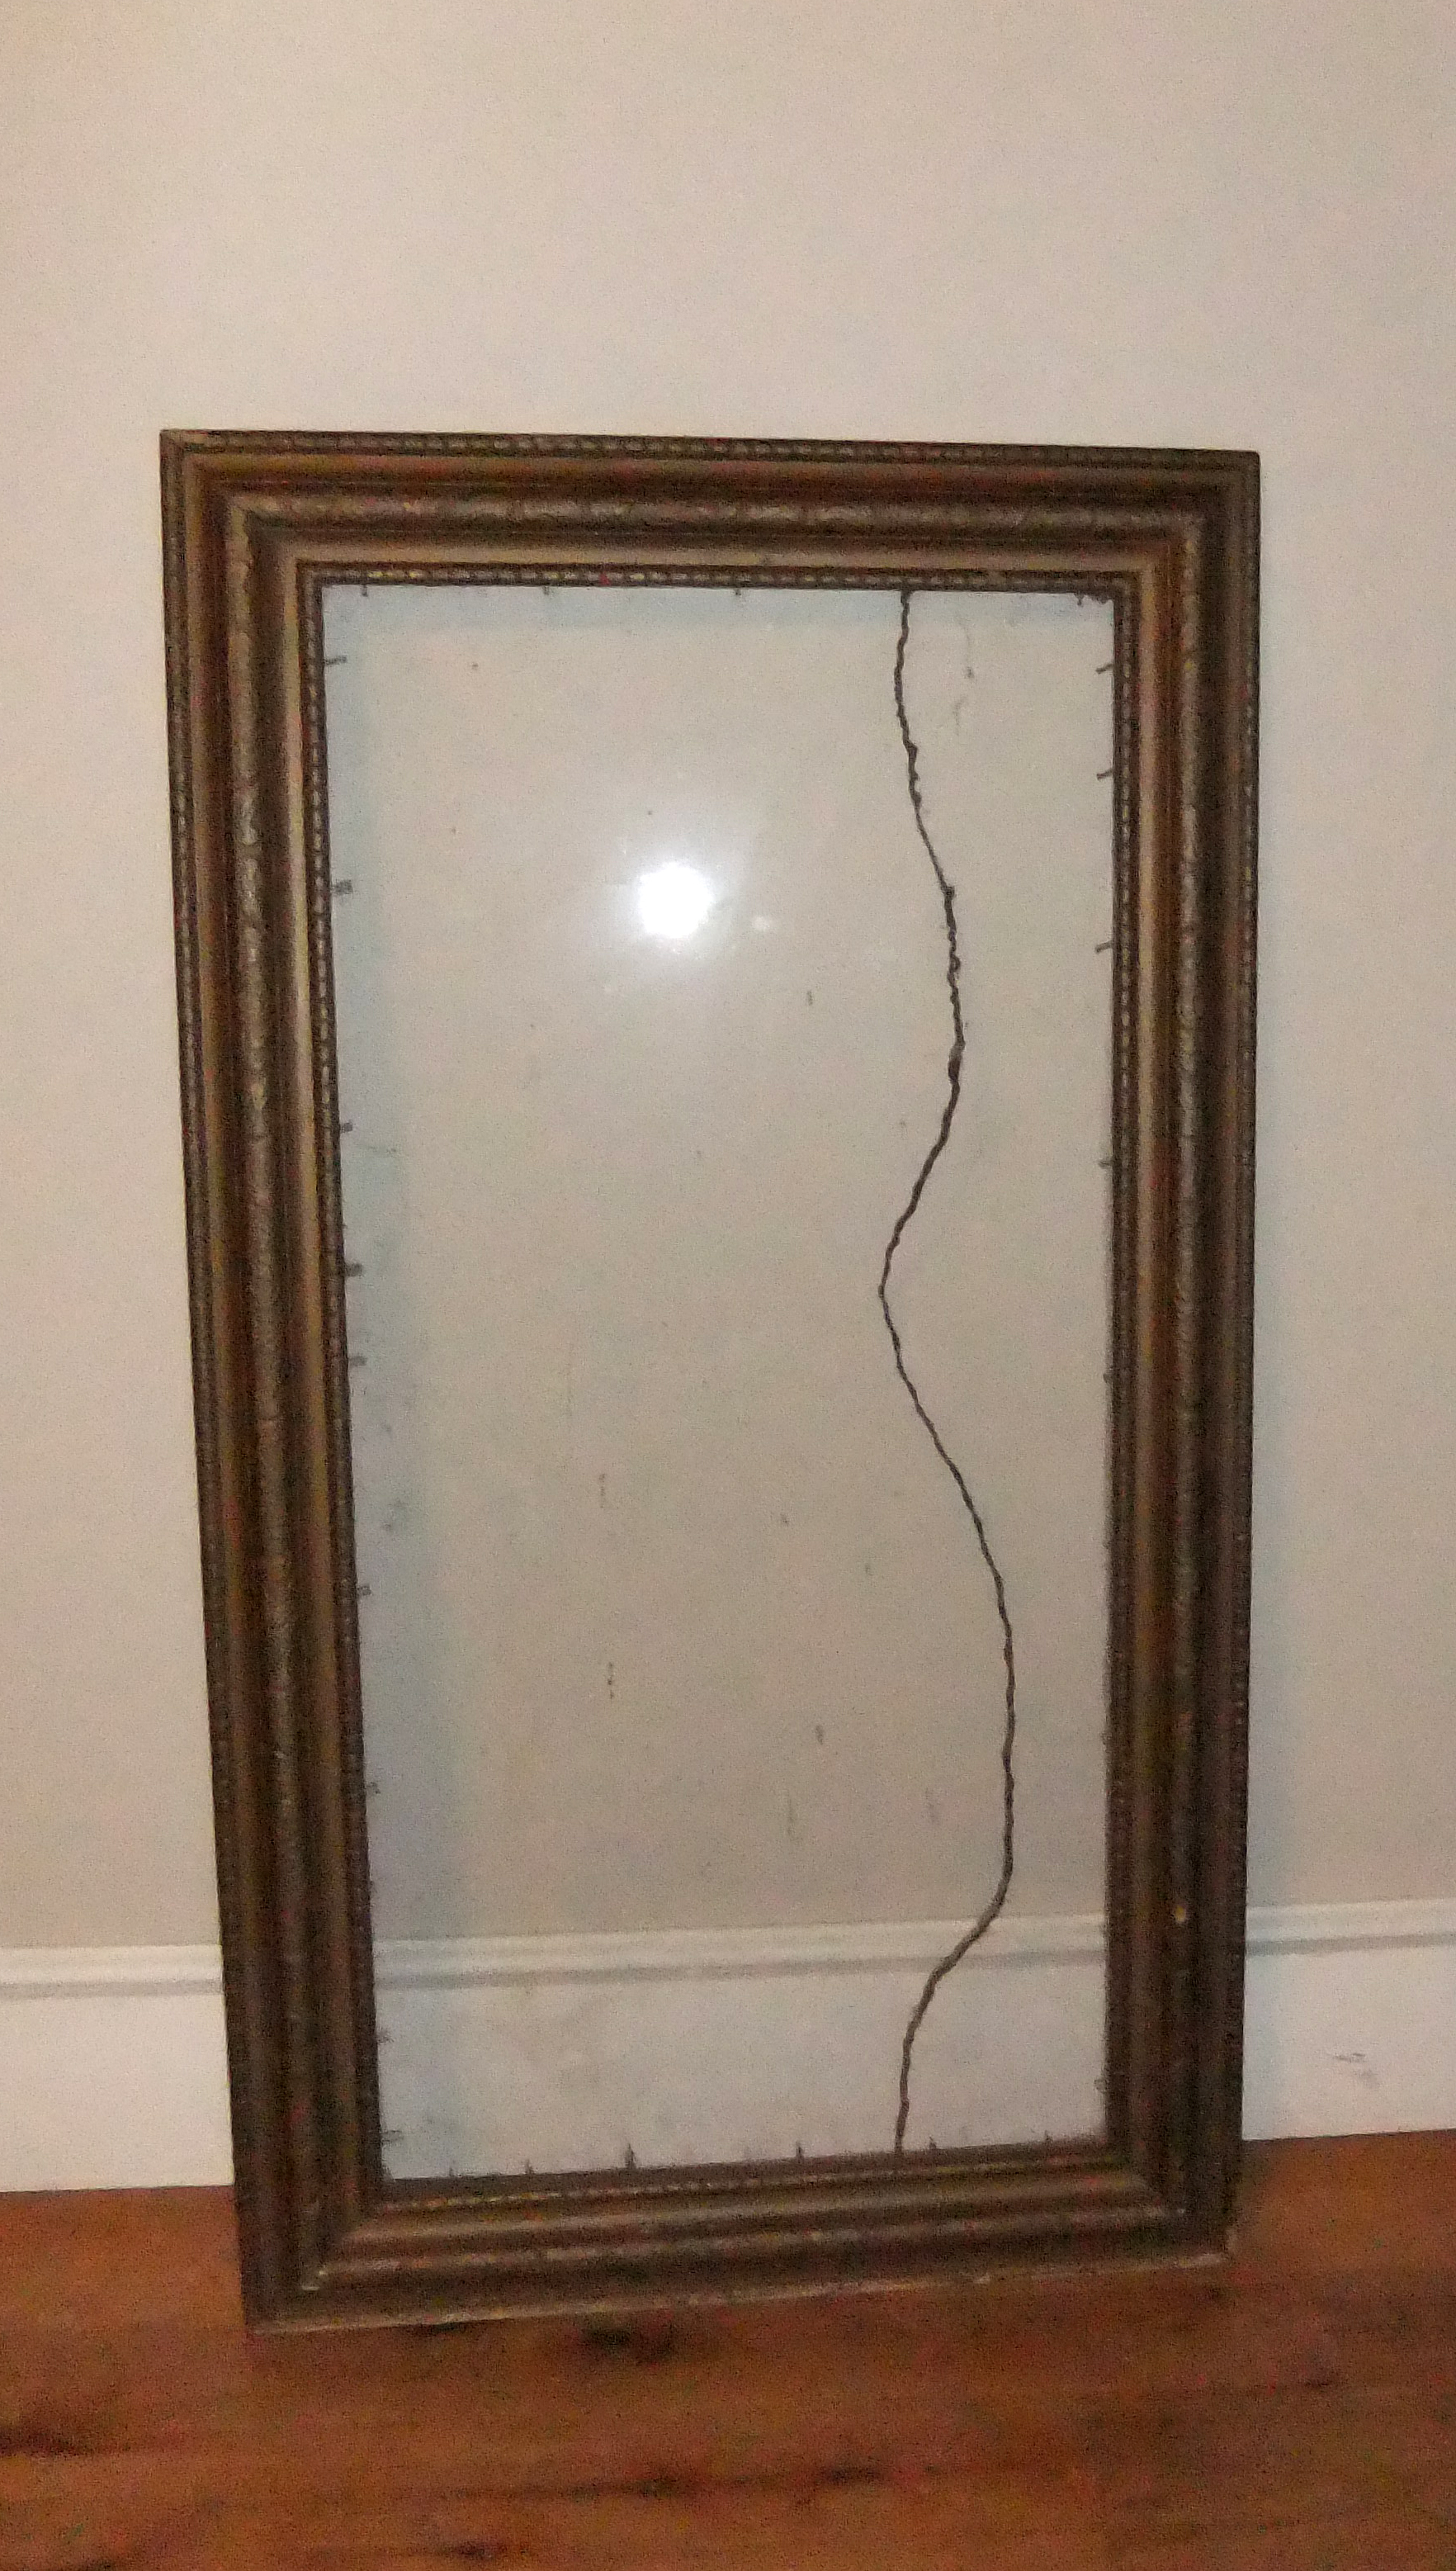
Remember the $4 rummage sale frame I got?

Well, it doesn't look like that anymore.  It's now a mirror!

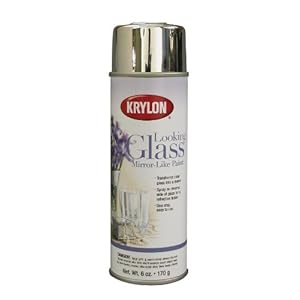
After seeing it featured on the Nate Berkus show, I decided to hunt down Looking Glass Spray: a spray paint that gives a mirror finish to glass.  I made a few calls to the local craft stores (and looked in the home improvement stores),  and realized my only way was to order it on Amazon.

Here's where I've failed you- this project was part of the whirlwind before the housewarming, so I neglected to take progress pictures.  Will you forgive me?

The frame itself got a fresh coat of hammered gold spray paint before I secured the glass to it with epoxy.  Once the glass and frame were secured, I took 2" painters tape and (on the back side) taped around the edges of the glass.  Following the directions on the spray, the back side got 5 thin coats (and one minor drip- oops).  Pull off the tape and voila!

Overall, I'm very pleased with the outcome!  Its more reflective than the picture shows, but not as much as a traditional mirror.  It kind of has an antiquey feel to it.  I think next time I would actually put 1 or 2 LESS coats to make it look a little inconsistent and a bit more like a weathered vintage mirror.  I'm itching to use this spray on some glassware to make it look like mercury glass.

I have a few other projects in the pipeline including bedroom curtains and planting some new flowers (from friends and family from the housewarming), but I'm boycotting house projects at least until the weekend.

Light Fight

From day 1 in the house, Hubby and I wanted to replace the hall light.  It was a dated, cheap looking, gold flush mount fixture.  I wasn't actively looking for a replacement yet, since there were other items that were higher on my list.  The perfect light, however came into my e-mail via Rue La La a few weeks ago. It's the right balance of modern with a vintage flair and it's looks make me very happy.  It's installation did not.

On moving day when we said "Good Riddance" to the ceiling fan, the installation of the new dimmable light was speedy.  I left the room as the first fan screw was being removed and came back a few min later to find that Hubby and the dads had the new light fully installed.  I had high hopes of the hall light being as easy......

Here's what we started with:

After waiting patiently for a few weeks until I couldn't wait anymore we had time, I we decided to give the new light a try.  The game changed the moment we removed the old light.  Let me first remind you- this house is over 110 years old but looks like its been totally updated.  Key work in that sentence is LOOKS.  This is what we found when we took down the ugly old light:

What??  It even had my handy dad stumped!

Hubby and I first attempted to attach the new light the same way the old light was attached.  That didn't go over so well.

After a little thinking and figuring- Handy dad asked me to hold off fixing it until he came up this past Friday.  He has much more electrical experience than I do and he was afraid I would open a can of worms if I delved deeper.  It was torture having a half installed light for an entire week!

A day off from the 9to5 Friday was such a whirlwind of projects that I neglected to take progress pictures like I wanted to, but we (helpful parents and I) got a TON done!

The old 'box' or whatever you may call that relic, was screwed to the lath, behind the plaster, behind the drywall, yet it wasn't recessed enough to install a modern light fixture properly.  After removing it, and doing some poking around with a flashlight and tape measure, dad discovered there was a stud behind the lath we could attach a modern electrical box to!  Huzzah! So we bought one, and Handy dad took a hack saw to the plaster and lath in his way.  Not too long later, we had a working light fixture what was installed properly and looked pretty!

Ta da!!

Sadly, though the new perfect hall light and the living room light aren't on the same page.  Although I still very much like the living room light (and its WORLDs better than the previous fan), I think it may be destined to be in the office ultimately.  Not any time soon, but eventually.