Wouldn't it be great if you could conjure up more time whenever you need it? Instead I'll have to settle for making a clock.
Problem: My future nephew's room needs a clock. One that is clearly readable so he can learn how to tell time, but also one stylish enough to get Auntie's seal of approval (that's the tough part). I found an awesome clock on etsy, but it was way beyond the budget. After looking for months for the right item, nothing was jumping at me.
Solution: Create my own version of the overprice etsy clock for under $10.
____________________________________
Materials:
- MDF shelf (cut down to about 12"x 12" by the helpful folks at Home Depot) = $5.50
- laser-cut chip board (I was lucky enough to be able to use the laser cutter and scrap chip-board at a friend's office, but this could easily be created without these resources) = $0
- IKEA clock (for mechanism) = $1.99
- Paint (already had) = $0
- Screws = $0.99 (I think...)
TOTAL= $8.48
How'd I do it?
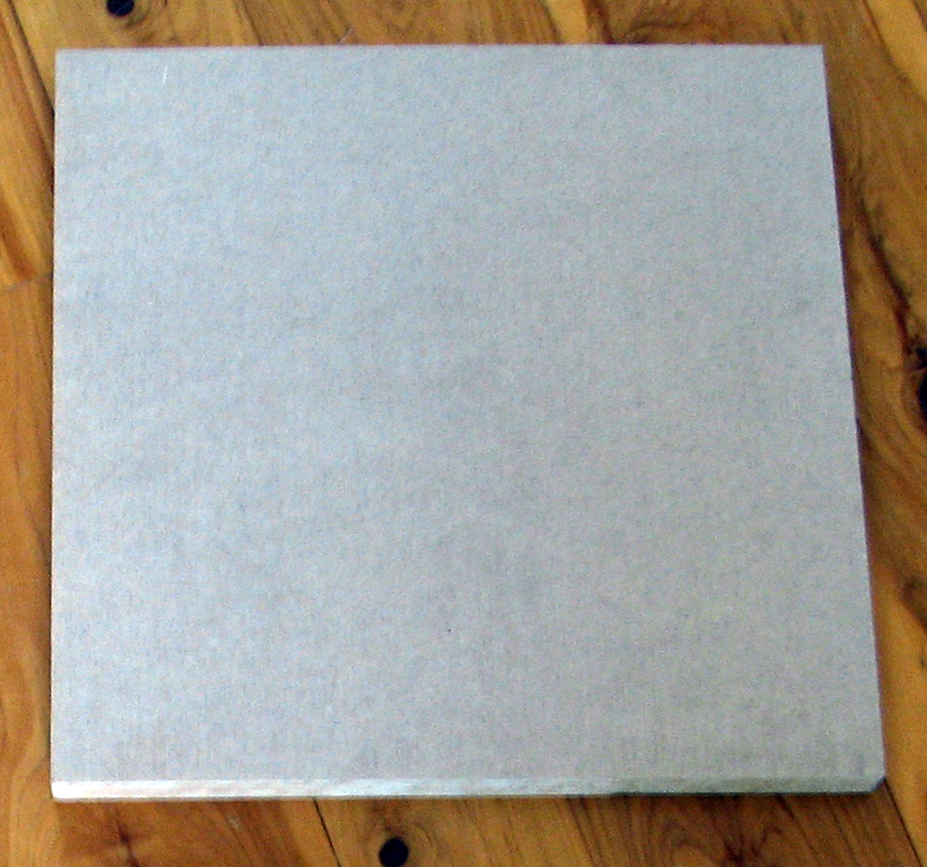
Starting with the MDF shelf, I sanded and rounded out all the edges.

I located the center and used a jig-saw to cut a hole for the clock mechanism in order to allow the clock to ultimately sit flush against the wall. The hole doesn't have to be pretty, it will be totally hidden in the end. Once the mdf was sanded and turned into the square, wooden equivalent of a doughnut, I primed it and painted it.
I was so excited when I found an IKEA clock for a fraction of the cost of buying a clock mechanism separately.

I took out my hammer and was ready to go to town on it to free the clock mechanism. Much to my dismay, the clock easily snapped apart and I didn't need my hammer. Once I had it apart, I gave the red seconds hand a quick shot of blue spraypaint to make it look more custom.

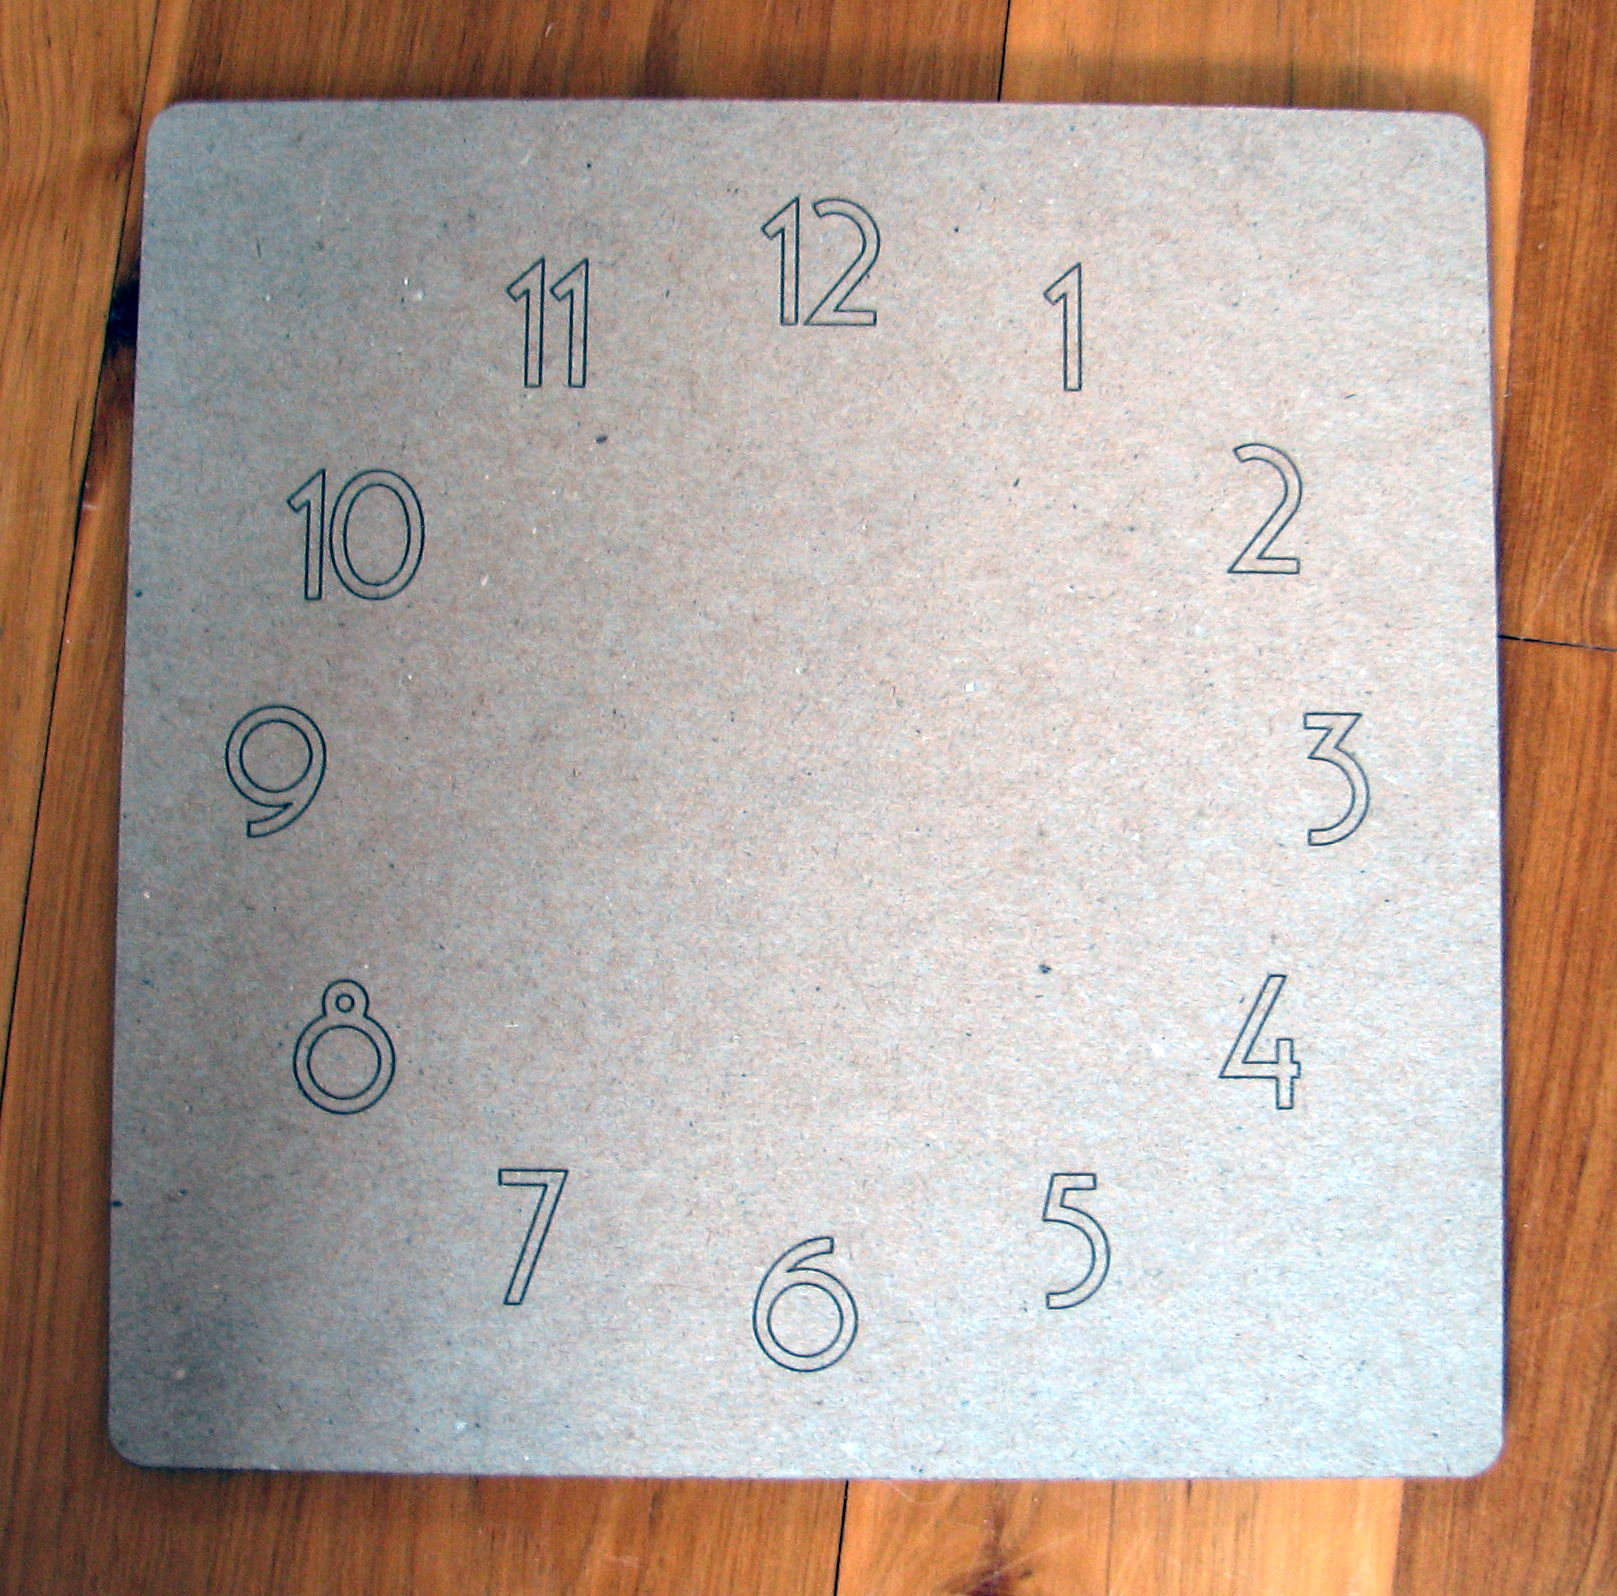
As I mentioned above, I was able to 'borrow' a laser cutter/engraver to create the clock face for free. All that was left for me to do on it was to drill a hole for the mechanism and use a very small paint brush and a very steady hand to paint the numbers white. If your laser cutting resources are more limited, you can cut a piece of chip board to size and hand sketch the numbers before painting.

Next comes the most exciting part: the assembly!!
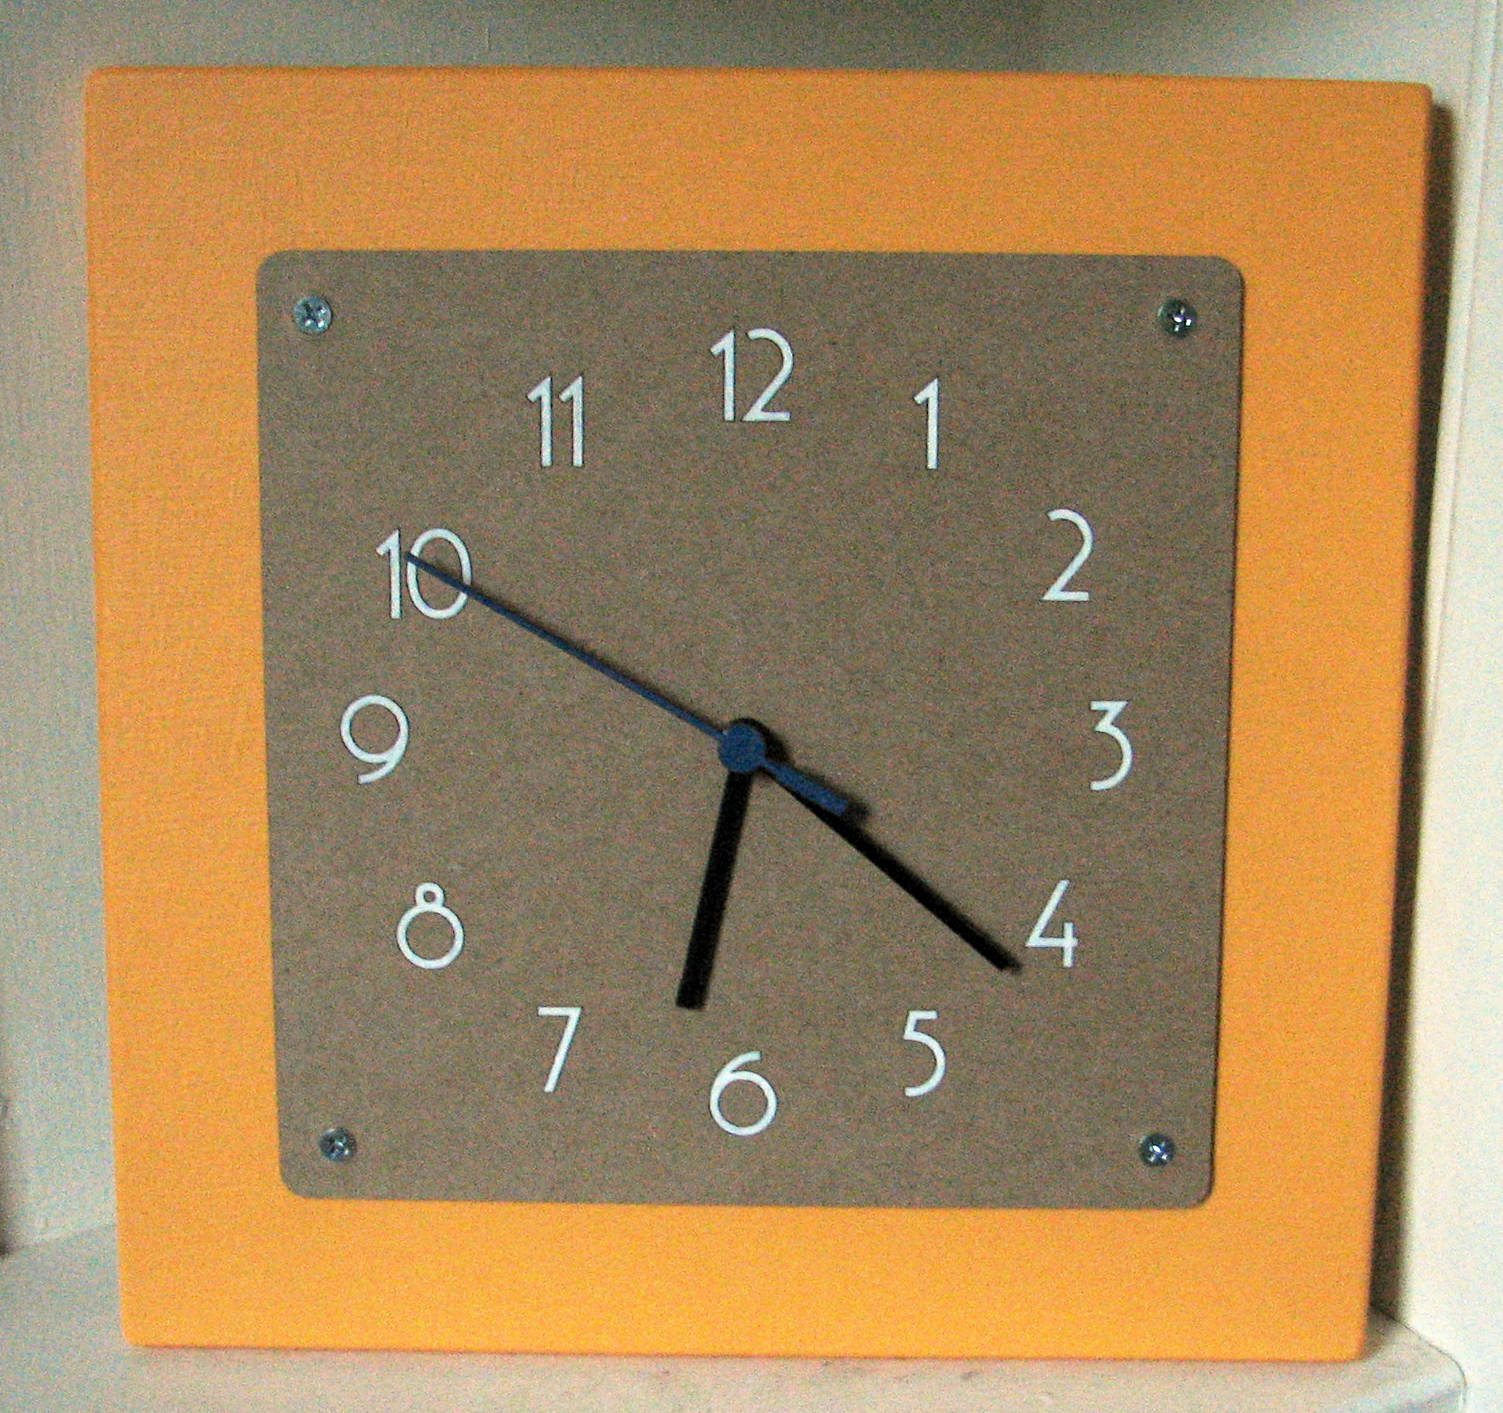
I centered the face on the mdf backer and used double-stick tape to hold it in place as I screwed it in at each corner.

Using hot glue, I attached the mechanism to the back of the chipboard within the hole in the mdf and reattached the clock hands.
Now it's just waiting to be installed into it's final home- my future nephew's room!

We're all on the edge of our seats- my nephew's due date was yesterday and he has yet to grace us with his presence! I guess he's trying to be fashionably late. At the very least, he'll be fashionable with his cool nursery. I'm not revealing it to you until the guest of honor see's it for himself.


