DIY

Marbled Art

If you haven't already, check out my new and improved Menu options at the top of the page.  New About page, Home Tour, and Project Archives!  So, without further ado, on to today's post!

__________________

I wasn't intending to replicate East Coast Creative's Marbled Paper Art, but it worked out too perfectly NOT to.

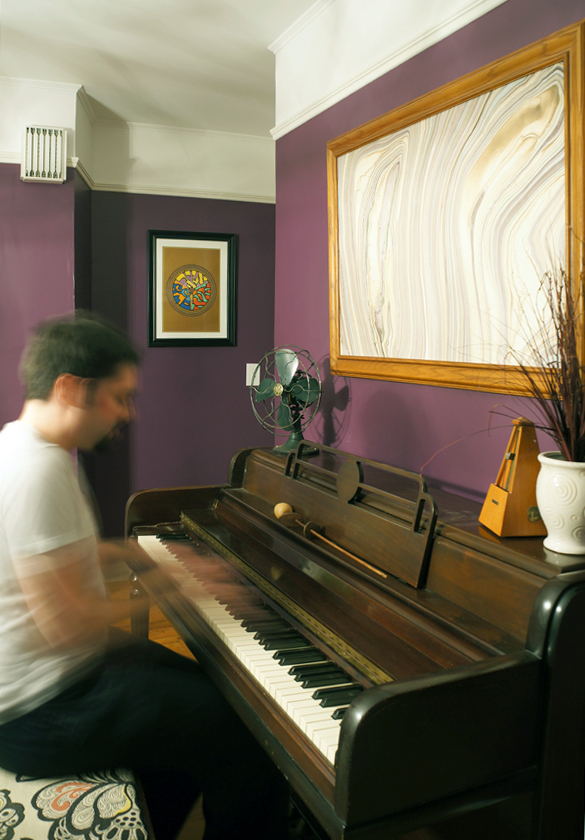
Above the piano has been crying for a large piece of art since day 1.  I found a large frame at the thrift shore, got a large canvas to fill it, and scoured pinterest for ideas.  I'm no painter, so I really wasn't sure how to tackle it.  Until last week when I was at Paper-Souce for another project and the colors in this hand-marbled paper caught my eye.  For $8, I figured I could use it to fill a few smaller frames around the house that have sat empty.  Surely I'm not the only one who has empty frames hanging out in their decor (I hope).

marble art

The piece of paper happened to be the EXACT size needed for the canvas and the colors were perfect for the dining room, so who am I to argue with fate.  I attached the paper to canvas using gesso, let it dry, and popped it into the frame.

When I got the frame, it did have glass, however I have a bad habit of breaking the glass in larger frames.  I'm dainty like that.  This made the canvas necessary for structure, but it also gave the paper an added textural element.  Let's call it a happy accident.

piano art

The finished product is so much more refined than any DIY paint creations I could've come up with.  Even the resident musician is pleased with the new addition.

hubby piano

The piano's just calling out to be painted, don't you think?  Hubby's on board if I go with a neutral color.  Wouldn't Madam Piano be sexy in gray?

I JuJu Do You?

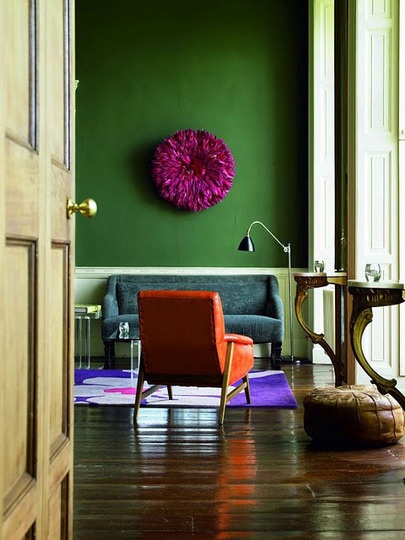
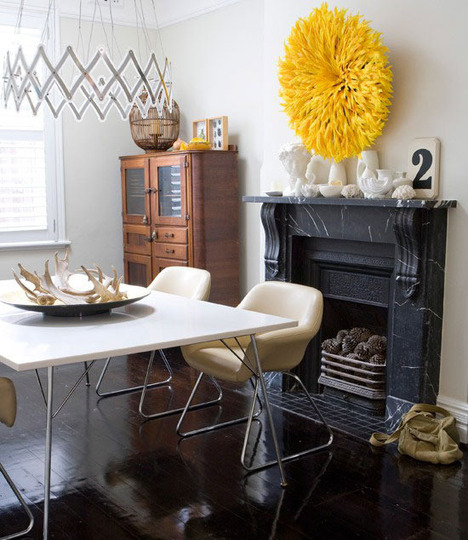
After my first Fall Pinterest Challenge project did a bellyflop in the deep end, I scoured Pinterest for a new idea and the house to see what supplies I had available.  One project immediately jumped to mind. Yesterday I teased you with a couple of images of rooms with Juju hats.  I know I'm a little late to this bandwagon, but I think the feather hats add such texture to the room.  {images via apartment therapy}

juju apartment therapy

juju apt therapy

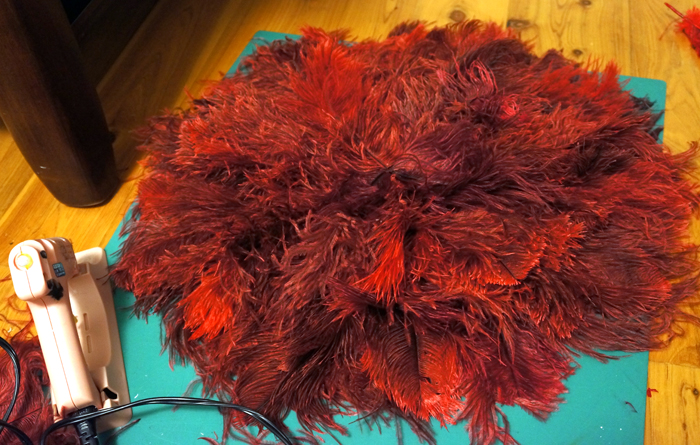
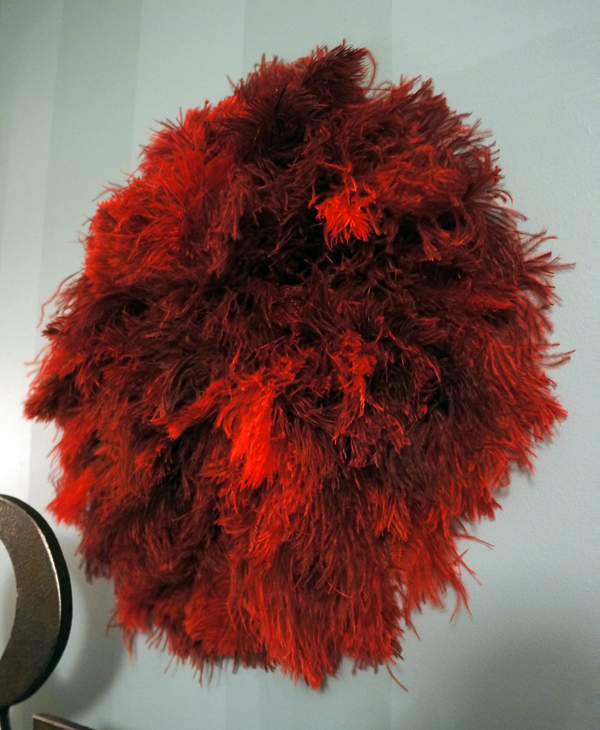
When I was making my wedding centerpieces 3 years ago, I had ordered a box of wine colored ostrich feathers off of ebay.  The feathers didn't end up in the centerpieces and have been waiting for a purpose in life ever since.

ostrich feathers

After 3 years of collecting dust, my feather friends have a new lease on life in the form of a DIY Juju hat.

juju hat after

In addition to the ostrich feathers, all I used was foam core and hot glue.  The project couldn't have been much simpler.  (It could have been cleaner though- those feather pieces got absolutely EVERYWHERE)

First, I cut a circle out of foam core using a lamp shade as a circle template.

juju foam core

Then started layering on the feathers

juju progress

I worked my way outside in and just kept layering until I saw no more foam core.  I kept playing with the feathers and filling in areas until my fingers were covered in feather and hot glue and I was pleased with the shape of my Juju hat.

juju glue

Within about an hour, the pretty gal was ready to strut her stuff.

juju 2

diy juju closeup

Not totally sure where it's ultimate home will be- my soon to be office, perhaps?

juju angle

Check out some of the other Pinterest Challenge projects from the Challenge hostesses (and link up yours while you're there):

Sherry @ Young House Love's Chunky Chalkboard

Katie @ Bower Power Blog's Succulent Terrarium

Carmel @ Our Fifth House's DIY Dollhouse

Sarah @ The Ugly Duckling House's Wood Ampersand

This project has been submitted for

Come vote for me!!

Console Complete

I've been a busy little bird the past few evenings after getting home from the 9to5.  In addition to sanding and prepping dining chairs to paint, I finished my entry way console table!  She's part new, part old, but totally perfect for the space. painted console

It's almost like it was MADE for this spot.... (ya know, cuz it was).  The color that I used is Glidden's Totally Teal.  I even picked up a new orange vase for it over the weekend- Target clearance $8.98.  I love the textures on it!

console accessories

To refresh your memory, when I bought this table, she looked a bit different.

side table before

Check out how she made the transformation here.

In a small house, everything's connected- this is the direct view from the living room couch.

console2

The new blue console coordinates nicely with the lighter shade of the living room & the orange pulls some of the warmth of the red chair across the room.

It doesn't happen often, but my furry model actually cooperated for that picture without me even asking.  The fatty catty (aka Charlie) actually looks pretty tiny here- you'd never guess that he's a 16lb teddy bear.  Whoops, sorry, I let my inner crazy cat lady show there for a sec.

I still haven't made a decision about what project to do for my pinterest challenge.  I need to make a choice and get crackin!


This project is linked up at Primitive and Proper: POWW 112: A Furniture Link Party