DIY

DIY Envelope ipad Case

My darling Hubby generously got me an ipad for my birthday last month (he actually caught all the hints I was dropping- go him!), but refrained from getting an accompanying case so that I could pick out/make my own.  With a Florida vacation only a week away, the ipad needed some travel protection. After scouring etsy, I absolutely loved all the felted wool and leather cases that were available, but I didn't absolutely love the prices.  DIY it is.

My favorite local  fabric store didn't have the thick felted wool that I coveted (didn't expect them to) or any luscious leather, so I improvised.  Soft leather-like vinyl would do just as well.

diy ipad supplies

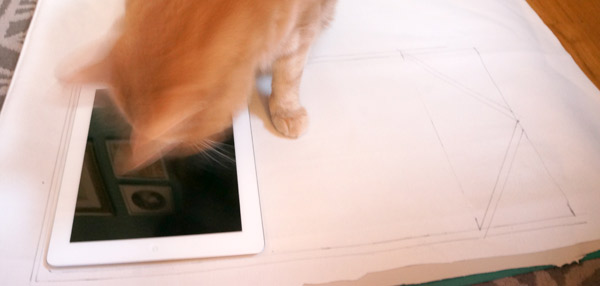
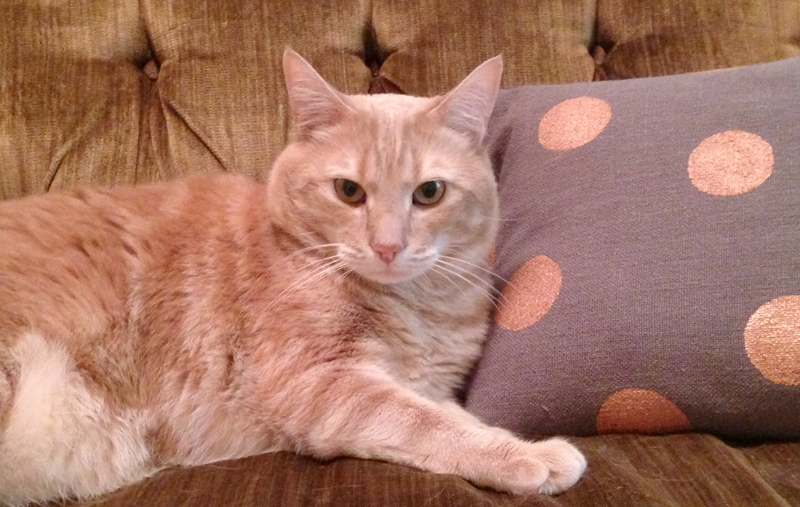
I've become addicted to the ipad, but I'm not the only one.  The only problem with the ipad is that a friend introduced us to Game for Cats (which is literally a game for our kitties to chase an on screen laser, butterfly, or mouse) and Bear now think the ipad is his and was overseeing this entire project.

ipad-bear

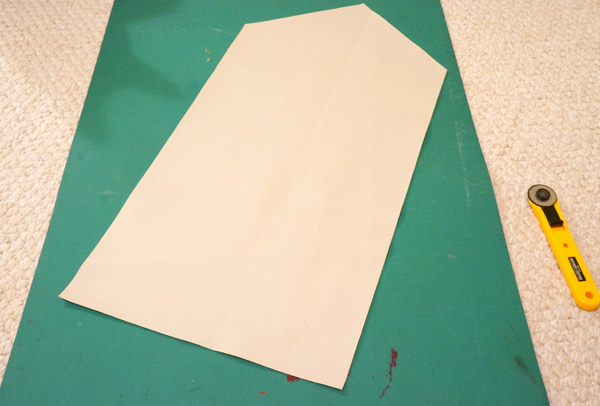
My first, more complicated, padded case plan didn't go so well, so I cut my losses and simplified.  (Do you see the cat shaped shadow hovering?)  The fabric needs to be just large enough to wrap the ipad with a fold-over flap.

ipad-piece

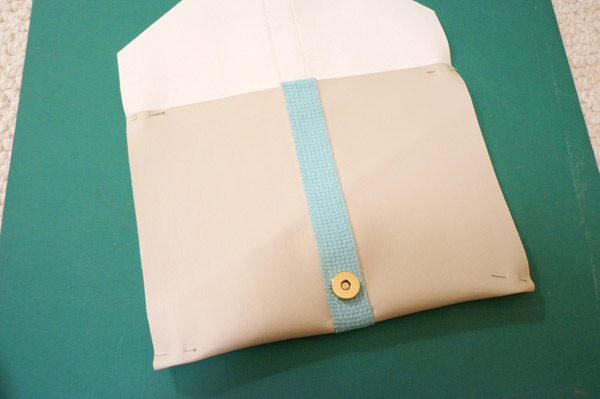
For flare, I added a light blue strap down the center of the fabric.  This is also where my snaps will fall.

ipad-diy-strap

After the fabric was cut and the strap was sewn on, it was time to make it into a pouch with a simple stitch up each side.  Since I decided to use a magnetic snap, I put the snaps in as I sewed the blue strap.  If you use a traditional snap or button, it can be added at any time.

ipad-sewing-step

Once I sewed the sides and literally tied up all the loose ends, I had a one-of-a-kind ipad sleeve to protect my new toy while traveling.

DIY vinyl ipad case

DIY ipad Case

I love the results- just enough protection for traveling, stylish, and it came to less than half the price of some of my favorite etsy cases!

diy-case-and-ipad


Spring Pinterest Polka Dots

pinterest spring If you're unfamiliar with the seasonal Pinterest Challenges (first of all, where have you been?!), it's a challenge to get pinterest users to stop pinning 'someday' projects and start DOING.  All you have to do is take inspiration from pinterest and put your own spin on a project.  This season's gracious hosts are Sherry @ Young House Love , Katie @ Bower Power Blog, Emily @ Sparkle Meets Pop, and Renee @ RedBirdBlue.  I can't wait to see what projects they tackle!

My previous season's Pinterest Challenge projects include sketch chair art, a DIY juju, and a coffee table bench to name a few (check them all out here).

I know I posted a pseudo-pinterest challenge on Monday,

elis one

but I'm an overachiever apparently and couldn't resist doing another project.

I've been loving pretty much any DIY project I see lately with gold polka dots:  Chelsea from Lovely indeed has tackled a gold polka dot photo backdrop, a gold polka dot table runner, and a suede and (you guessed it) gold polka dot mouse pad.  Cassie from Hi Sugarplum went to town on this gold dot vase.  So, I'm jumping on the bandwagon admittedly.

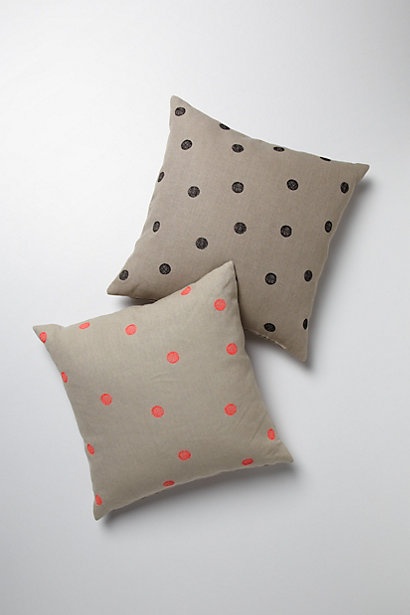
About a month ago, I pinned these pillows from Anthropologie

polka dot anthro pillows

When this season's challenge came along, it didn't take me long to decide on this.  And I did it in under an hour, so SCORE!

diy pillow settee

(Please excuse the picture quality- I forgot my good camera at Clark again so I had to rely on my iphone camera and I am not perfected in the science of iphoneography... side note to self for future iphone pics: zooming makes it grainy, zoom AFTER you take the shot.  Now back to our regularly scheduled programing.)

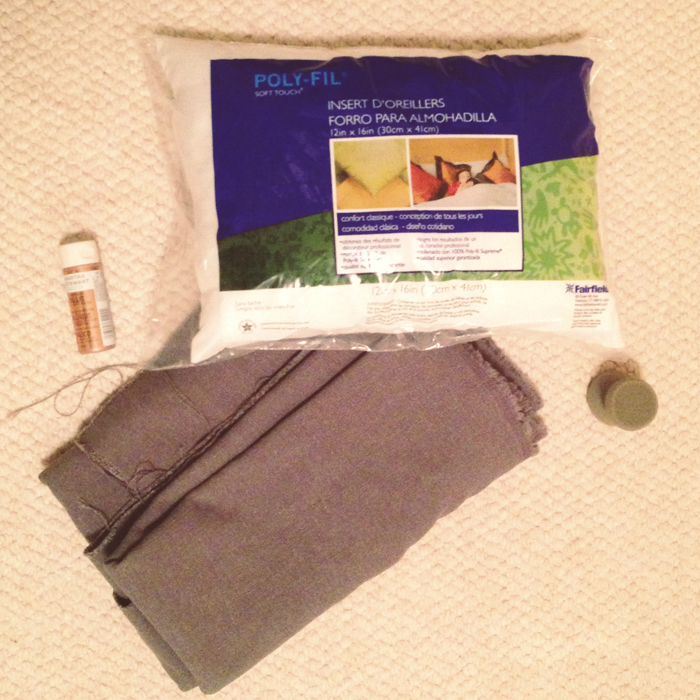
I already had the gray fabric, a pillow form and sponge, so all I needed to buy was a few dollars worth of copper paint.  I said it, Copper, not Gold.  Gasp! I thought the rosy quality of the copper would compliment the gray best.

diy pillow supplies

I chose to make an envelope style pillow because they're easy to make and easy to take off the pillow and wash.

First step is to cut your fabric- this will wrap the pillow with seams only on the 2 sides.  Make sure you allow for overlap for the 'envelope' part (I allowed 3 inches since I was using a small pillow form)

diy pillow cut to size

Next, fold over one of the shorter sides about 1/4 to 1/2 inch, then fold it over again.  Pin and sew- this will be exposed at your 'envelope' opening.

DIY pillow hem edge

Once that is sewn, fold your fabric into your pillow shape.  Make sure the 'bad side' of the fabric is out and the finished edge you just created in folded inside so that everything's corrent when you turn it all right side out.  I'm not a fan whatsoever of karate chopped pillows- I like them overstuffed, so I made my pillow cover 1 inch smaller than my pillow in each direction.

DIY pillow measure size

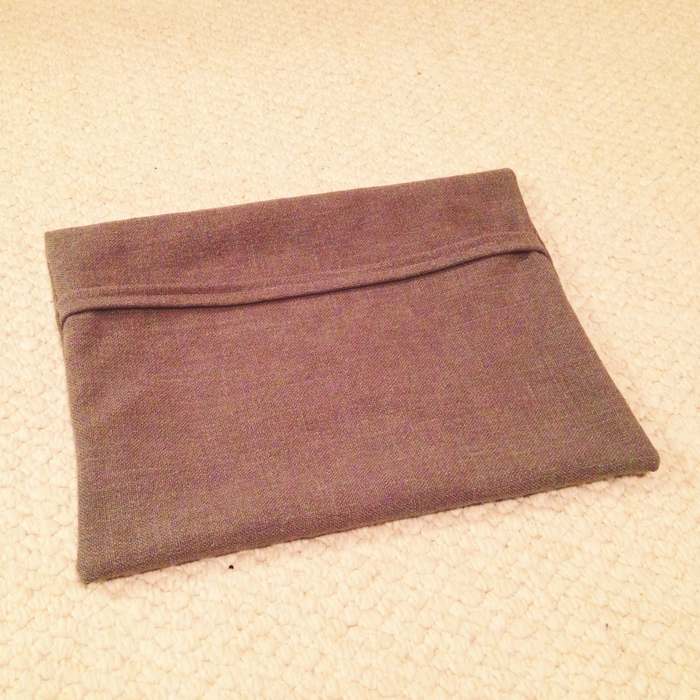
Once you sew up the 2 sides, you can turn the pillow cover right side out.

DIY pillow flipped

Now it's time for the fun part!!

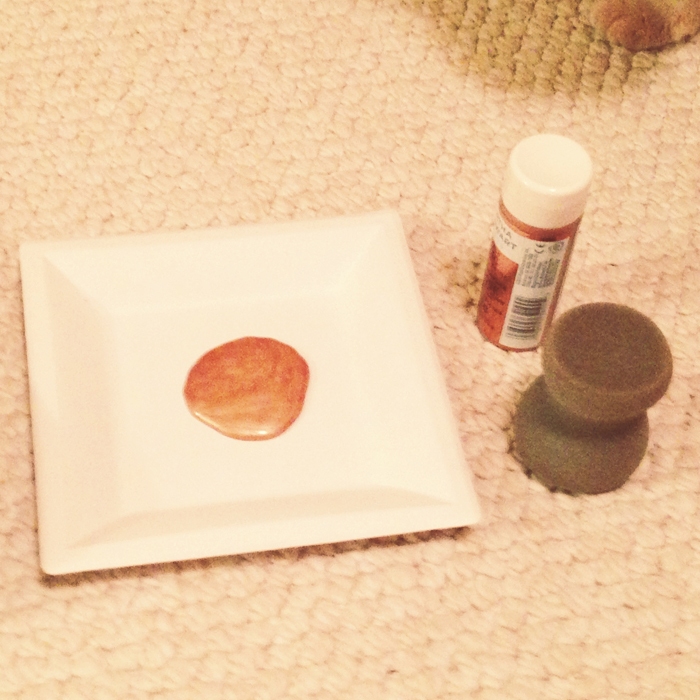
DIY pillow paint

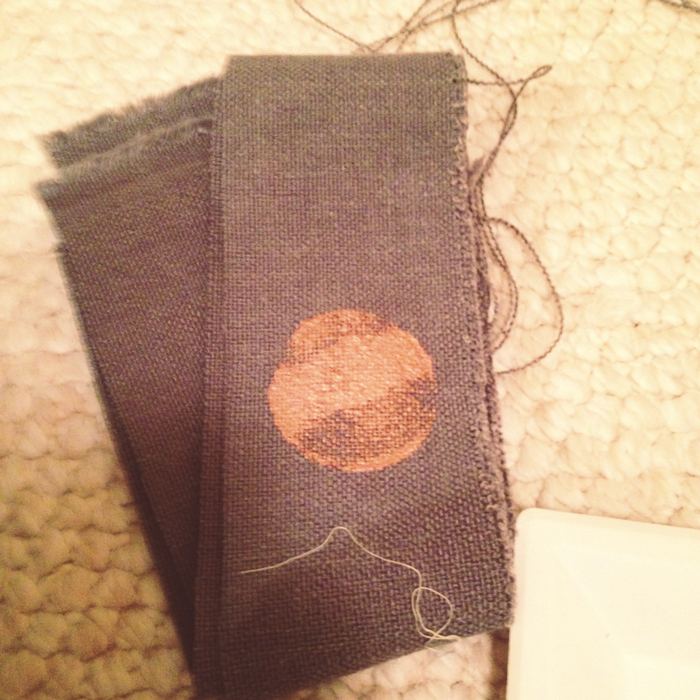
I did a few polka dot trials on a scrap piece to figure out my technique before I started on my pillow.

DIY pillow dot trial

I put the pillow into the cover still in its plastic so that I could paint my dots without worrying about the paint bleeding through to the pillow or the back of the fabric.

DIY pillow dots

I let it dry overnight before I took the plastic-covered pillow form out of the cover and re-inserted it sans plastic.

I'm swooning over the copper/gray combo and the scale of the dots!  Yes, I'm swooning over a pillow and yes, I know I have issues.  I embrace them.

DIY pillow

Bear approves.

DIY pillow bear

Are you loving it as much as I am??

diy pillow angle pic

I'd love to see your projects!  Link them up in the comments, or just say HI!

Mirror Mirror

Clark's pieces are all coming into place- He'll probably be at 95% at this week's update Friday, and I anticipate ONE HUNDRED PERCENT by next week's update.(!!!!) Last week, I mentioned the medicine cabinet was a bit of a headache.

med cabinet 1

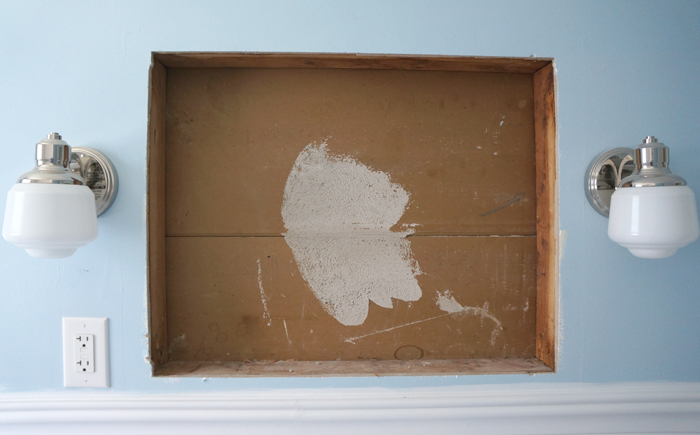
I had hopes of putting a new, more modern styled medicine cabinet in, however my plans were foiled by the hole in the wall.  The hole was a very non-standard size and I realized it was impossible to find a new recessed cabinet the same size.  I toyed with the idea of just covering it with a flat mirror, but this is the only storage in the bathroom.

med cabinet hole

I bought a medicine cabinet, but soon realized that to open up the hole further would be a HUGE undertaking.  poo.  Unless I wanted to totally open the wall (hint: I didn't), my only option was to revamp the existing medicine cabinet.

She needed some love, but wasn't beyond help.  The worst problem was the mirrors themselves.  The mirror finish on the back was peeling and scraping off at all the edges.  Do you know how hard it is to take a picture of a deteriorating mirror?  Let's just say, you'll have to take my word for it.  The rest of the cabinet needed some cleaning and serious de-rust-ification (technical term, I promise) to make it like new.

med cabinet 2

med cabinet 3

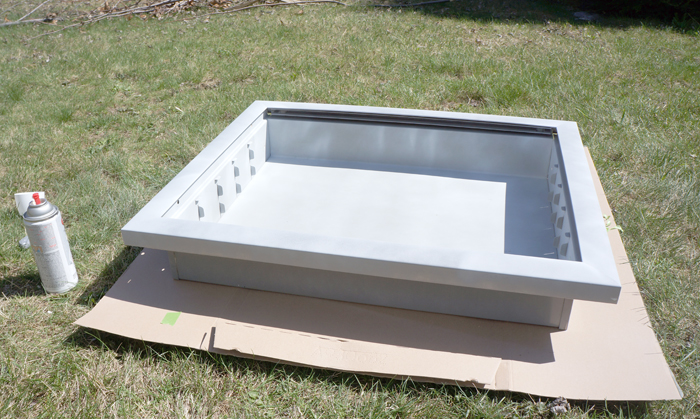
After a quick Google search, I found a glass store 5 min from the house that would be able to replace the mirrors and transfer the sliding hardware to the new mirrors for $100 (less than a new medicine cabinet= win).  The silver frame wasn't irreparable, but I thought it might look like a clash of styles in this bathroom, so you can probably guess what I did.

med cabinet 4

Both the inside and frame got primed, then sprayed a nice, clean semi-glosss white.

I already had both cans of spray paint, so the only cost for this project was the new mirrors.

med cabinet 5

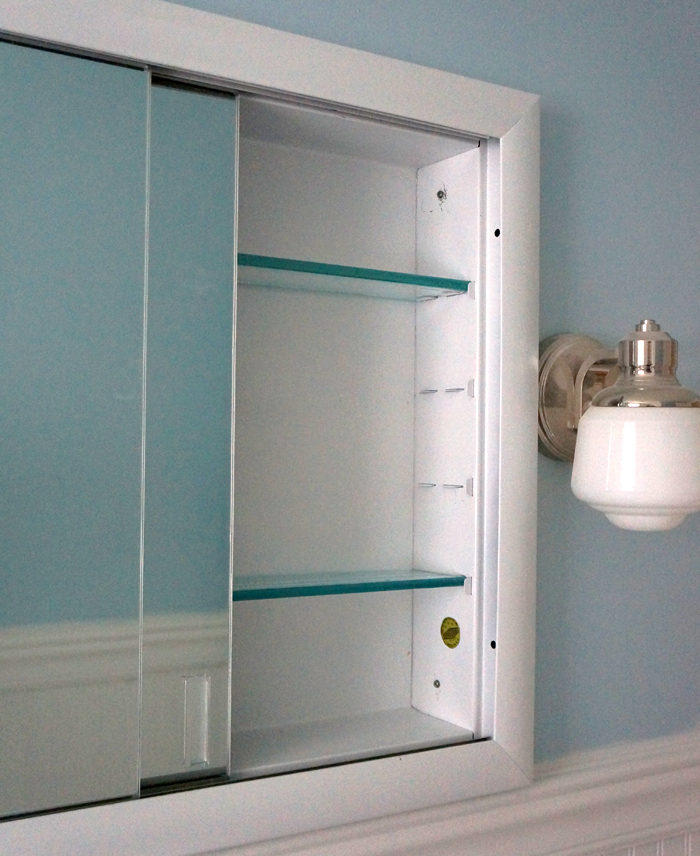
The glass shelves inside were also in good shape and only needed a whipe-down.  I also attempted to preserve a little bit of this cabinet's history by taping off the sticker/logo before painting so it would still be visible.  This is clearly the original medicine cabinet to the house (which was built in 1957), and I'm a sucker for stuff like that.

med cabinet 7

Even though I was intent on replacing it, I'm very pleased with the end result of Clark's medicine cabinet.

med cabinet 6

Now that the bathroom is almost all back together, you'll have to wait until the final reveals to see the full space.  (spoiler alert: it's awesome)