DIY

Paper Perfection

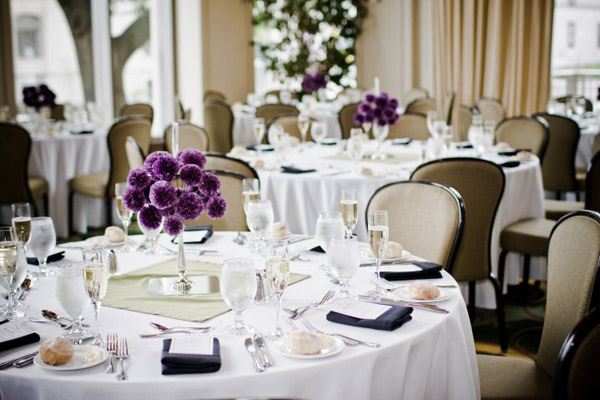
Once upon a time, over 4 years ago, I made 200+ paper flowers to use as my wedding centerpieces.  Back then I was unaware of the blogging world- all I knew of was Style Me Pretty.  After scouring the internet, amazon, and the library for non-cheesy paper flower tutorials, books and how-tos, I found lots of kids projects and cheap-looking crafty flowers (and there is a VERY fine line between design and crafty).  I ended up starting with Martha's pom DIY then scaling them down significantly to match my vision (and to keep them from visually competing with the massive Chihuly sculpture on the ceiling) wedding-table-09

Flashing forward to today, amazing non-cheesy paper flower tutorials are everywhere and my wedding is uber jealous.  It was ahead of it's time.

paper to petal

How unbelievable is it that those amazing flowers are all constructed out of paper?  The tutorials and DIYs are everywhere in blogland now and I'm in love.

paper-flower-faves

Methinks I need to host a paper-flower party and adorn my house with them.  Who's in?

Wedding photo credit to our photog Erica Lyn/go buy this book on amazon and check out their blog

Amazing paper flower images sources 1/2/3/4/5/6


If You Love Something

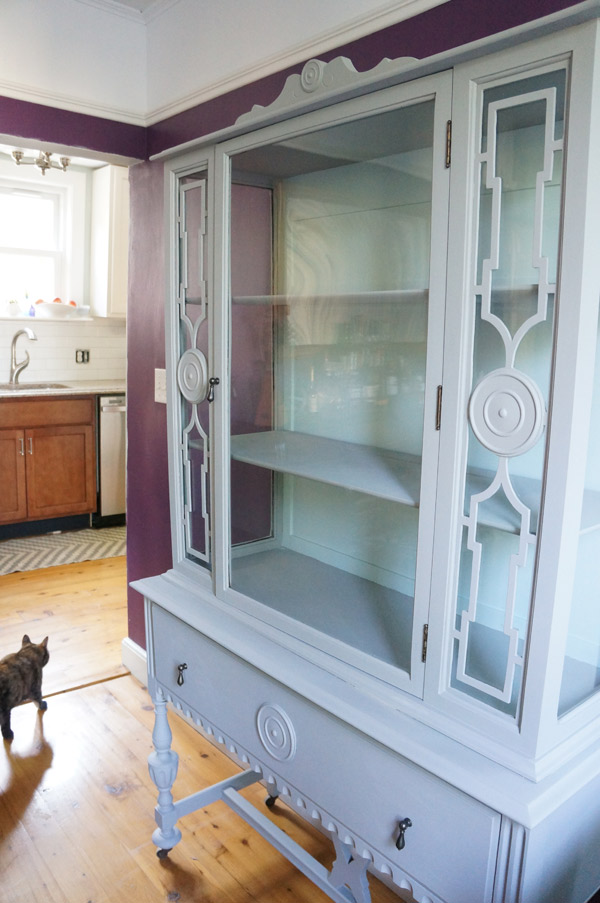
...set it free. That's exactly what I am doing with my newly redone china cabinet.
china-cabinet-makeover

I love it.  I really do.  It came out awesome and I swoon over the new pulls.  But my dining room just isn't it's home.  It doesn't feel right in the room and sadly there's no other place in this house for it.  So I'm setting it free- it may even have a new home already.

But before I let it go, let's talk about this thrifted china cabinet's transformation.

china-cabinet-before

Such a sexy piece, just BEGGING for me to bring it home from the thrift store and give it a new life.  You know me- when old furniture calls, I answer.

I had been itching to try a chalk paint (not chalkboard paint, chalk paint), but the hefty price tag was deterring me.  What's a DIY blogger to do?

diy chalk paint

Yup, I took to the internet, read different DIY chalk paint recipes, then, like a good rule follower... I winged it.

The basic premise is to dissolve plaster of paris in water and then mix it into the paint.  My first mixture was too watery, so I kelp playing with the balance until I was happy with the finished texture (learning from experience: the less water, the better).  It's really a precise science, just like my color-picking.  I started with one color, then added another until I liked it.  (Sorry, that means I can't tell you what color most things in my house are).

With any chalk paint (or so I read), the first coat will be very streaky,  but the big draw of this paint is that you do not need to sand or prime the surface to get the paint to adhere.  Coat #2 covers fully, hides all the brush strokes, and gives it a very pretty chalky-matte texture.  In this pic, you can see the 2 spots where I tried out coat #2 (and one's still wet).

chalk paint coat 1

In addition to the paint, hardware was MUCH needed here.  The broken 80's fake gold pulls that were on it when I got it just weren't cutting it.  I got these drop pulls from HomeDepot.com and I want to put them on every piece of furniture now.

china-cabinet-hardware

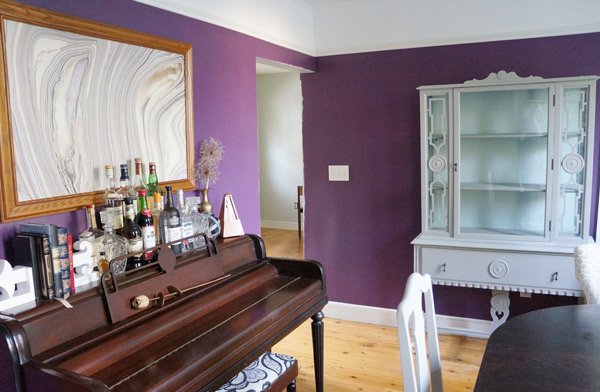
I'm sad that it just doesn't feel right in my dining room- I was hoping after refinishing the puzzle pieces would fit, but alas it competes with the piano too much.  Sorry china cabinet- my grandmother's piano wins this round.
china-cab-dining-room

At least it will go to a new home where it will be loved and appreciated and display pretty china like it was destined to do.
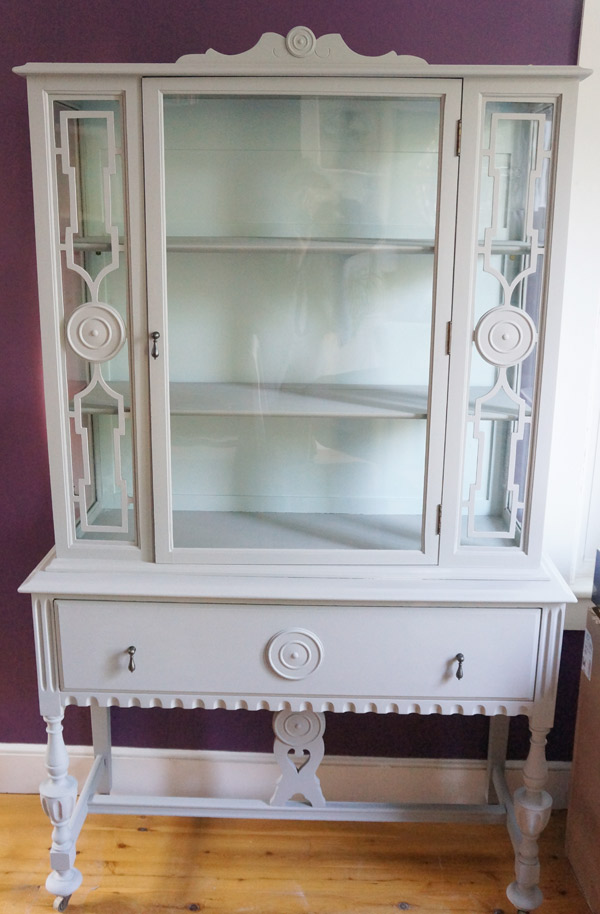
china-cabinet-after

Isn't she gorgeous?

Happenings

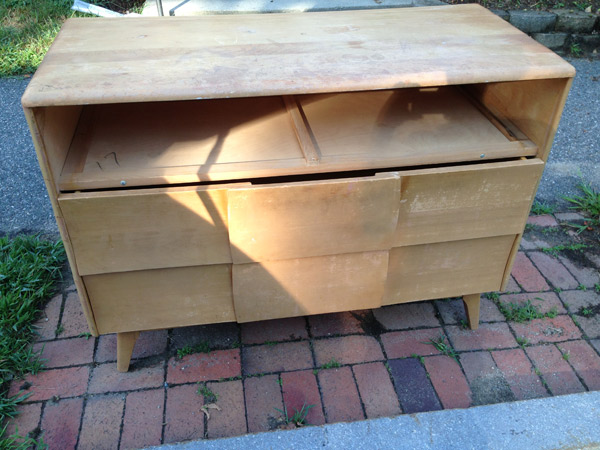
I have trained my young grasshopper well. Yesterday, on his half-mile walk to the commuter rail station, Hubby called to tell me about a dresser at the curb. sidewalk-dresser

I can't be held responsible for this latest bout of furniture hoarding- I blame this one all on Hubby.

All the drawers are there, I just got a little excited and loaded the first drawer in the jeep before I snapped the pic. It will probably be destined to be fixed up and sold, but I just had to rescue it from the curb. It should be a crime to toss aside awesome midcentury pieces like that. It does have a touch of water damage from being out in the rain for a day or so, but nothing some sandpaper and wood glue couldn't fix.

In other news, I heart tile. Well, I don't heart tiling- it's exhausting, but the instant gratification of results can't be beat.

tile-progress

I still have a few more rows to complete on the sink wall (I ran out of daylight for my wet saw) but I (humbly) think its soooo pretty so far! Definitely the right move. What do you think?

The rest of the week will be a needed break from the kitchen and DIY as Hubby and I hit the road for a few days. Sight seeing and treasure hunting in new places is always a good time.