Frankie the Fliphouse

Frankie: Week 16/Reveal pt 1!!

I hope you enjoy these weekly updates as I learn to navigate through the business of flipping houses.  Check out other posts about Frankie the Fliphouse HERE. Woo Hoo, the end is near!!!!  Frankie the Fliphouse will be 100% done in the next few days and LISTED on Monday!!

I was hoping to be able to show you the full reveal today, but the basement is still a thorn in my side.  A thorn that's very close to being done, but still isn't photoshoot ready.  Never fear, I'll give you part 2 of the reveal Monday with the basement's before and after (spoiler alert: I painted a lot!).

WARNING: long, picture filled post ahead.  Get your pin-finger ready!

I won't drag it out any further.... I present to you, the new and improved....  Frankie!!!

 Frankie exterior after

Admittedly, the exterior is not a HUGE transformation.  I basically cleaned it up and added a color pop on the door.  Remember what he looked like on day 1?

frankie1

A little fresher today, I think.

Frankie exterior closeup

The real transformation, however, is when you step inside.  Just inside the front door, you come upon the living room.  The once gross green living room.

frankie-livingroom-before

It's amazing what a bit of paint can do.

Frankie living room after 1

Frankie living room after 2

The most exciting transformation is what is just beyond the living room.

Frankie living room after 3

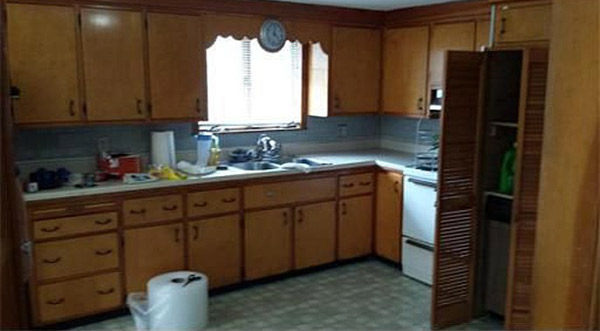
Once upon a time, the kitchen was grimey and practically non-functional.

frankie-kitchen-before1

frankie-kitchen-before2

This may be the first time I'll ever say this, but I think my before pics are too nice.  They don't truely convey the ick that was there before.  The photo from the listing does it a little more justice:

frankie-kitchen-before-listing

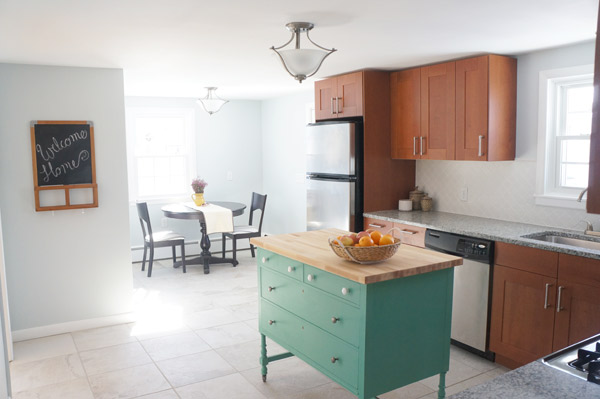
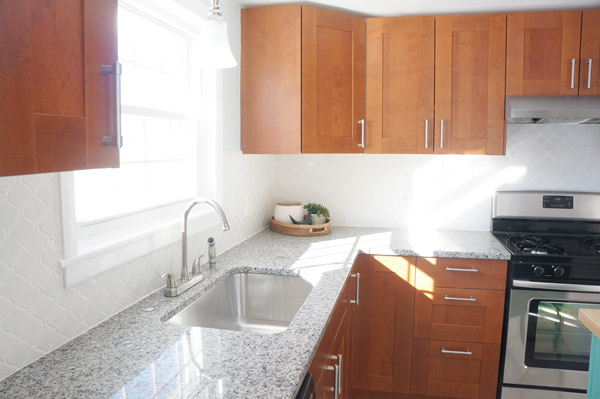
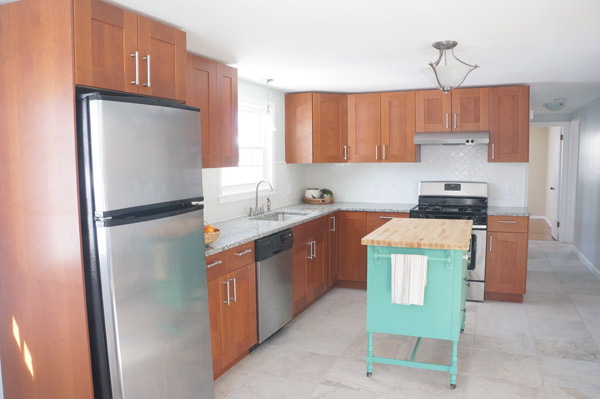
And now that you can really compare, it makes the end result all the better.

Frankie Flip House Kitchen After 1

Frankie Flip House Kitchen After 2

Frankie Flip House Kitchen After 5


Frankie Flip House Kitchen After 4

I raided my own house and Target's home section for some fun staging accessories.

Frankie Flip House Kitchen After 3

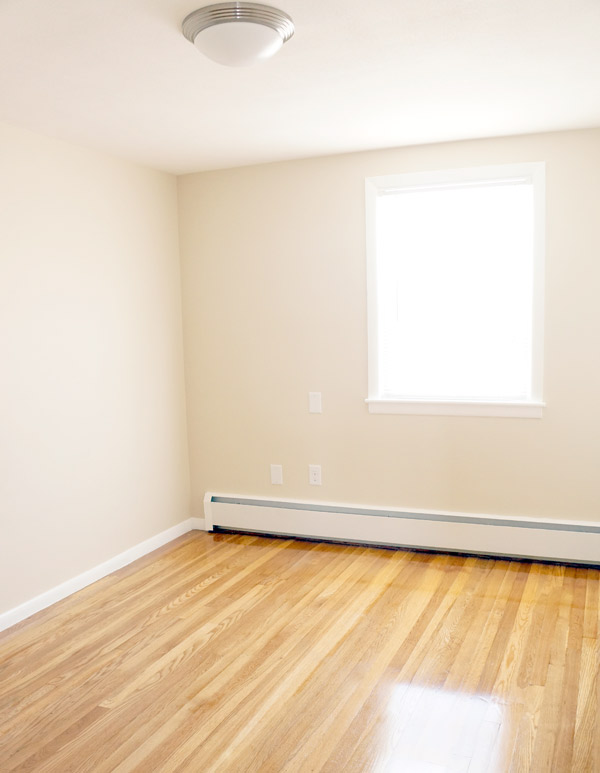
As we proceed down the hall, we find the first bedroom.  Thankfully it now looks larger an brighter than when we began.

frankie-bedroom1-before

Frankie bedroom 1 after

Across the hall is the other selling feature of this house... the bathroom.  What began as a dingy bathroom with a pink tub...

frankie-bathroom-before1

pink-tub

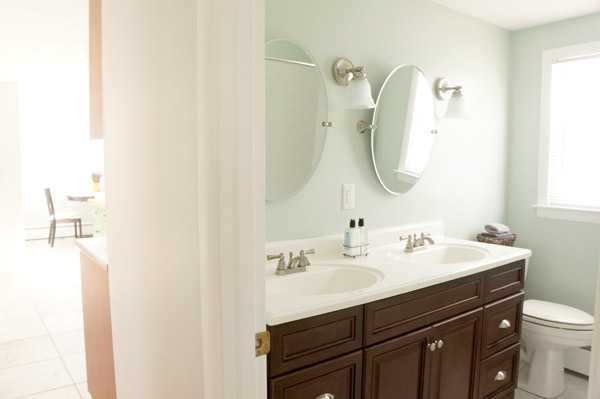
...is now a fresh space worthy of a new family's affection.

Frankie Flip House Bathroom After 1

Frankie Flip House Bathroom After 2

Personally, I'm jealous of the double sink.

Frankie Flip House Bathroom After 3

Between the kitchen and the bath, I'm hoping this house'll sell in no time!

Frankie Flip House Bathroom After 4

We can't forget, though, there are 2 more bedrooms.  They also didn't transform immensely, but boy, what a difference paint makes!

frankie-bedroom2-before

Frankie bedroom 2 after 1

Frankie bedroom 2 after 2

And last but not least:

frankie-bedroom3-before

Frankie bedroom 3 after 1

Frankie bedroom 3 after 2

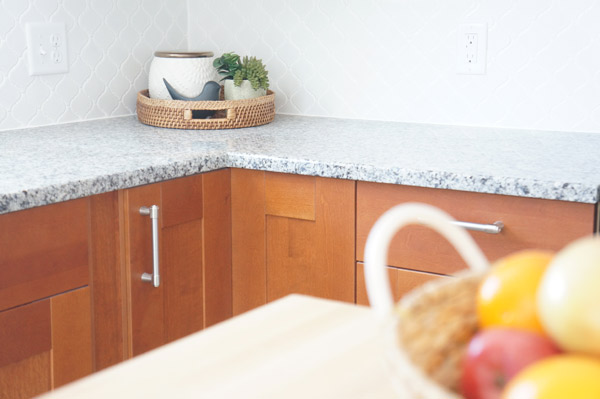
And since I can't just leave you in the nice, bright, albeit not too exciting bedroom, I'll throw in a kitchen detail picture for fun.

Frankie Flip House Kitchen Detail

So, what do you think of Frankie's transformation??

Keep your fingers crossed that someone falls in love with him quickly!

Update:  Check out Part 2 of the reveal, the basement HERE

Frankie: Week 15

I hope you enjoy these weekly updates as I learn to navigate through the business of flipping houses.  Check out other posts about Frankie the Fliphouse HERE. This is your last teaser post before Frankie's big reveal next week!  Are you excited!  I am!  So excited, in fact, that I may overuse the exclamation point in this post.  Don't say I didn't warn you.

Come hell or high water, I WILL have this house done and ready to list by the end of next week.  Especially since as of today we'll own 3 houses... what what??  #1, our house...#2, Frankie...and #3.....

flip 3 grover

That's right, flip #3!!!  Another ranch!  My specialty apparently.  Hubby's named him Grover (following our naming convention of using part of the street name).  I may just end up calling him Grove.  We shall see.  We won't be starting in on the house right away, so I'll have time to finish Frankie and take a short breather before jumping in with both feet.  Until then, I'm going to start dreaming about ripping out this delightfully modern bathroom.

flip 3 grover bath

Woof.  It even matches the exterior... as it should.....  My sledge hammer is going to be my bff.

But anyway, back to the current flip!  Frankie is almost all grown up and ready to leave the nest.

week 15 kitchen pendant

It's honestly hard for me to believe the transformation here- he's really a looker!!  I've got the upstairs at about 95%, just some touch-ups, cleaning, and minor staging needed.

Just look at all those check marks!  That's what flipping dreams are made of.

week 15 lists

Thankfully, I was able to fix my botched grout job with another layer of the same unsanded grout, now it's pretty and smooth as it was intended.  Yay! As the kitchen cleaning commenced, I started peeling the protective film off the appliances.  It was like unwrapping presents to reveal a sparkly kitchen.  Almost as gratifying as painting/refinishing furniture.  Almost.

week 15 kitchen stove

The bedrooms and bathroom all got inexpensive blinds for privacy.  My secret for making them look less cheap and more custom: trim them to fit inside the window frames!  No more messy bunch at the bottom!

week 15 bathroom

After touching up all the window trims and sills and polishing up the floors, I can't help but show you a teaser of the living room.

week 15 living room

When I started on this house, my goal was to make it clean, functional and livable- three things it was not before.  This house cleaned up better than even I expected- it just puts a smile on my face, and hopefully the next owner's.

My To Do list pretty much has one thing still left unchecked: the basement.  I have to tackle it with lots and lots and lots of paint, so I anticipate being covered in paint next week... maybe I'll even get a bit on the walls.  It will be so worth it, though, trust me!

The end is near!  I can't wait to show you guys Frankie's full transformation next Friday!!

Great Green

Guys, Frankie the Fliphouse is starting to look downright sexy as he gets cleaned up.  It's kind of exciting!  I can't WAIT to show you the final reveal.... next week (sorry). One thing that really makes the kitchen, though, is the dresser-turned-island.  It may have elicited a happy dance from me.  I hope whoever buys the house falls in love with this piece too, otherwise, I'm taking it with me!

I found this dresser at the Habitat for Humanity ReStore for $62.50 (50%off!) and immediately knew this was the piece I had been looking for.  It was the right height and scale, AND as a bonus, it was already on wheels!

restore dresser before

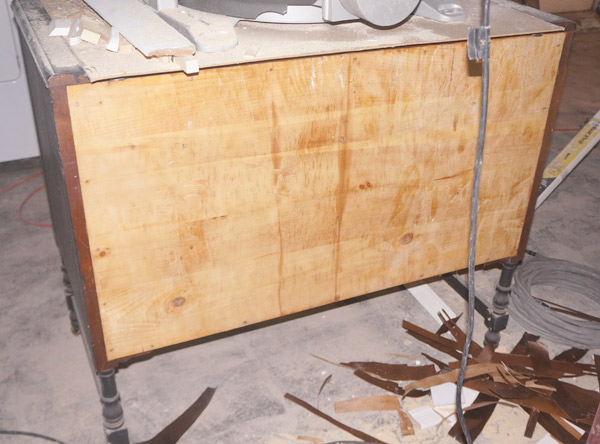
restore dresser back before

I found these date stamps on the bottom of one of the drawers.

restore dresser date

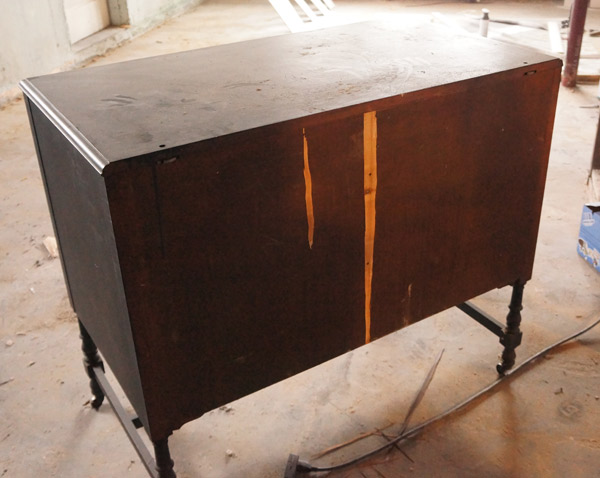
Luckily the dresser was in stellar shape for being 98 years old!  There were only 3 prep steps that I needed to do before painting.  First, I used a heat gun and scraper to rid the back of the cracked veneer.

restore dresser veneer

After the old veneer was gone, (prep step 2) I patched the blemishes and sanded.  The last prep step was removing the top.  Luckily it wasn't glued down, so I was able to remove a few screws I could reach and brute force the top off in no time.  Strong like bull.

restore dresser topless

The fun part was painting, putting on new hardware and attaching the butcher block top.

Drum roll please!!!  No? ok, well, here's what she's looking like today:

restore dresser island after 1

Hubba hubba, amIright?

I actually ended up using the darker/brighter color that I polled you guys about.  Once I changed the offensively colored CFLs in the house for more true-color bulbs it was the exact color I was hoping for.

restore dresser island closeup

I added a towel bar for added functionality.  Plus it gives me the ability to style it with a cute little hand towel (which, since I'm styling a house for sale, not to use..... this cute little towel, may actually be a pillow case.  sshhhhh, don't tell).

restore dresser island after 2

I'll break it down for you:

  • Dresser: $62.50
  • Butcher block from IKEA: $129
  • 2 paint "samples" matched to Benjamin Moore Medici Malachite: $6
  • Paint finishing wax (optional): $10
  • Knobs: $0!  (I raided my own knob collection)
  • Towel bar: $5
  • TOTAL: $212.50 (not including tax)

If I had used cabinets for an island, the price would have EASILY been double, most likely triple.  For a piece that takes the kitchen from nice to WOW, it's totally worth it!