Kitchen

Copper Shopping (list)

Let's check another item off of my DIY teaser list.  A while back, I told you I had a DIY planned with this receipt tape. receipt paper to diy

Well, it's finally put to good use as a shopping list!

diy copper wood shopping list

I've seen this in my head for so long, I'm glad to get it out and into reality.

I used a block of wood, receipt paper, 2 sizes of copper pipe, and screws.  You don't get much simpler, I swear!

diy copper wood shopping list pieces

I decided to start from the bottom and work my way up.  To do the bottom piece that will hold the paper, I flattened out a portion of pipe.  I found the best way to get a smooth surface was the put the pipe between to blocks and hammer it that way.

flatten copper

With a flat-ish piece accomplished, instead of cutting it to length, I bent it until it broke in the intended spot.

Next was to bend it around the wood to the desired shape.  I used a scrap piece of wood to bend this around so that if I made any mistakes I wouldn't damage the finished stained piece.

wood blocks

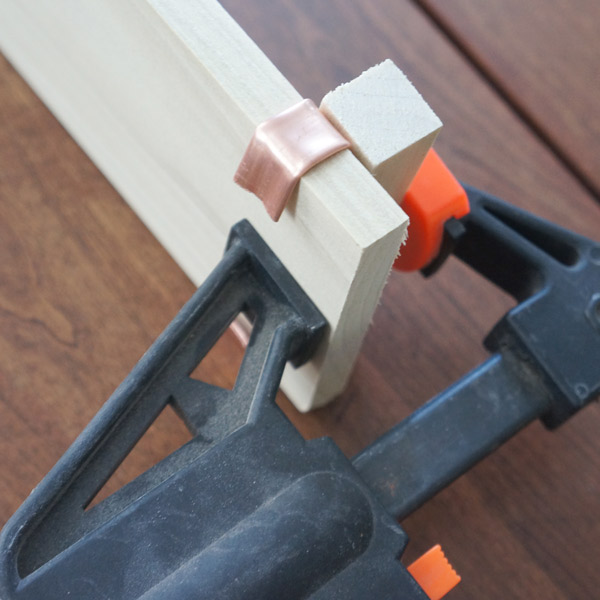
Isn't that a sexy backdrop?  I'm innovative, huh?  (the paper towel was originally for the stained piece to make sure it was dry, and I figured it shouldn't go to waste)  .... SO... to bend the copper without denting it, I clamped it in the desired spot with another block of wood, then bent the ends around the wood.

clamped copper front clamped copper

The upper piece was slightly trickier to bend because it took me holding the roll of paper in place.

list progress

I couldn't clamp this one because the roll would deform, so I had to hold with one hand and bend the piece around the wood with the other.  I'm just DIYing until my hand-modeling career takes off.  Man hands are the next rage.

On the front where I hadn't flattened the pipe, I used a hack saw to cut it to length- being very careful not to push too hard and deform the copper.

copper cut

I repeated the last few steps with a smaller piece of copper for the other side.

copper wood cut pieces

Then came assembly- always the best part!  I drilled holes in the copper where the screws would go, then attached the pieces where desired.  The back ends up being less than pretty, but since that'll be up against my cabinet door, it doesn't matter.

copper wood shopping list back

I'm using my favorite mounting method- 3m's re-positionable picture hangers so I can take the list down when I need to replace the receipt roll.

diy copper wood list

It'll actually be pretty simple when I need to replace a roll.  See how on the right, the smaller tube goes into the larger?  I'll just need to unscrew the smaller tube from the back and remove it, switch out the paper roll, then rescrew the small tube back in place.

diy copper wood list cabinet

Have you ever seen a sexier shopping list??  Methinks not!

Great Green

Guys, Frankie the Fliphouse is starting to look downright sexy as he gets cleaned up.  It's kind of exciting!  I can't WAIT to show you the final reveal.... next week (sorry). One thing that really makes the kitchen, though, is the dresser-turned-island.  It may have elicited a happy dance from me.  I hope whoever buys the house falls in love with this piece too, otherwise, I'm taking it with me!

I found this dresser at the Habitat for Humanity ReStore for $62.50 (50%off!) and immediately knew this was the piece I had been looking for.  It was the right height and scale, AND as a bonus, it was already on wheels!

restore dresser before

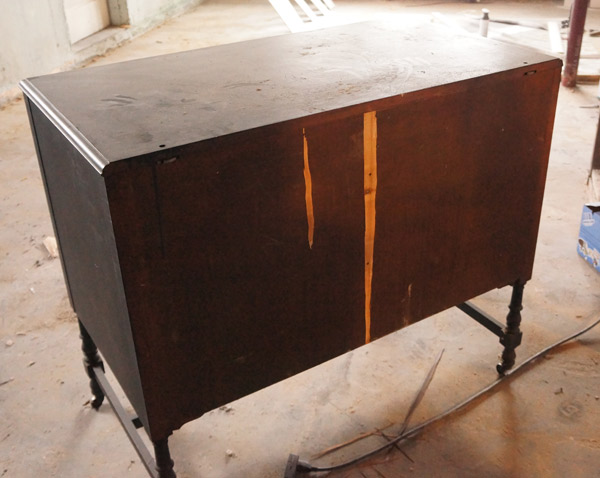
restore dresser back before

I found these date stamps on the bottom of one of the drawers.

restore dresser date

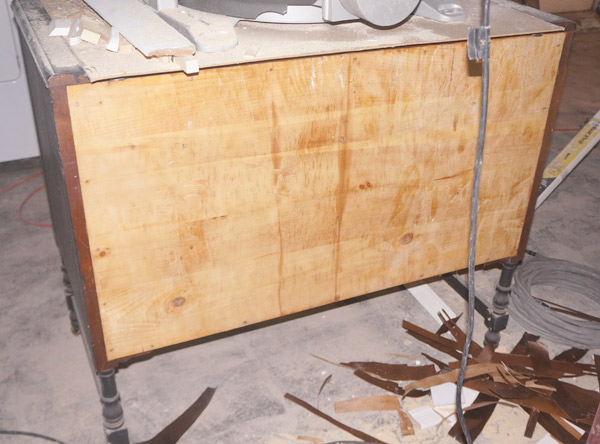
Luckily the dresser was in stellar shape for being 98 years old!  There were only 3 prep steps that I needed to do before painting.  First, I used a heat gun and scraper to rid the back of the cracked veneer.

restore dresser veneer

After the old veneer was gone, (prep step 2) I patched the blemishes and sanded.  The last prep step was removing the top.  Luckily it wasn't glued down, so I was able to remove a few screws I could reach and brute force the top off in no time.  Strong like bull.

restore dresser topless

The fun part was painting, putting on new hardware and attaching the butcher block top.

Drum roll please!!!  No? ok, well, here's what she's looking like today:

restore dresser island after 1

Hubba hubba, amIright?

I actually ended up using the darker/brighter color that I polled you guys about.  Once I changed the offensively colored CFLs in the house for more true-color bulbs it was the exact color I was hoping for.

restore dresser island closeup

I added a towel bar for added functionality.  Plus it gives me the ability to style it with a cute little hand towel (which, since I'm styling a house for sale, not to use..... this cute little towel, may actually be a pillow case.  sshhhhh, don't tell).

restore dresser island after 2

I'll break it down for you:

  • Dresser: $62.50
  • Butcher block from IKEA: $129
  • 2 paint "samples" matched to Benjamin Moore Medici Malachite: $6
  • Paint finishing wax (optional): $10
  • Knobs: $0!  (I raided my own knob collection)
  • Towel bar: $5
  • TOTAL: $212.50 (not including tax)

If I had used cabinets for an island, the price would have EASILY been double, most likely triple.  For a piece that takes the kitchen from nice to WOW, it's totally worth it!


Flip Plans: Kitchen

Amidst the dusty mess of demolition, lies one of my favorite, most optimistic parts of a flip...  The planning! I present you: Frankie's Future Kitchen

Frankies kitchen plan

The key to this kitchen plan is balance.  Wood & metal, soft & hard, with just the right amount of color.  Too many warm tones or cool tones can make the space feel dated or cold, so by balancing these elements, the kitchen will be the stunner of the house.

I still have to finish purchasing some of these items, but it feels so good to have a plan!  I'm still working out details in the bathroom, so I'll be sharing my plan for that space next week.

Sources: 1/2/3/4