Millie the Fliphouse

Millie: Week 17

I hope you enjoy these weekly updates as I learn to navigate through the business of flipping houses.  This flip, Millie is the most challenging and most exciting yet! You can find more about this house and about my 3 previous flip houses here. I've waited 17 weeks to get here, but I'm finally at the place where things are falling into line and I'm getting re-energized to Git-r-done!

I spent a large part of my week in the smallest room of the house, but its been totally worth it.

w17-bathroom-1

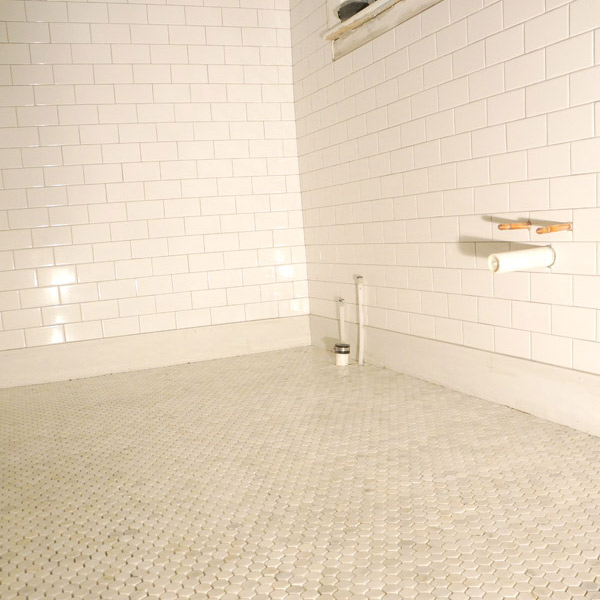
So, admittedly, the contractors did the walls, and I did the floor.  I didn't want to take the time to do both (if I did everything myself here, the job would never be done) and the floor was more time consuming (aka saving me more money) so I opted to do that myself.  Plus it's fun staring at marble hexagon tiles for a week.  Seriously, they're pretty.  I should also mention on the back wall- since the angled wall was so unlevel, it's actually going to look better if we level the wall to match the tile line as opposed to cut all those tiles at crazy angles.  It's worse in person.

So, back to those floors

w17-bathroom-2

Every single tile is cut and laid (that's simultaneously the benefit and downfall of installing mosaics- lots and lots of tiny cuts).  I was planning to grout last night, but after a last minute trip to The Tile Shop to get a better grout color, I decided I probably should slow down and take the time to seal the tiles first and do this floor properly, not just fast.  As my first time working with marble tiles, I had forgotten the recommendations that if you seal them before you grout it helps prevent the tiles from getting hazy from the grout.  Now I'm glad my first grout try was too brown.

The walls got grouted with a light gray and will be getting a decorative trim piece on the top edge once I get the window trims back in.  The floor will also be getting a light gray grout.  It's my personal philosophy that while white floor grout looks super nice at first, you're ultimately setting yourself up for staining or endless bleaching.  Light gray looks super sexy with the tile AND hides more dirt.

w17-bathroom-3

I cannot wait to grout this puppy today!!

While my contractor was working on the walls, I tried to stay out of his way and work on patching some plaster in the bedrooms.

When last we visited the pink room there were 2 gaping holes in the walls from where the plaster was too far gone which I apparently never caught both on film.  Here's one.  Multiply that by 2.

w17-pink-walls-before

Now, in addition to being wallpaperless, the pink room is also free of gaping holes and has had all of it's plaster repaired.  Just a little more skim-coating to go, then lots of sanding.  If you look closely, you can see the rectangle patch in the middle of the wall since it was still drying when I took this pic.

w17-pink-walls

But clearly patching walls isn't as pretty as the bathroom, so.....

bathroom.

w17-bathroom-4

I was very focused this week, can you tell?  With the bathroom now crossing the 75% done mark, the upstairs is starting to feel like it could be done soon.  Putting things in perspective for me a bit- the upstairs alone is right around the size of the previous houses that I've done.  Crazy, right?

Although next week will be a short week work-wise due to some strange holiday, I'm anticipating having some pretty pictures to show next week as well.  Now's when my progress pictures start getting more exciting than "look, I demoed some plaster."

Have a wonderful weekend!


Millie: Week 16

I hope you enjoy these weekly updates as I learn to navigate through the business of flipping houses.  This flip, Millie is the most challenging and most exciting yet! You can find more about this house and about my 3 previous flip houses here. Guess what happened yesterday.

millie-w16-bathroom-tile

Why yes, that IS tile on the wall of the upstairs bathroom.  The other half of the bathroom is still tile-less until next week, but YAY PROGRESS!!!!  The floor tiles I started dry-fitting, so they aren't adhered down yet- that will probably be today.  The quicker that I can get this floor done, the quicker I can get a toilet back in this house!  Yes, I have been toiletless for 9 weeks.  Well not toiletless per se... I do have 4 toilets on site.... just none of them working.....

If you remember last week when I noticed that the wall-hung sink supply lines were coming out of the floor, not the wall as needed.  That issue got fixed, but not without causing more work and more cost.  My fave.  Since the bathroom floors had already been closed over, I had to open up the ceiling below which falls in the basement stairwell.  More work for the drywallers (hopefully) next week.  It was either this or get a new vanity which would end up costing even more.

millie-w16-cellar-ceiling

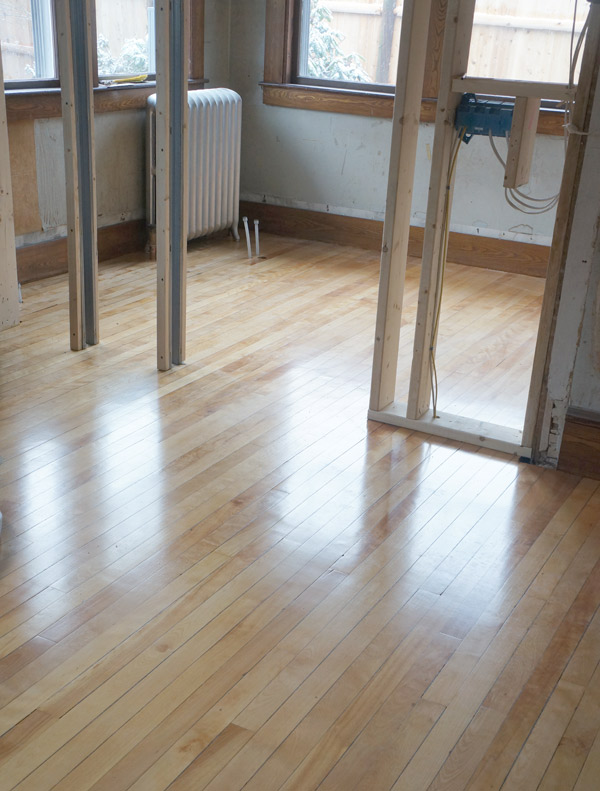
And while we're sort of still on the topic of bathroom floors- the wood floors in the downstairs new master suite got sanded down and 2 coats of poly.  I'll give you a moment to appreciate the 100 year old floors.

millie-w16-wood-floor

Now I can finish walls and put down fixtures on top of a sealed floor.  Once the entire house is done, my floor guy will come back and do a final coat so they'll be super snazzy for selling.  The rest of the floors on the first floor will also be getting refinished, but since this is the only space getting plumbing fixtures on top, this area got refinished first.  Aren't they pretty?

I, on the other hand spent a good part of my week staring at much less pretty surfaces..... wallpaper.  I am elated to say, however that the 2 upstairs bedrooms that still had wallpaper left over are now wallpaper free.  (a friend stopped by yesterday and was disturbed at how garish the pink trim is in person.  I wish the images could truly capture the acid pink color)

millie-w16-pink-room

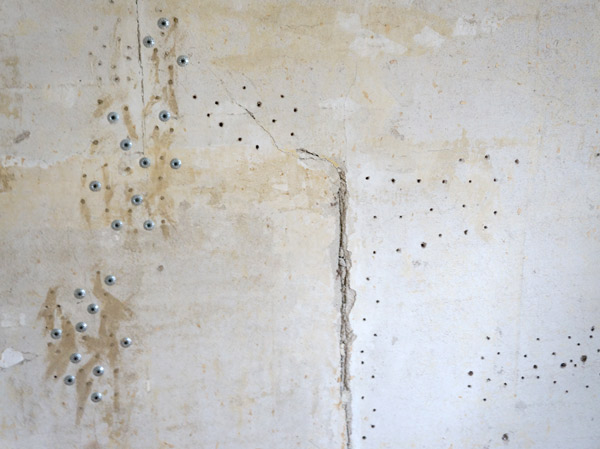
Next step now that the wallpaper is gone is to patch several holes and try and repair the loose plaster.  I've been working on a test spot in one of the bedrooms.  When plaster and lath walls settle, the 2 layers can separate making the walls bouncy and unstable.  After much internet research, I am testing out one method on the left.  I have drilled holes through the plaster only and injected adhesive.  The screws and washers are holding the plaster firm while the adhesive hopefully dries.  I'm crossing my fingers that this adhesive works since I wasn't able to get ahold of the specialized adhesive that several sites recommend.  Does anyone have experience repairing plaster??  If so, what adhesives did you use?

millie-w16-plaster-repair

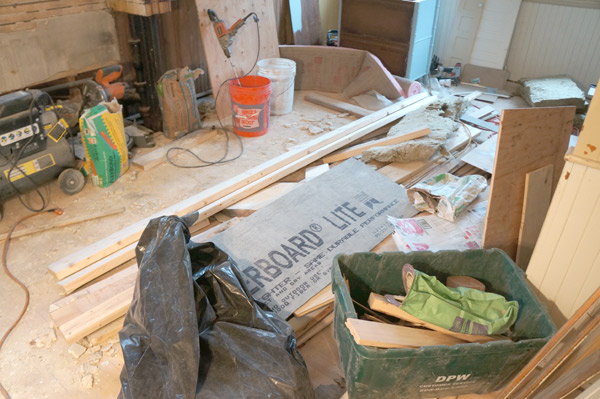
I also went into manic organizing mode yesterday.  With flooring guys, contractors, plumbers and an electrician in and out, somehow the kitchen has been sacrificed in the name of construction mess.  And it makes me twitch.  I'm embarrassed to admit that the rest of the house was only marginally better.  No wonder I couldn't focus to save my life!  I'm the type of person that feeds off my surroundings (probably why interior design means so much to me).  If my environment is a disaster, chances are, so am I.  After a few days of getting anxious and not being as productive as I usually like, I realized I needed to hit 'reset' on the mess and find some zen.

millie-w16-kitchen

I've already talk to the contractors and their messes will soon be wrangled, so I focused on the rest of the house that I could organize.  My organization of choice on the job site is 5 gallon buckets.

millie-w16-buckets

This pile of buckets may not look it, but it's super organized.  One bucket holds cleaning supplies, another sandpaper, another caulk and adhesives and another tapes (electrical tape, drywall tape, painters tape, etc).  With the clutter on its way to being under control again, I'm hoping I can find my deep focus once again and bang out the upstairs bathroom floor.  And maybe, just maybe, I can get a working toilet back in the near future!

Millie: Week 15

I hope you enjoy these weekly updates as I learn to navigate through the business of flipping houses.  This flip, Millie is the most challenging and most exciting yet! You can find more about this house and about my 3 previous flip houses here. Guys, this is the week I've been impatiently waiting for.  The stars aligned, contractor's schedules cleared, and progress finally took leaps and bounds.  Glorious progress.  It's not the glamorous things like tile or paint JUST YET, but everything that happened this week means that those are not far away.  *relieved happy dance*

This may look like a mess to you, but to me I see wiring for sconces, plumbing for the new sink and wall mounted faucet, and it's just waiting for me to enclose it all with shiplap.

millie-w15-master-bath

The upstairs bathroom now has this great thing called a sub-floor.

millie-w15-bathroom

Nice and sturdy.  Next up comes the backer board and then next week, tile!  (once the hot/cold supply lines for the sink get moved into the wall for the wall-hung sink.... I just noticed that now)

While the heating system was down for a few days, my wood flooring guys pulled out all of the radiators on the first floor in order to sand under them.  While they were sanding, I was cleaning each of them and giving them a fresh coat of spraypaint.  All 6 radiators on the first floor are looking shiny and clean (pay no attention the messy walls behind)

millie-w15-radiators

In the very near future, the below view will no longer exist- it will be staring at a wall.  The new master closet walls and ceiling are now completely framed in and awaiting electrical then drywall.  Drywall for that area will be a HUGE turning point in which I will no longer be able to walk through the kitchen or back hallway into the new master suite.  I hear people like privacy in their bedrooms.

millie-w15-master-closet

While my plumbers, electrician, contractors, and flooring guys all plugged away this week, I kept myself busy as well.  The smallest task of which was replacing every knob and deadbolt on the exterior of the house except the front door so they now all use the same key and I don't have to walk around like a janitor with a ring of keys.  Down to 2! Front door and everywhere else.

I also got busy and fixed up and refinished the dresser that I will be using as a vanity for the new master bath.  This will be it's own post later on with much more detail.  The color is nowhere near accurate- it's a nice blue/gray that will look dreamy under the carrara marble top it will eventually have.  It is apparently difficult to photograph by candlelight with a single plug in light.  Still no overhead lights in this house, but we're getting closer!

millie-w15-vanity

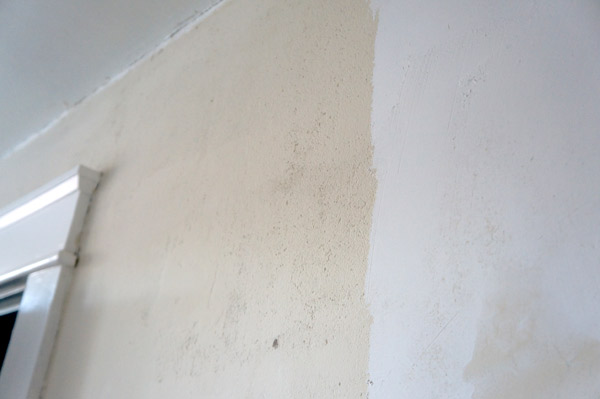
With the upstairs totally wired (buhbye knob and tube!), the only room up there in need of construction is the bathroom.  The 3 bedrooms are ready for me to patch, paint, and make pretty.  So that's what I've started on!  Some walls are covered in wallpaper with about 17 layers of paint and other walls are completely sans wallpaper and showing off the rough, unfinished plaster.  Either way, they need some serious smoothing.  I've started skim-coating (thin layer of plaster patch).  The hallway is all coated and so is half of the former master bedroom.

The rough raw plaster is on the left and the right is my new skim coat.

millie-w15-skim-coat

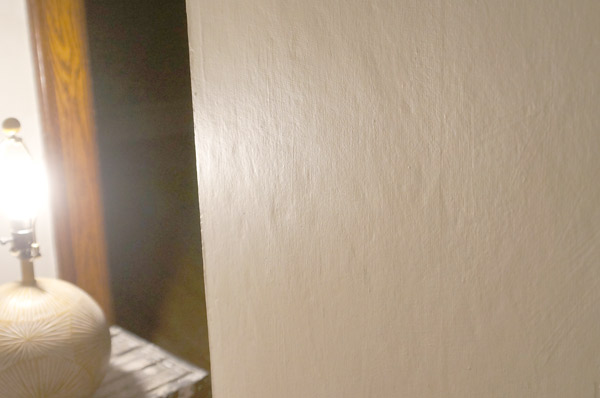
Once everything is dry, I'll need to go crazy and sand everything, but the nice, smooth, regular walls will look sooo clean and fresh!  Just check out the texture of the hallway walls before:

millie-w15-hall-wall-rough

And now with a fresh coat of plaster in need of being sanded:

millie-w15-hall-wall-smooth

If I can power through the wall patching and skim coating, maybe some painting will happen next week!!!  I'm not eager for that or anything....

Fingers crossed, but if all goes according to plan, next week you'll be seeing, paint, tile, and maybe even a light fixture or two!

Have a wonderful weekend!