Projects

Concrete for the Little

Yesterday, once I finished sealing a bit of Ardex (and my hands in the process) I made a dresser delivery for a special little lady. Little Miss Lyla, my new niece, is a whopping 4 days old and has cheeks for days.

Lila and Lisa

And she's the reason that I played with Ardex.

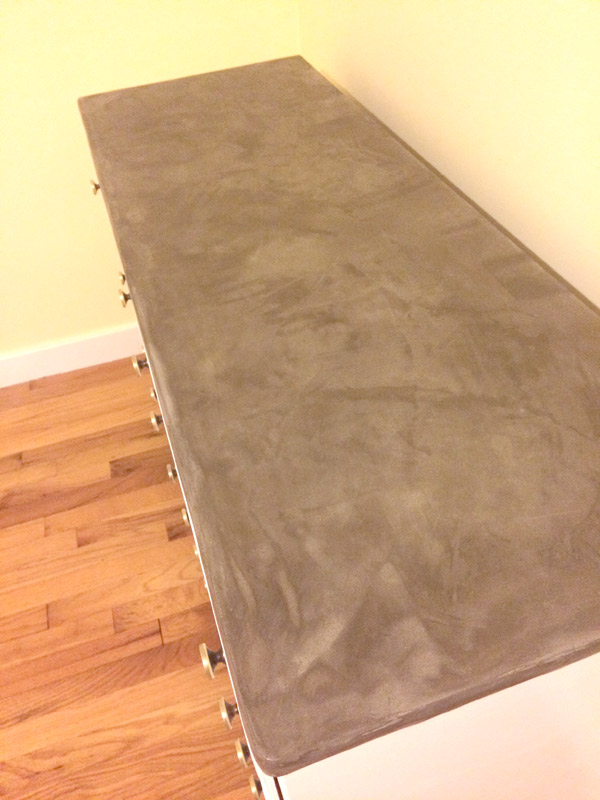
Ardex topped dresser

This is a very unofficial before and after since I clearly ran out of daylight by the time I delivered the dresser and didn't have my good camera on me.  I'll give you a quality before and after with more detail and steps very soon but I was dieing to share.

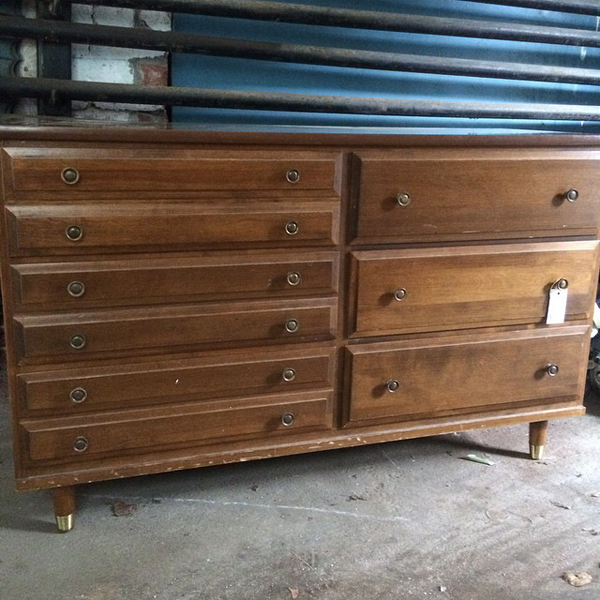
If you remember the dresser that I started with:

lyla dresser before

Very solid with nice detail... except the top.  The top was a product of its age, and although the rest was wood with dovetailed drawers, the top was laminate with plastic edging.  Even if I got it to hold paint, I doubt the paint would hold up in a kid's room.  Which is what lead me to consider Ardex Feather Finish, like I posted about previously.  If concrete can't hold up to kids, then I don't know what would.

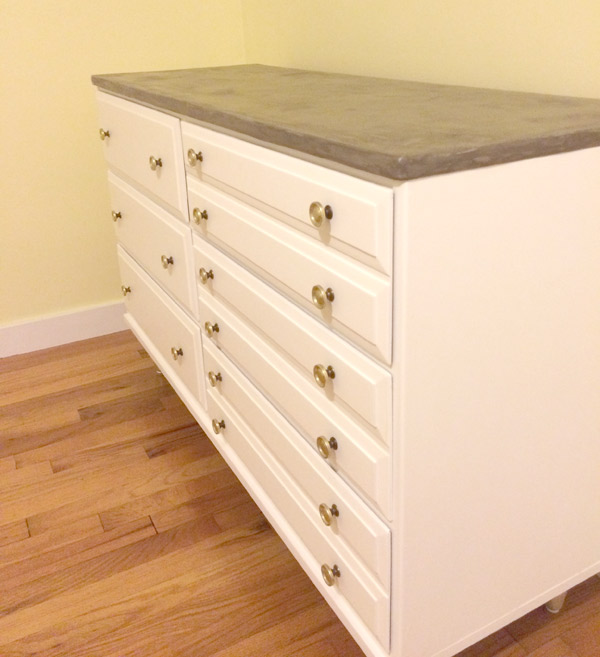
Lyla dresser

It was applied directly onto the existing top kind of like icing a cake, so the concrete is only a fraction of an inch thick.  I sealed it with concrete sealer so it will stand strong and be stain resistant.  The jury is still out about the final result.  I probably went a little heavy with my first coat which made it more difficult to get an even edge.  But I don't hate it! (isn't that always the goal with projects?  Not to hate it)


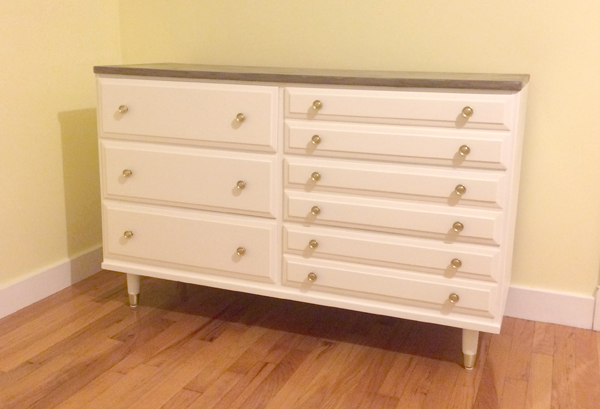
I do love the finish that I was able to get on the body of the dresser.  I used my handy dandy Critter Sprayer and the finish looks like it could have been done by a factory.  If the top had been real wood, I would have refinished it and left that wood as a contrast, but alas, so with the Ardex, I just accomplished the contrast in another way.

Lyla dresser

The room color looks a little wonky in this light, but it's a delightful shade of light yellow that you may have gotten a glimpse of on instagram.

calla lily bm paint

Now that the ball is rolling and Little Miss is leaving the drama at the hospital, hopefully the room will come together quickly!

So, tell me- do you agree with my Mom that I'm nuts to put a concrete topped dresser in a little girls nursery?

Lyla dresser


Fly Away

This past weekend, I had the joy of being asked to do a DIY demo at my local Habitat for Humanity ReStore's "Fall for All" event.  As soon as they asked, I had a spark of an idea.  I've been wanting to try my hand at some 3d cut paper butterfly art for my future niece's nursery and the event would be a perfect practice.  For all those visiting because we met at the ReStore, WELCOME! DIY cut 3d butterfly art via Year of Serendipity

I swear, it is so much easier than it looks!  I was able to put one together in 2 hours at my Demo table at the ReStore.  All it takes is a frame, some paper, and some exacto knife skills.

After my demo, I recreated the art for my soon-to-be niece's room.  I started with an empty frame from, you guessed it, the ReStore, a piece of thick watercolor paper, a piece of thick chip board or thin cardboard for the backing, and one curious kitten.  (no kittens were harmed in the making of this art)

DIY cut 3d butterfly art supplies via Year of Serendipity

After cutting the 2 pieces to fit within the frame, it was time to get messy!  I chose to layer some rice paper onto the backing with Mod Podge to add a pop of color to the background.  Painting the backing piece would have the same effect, but I had some rice paper on hand and an idea in my head.  Don't you worry, it'll dry clear!

DIY cut 3d butterfly art backer via Year of Serendipity

Once you have the backing covered, set that aside to dry for a while.  Now on to the butterflies!!

The prep step that I'm not showing you was figuring out a few butterfly shapes.  They could totally be drawn freehand, but I thought it would be easier to create a template.  Using a scrap of paper folded in half, I played around with butterfly shapes and sizes until I had 8 of varied sized that I thought could work.  I traced them onto scrap cardboard from the recycle bin and cut the butterflies out with an exacto.  Thus a template was born!  If you ask really nicely, maybe I'll scan it in and make a printable template available.

DIY cut 3d butterfly art process via Year of Serendipity

Next, on your watercolor paper, figure out a flight path for your butterflies.  I decided I wanted to start small in the corner and fan them out at the top.  I drew to guide lines for the general shape planned, then started tracing butterflies willy nilly.  Go crazy!  Fill up your paper!

DIY cut 3d butterfly art process via Year of Serendipity

Just make sure to leave about a half inch around the outside for your frame and don't allow your butterflies to touch or overlap.  While tracing my templates, I made sure to leave a space between the 2 halves of the butterfly.  This is an important step when you're cutting since you want to leave a gap where the butterfly body would normally be.  I tried to bump up the contrast on this one so you could see my light handed butterflies, but the color got a bit wonky.

DIY cut 3d butterfly art process via Year of Serendipity

Once you have your butterflies all drawn out, break out an exacto knife with a new, sharp blade.  Sharp blades make cutting much easier, so I'd be sure have a few on hand.  This part is not as challenging as it looks, I promise!

DIY cut 3d butterfly art process via Year of Serendipity

Go slow, be careful, rotate your paper as necessary to get the best angle, and make sure to leave a gap between each butterfly's wings.  This 'body gap' is what allows you to fold out the wings.  The best part about this is you don't have to be exact!  If you don't follow your lines precisely, it doesn't matter, as long as it still resembles a butterfly wing.

DIY cut 3d butterfly art process via Year of Serendipity

Be prepared to spend a bit of time on this step- although it doesn't take hours, its the longest part of the process.

After all of your butterflies have been cut, you have 2 options: take an eraser and erase all of your pencil lines or flip your paper over and use the back as the front.  I chose to erase since I had some patches on the back where I overcut a few of my fliers (oops).  If taking the erasing route, I recommend holding down the wings as you erase so they don't get crunched up by an overzealous eraser.

DIY cut 3d butterfly art process via Year of Serendipity

Now it's time to make them fly!  Carefully peel up each wing and crease it at the body.

DIY cut 3d butterfly art process via Year of Serendipity

Repeat until all your wings are taking flight.

DIY cut 3d butterfly art via Year of Serendipity

Bring back your backer piece which should be totally dry by this point.  I decided to use Mod Podge again to adhere my butterflies to the backing.  Spread a THIN layer, wait for a few moments until its a bit tacky and not totally wet, and carefully place your cut paper over the backing.  If the glue is too wet, it'll warp your paper... trust me, I've learned from experience...

DIY cut 3d butterfly art backer via Year of Serendipity

Once aligned, run your finger between the butterflies to make sure that the negative space sticks down and your wings stay flying free.

DIY cut 3d butterfly art process via Year of Serendipity

While it's drying, you can take this opportunity to put it in the frame (make sure if you're using a frame that has glass in it, remove the glass since it will just flatten your flying friends).  Since I was using an empty frame, I used framing points to hold the art in the frame.

All that's left is to hang and admire!

DIY cut 3d butterfly art via Year of Serendipity

DIY cut 3d butterfly art via Year of Serendipity

It even earned the kitten stamp of approval (which naturally is indifference, but I'll take it!)

DIY cut 3d butterfly art via Year of Serendipity

What I love about this project is that it's so customizable.  Want to make it smaller or bigger?  No problem!  Want to make your butterflies into a letter?  Go for it!  Whatever way you want, they butterflies will be dynamic and playful, but still the right amount of elegance.

So, what do you think?  The perfect addition to a little girl's nursery?

In the Pocket

I took a much needed break from projects this weekend, although no matter how much I tell it, my darn brain just never stops working.  Right now it's work is fun, though- I just can't stop thinking about and planning the future first floor master! Millie the fliphouse future bath doorway via Year of Serendipity

I was originally thinking that a french door and sidelights within the existing frame would be the best bet.  Thankfully, my contractor convinced me otherwise.  Apparently such a plan would cost about an arm and a leg to be the custom size and would most likely still look like it was just a door shoved in an existing opening.  Although I want this house to be fresh with modern amenities, I want all of the new elements to look like they could be original.  New plan!!

10 points for you if you remember that the entry way into what will soon be this master suite has a pocket door.

Millie the fliphouse existing pocket door via Year of Serendipity

Therefore, if the soon to be master ensuite ALSO had a pocket door.... if done RIGHT..... it could look original!  Don't you just love that idea??  It was my contractors idea, I have to admit, but the second he mentioned that he could make one and that it was within my budget, SOLD!

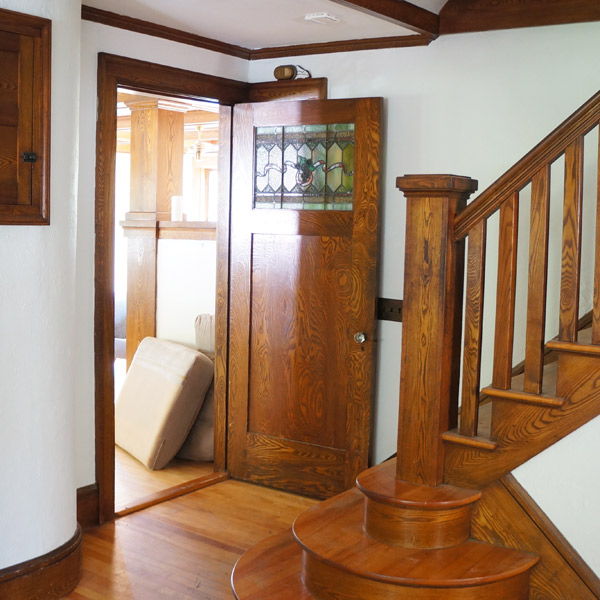
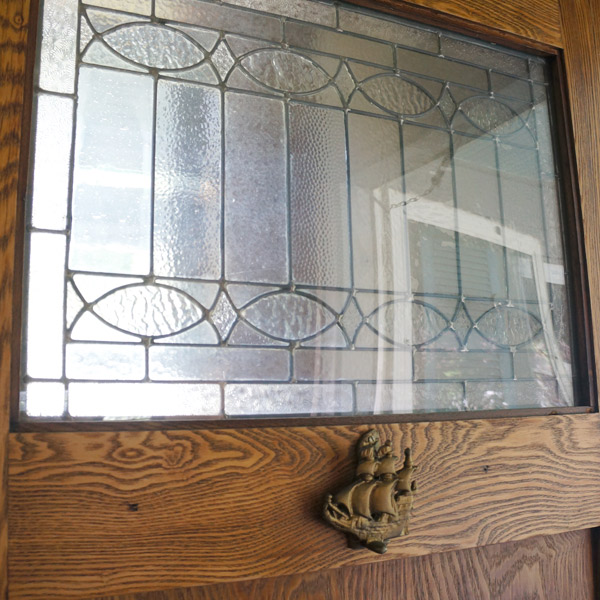
....SO then I created homework for myself.  Pocket door = cool.  Pocket door with stained glass = even cooler.  Homework mission: find a stained glass or leaded glass piece the right size to fit in a new 3' pocket door AND a style that fits with the other 2 embellished glass doors in the house:

Millie the fliphouse slag glass stained glass door via Year of Serendipity

Millie the fliphouse leaded textured glass door via Year of Serendipity

I can just see this new door being the real WOW moment as you enter the new stunning bathroom.  Naturally, I've already started scouring Craigslist and ebay for the right piece, but all I have as of yet are leads of a few salvage places to check out.

Forget endless landscaping, THIS is the part of flipping that makes me positively giddy.