Before & After

Hearth of the Home

hearth-after.jpg

I'm so excited- as of about an hour ago, we have new cabinets!!  They're still in boxes, though... in the dining room... and the kitchen... and one outside because the box couldn't fit through the door.  BUT, this means that we're closer to having a new functioning (and oh so pretty) kitchen, so I'll take it! As I've been spinning my wheels (or so it feels) on this kitchen renovation, my parents have been busy checking items off of their own to do list.  They've been in their new house for just shy of a year and have been working on putting their stamp on it.  Normally my mom is the instigator of projects (since she's as addicted to reading design blogs as I am and we all know how dangerous that can be), but one project that they both were equally gung ho about doing was their fireplace hearth.

Fire place before

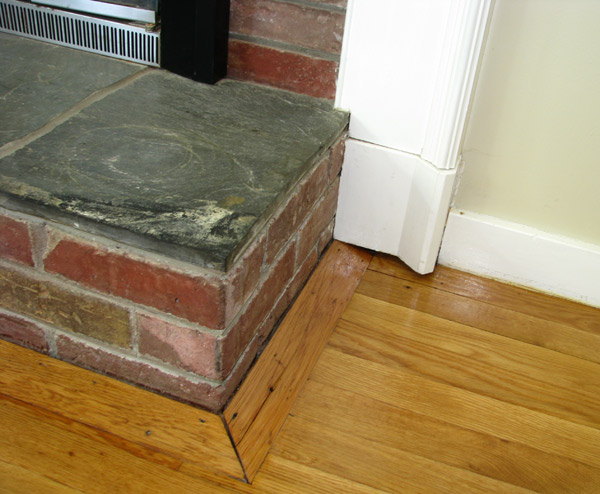
As you can see, the surround is beautiful, but was definitely an add on to the original fire place.  The surround didn't even extend to the floor and was 'camouflaged' with ill-fitting trim.   It was like sophisticated cottage meets hunting lodge, and not in any good opposites-attract kind of way.

Hearth before closeup

And isn't that top stone just beautiful?  That was Dad's favorite part.  Of course, by "favorite" I mean he wanted to take a sledge hammer to it.  Luckily, though, my parent's definitely had a vision of how to make the fire place look like one cohesive unit that had no more identity crisis.

Hearth process

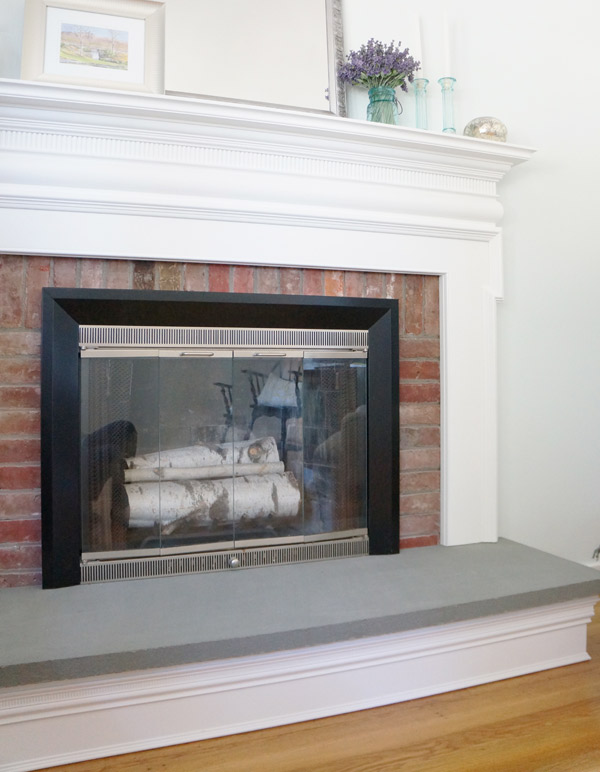
And Voila!  Now they have a fireplace that looks original and cohesive.  Quite the transformation!

Fire place after

Scroll back up and look at the befores.  I dare you.  You'll be amazed at the difference.  Even having seen it in person, I had forgotten how weird it looked when it started.  The finished result is pretty stellar in my opinion- it fits the room perfectly!

New-fire-place

What do you think of my parents' fireplace transformation?

A Warm Welcome

After a few weeks of waiting out Mother Nature, I was finally able to get painting and staining the front porch checked off my list. When we last visited the porch as a whole, it looked like this:

porch-collage

What a snoozer, huh??

The floor needed re-staining to prevent it from getting any worse (it's already pretty bad), and all the white parts needed to be scrubbed, primed, and repainted also in order to preserve against chipping paint and future wood rot.

The previous light was no gem either.  It was actually worse than I expected- completely rusted out when I went to take it down.

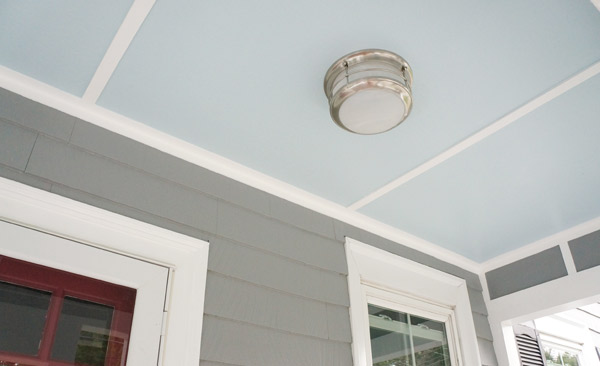
I have to say, the new view UP is my favorite part.  A new light blue ceiling with the existing trim pieces painted out in white make it feel like a much more special space than the gray box it was before.  (Not to mention the new light that I can't stop making googly eyes at)

porch-ceiling

porch-ceiling-2

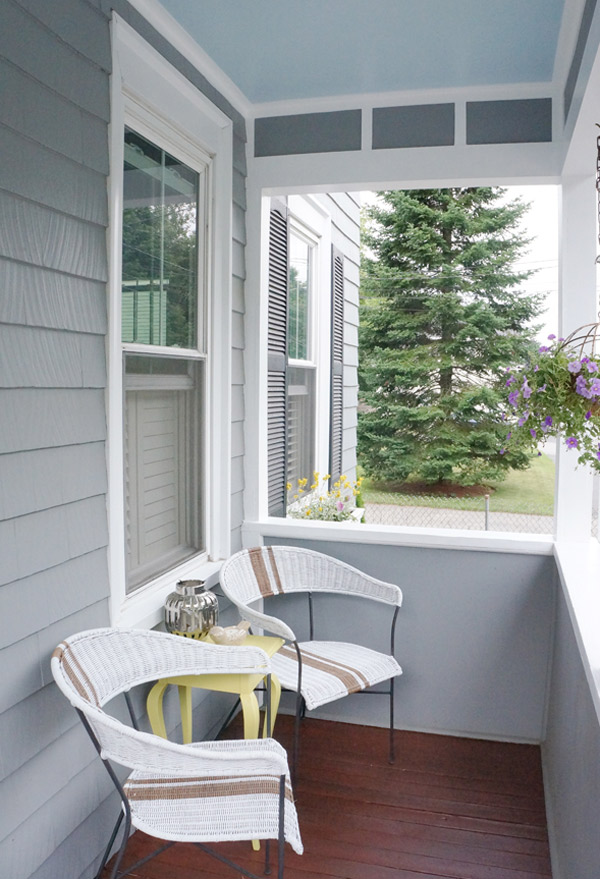
For the floor, I chose a reddish brown to match some remnants of stain that I think the porch use to be a few decades ago (probably the last time anyone stained it).

porch-seating

porch-after

In addition to the painted chairs and table, the mailbox also got a shot of spraypaint.

porch-after-2

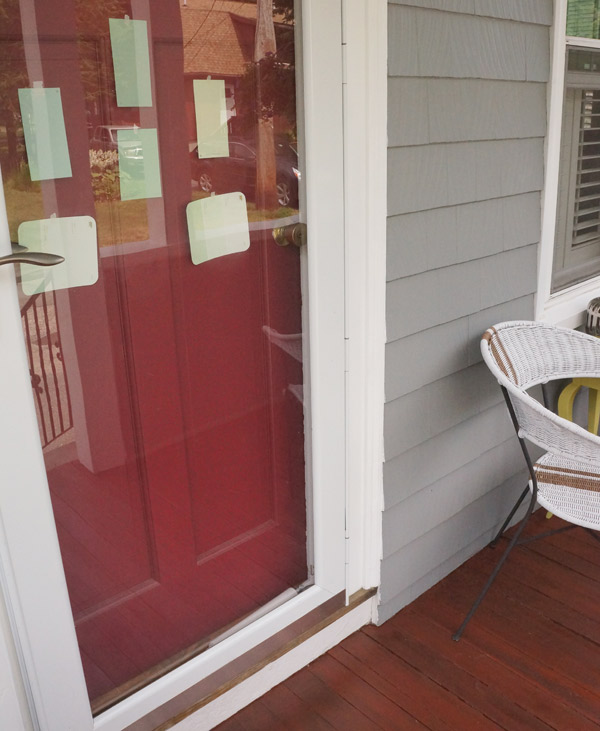
You may notice that the floor is now rather close in color to the front door, and you know me well enough by now to realize this won't stay for long.  Sea Glass Green (the middle one) is totally happening in the next few days.

door-paint

So what do you think of my cute little porch revamp?  So much more warm and welcoming now!


Go Speed Racer

Can somebody please take this spraypaint out of my hand before I paint Hubby or the kittens!  Just kidding, don't take my paint away, I might cry. But seriously, it's so much fun that with just a bit of painter's tape and a can of spray paint, you can transform something in a matter of hours.

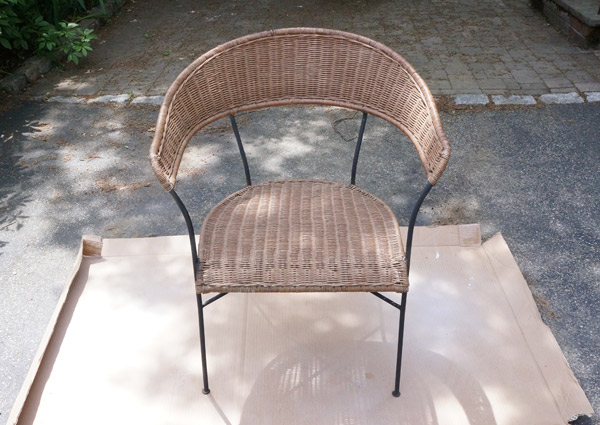
Last week, I procured 2 of these bad boys from Craigslist for $50.  Not my best Craigslist deal, but I've been looking for the right scale chairs for the porch for a while and you can't even get 2 new ikea chairs for that price.  The scale was perfect (yay!), but the color looked a little drab on the porch.

Patio Chair Before

Bring on the frog tape!  I also decided to add a bit of interest with a racing stripe.  I figured that if I wasn't a fan once it was painted, I could just simply paint over the stripes.  Luckily that wasn't the case.

Porch-chair-taped

When I told Hubby I planned to add a stripe, he was scared (my design plans often have that affect on him).  But, since I kept the colors to simple white and natural- which are colors already present on the porch, the paint treatment added interest without looking over done (and Hubby agreed).

chairs-before-and-after

The best part about paint transformations is if I ever get sick of my speedster racing striped chairs, I can break out another can of paint and switch it up again.  That's not happening any time soon, though, these chairs are absolutely delicious.

racer-stripe-chairs

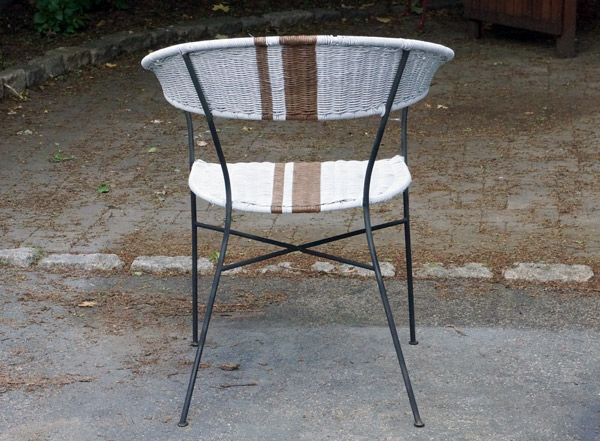
Even though the backs will ultimately be up against my house, I just had to continue the stripe, I couldn't help myself.

patio-chairs-after

I think this might just be my favorite view- nice rear!

patio-chair-back

I may have also attacked my black mail box with some satin nickel spray paint.  Now that my porch accessories and furniture are all set, I have the minor stuff left... like staining the floor, painting the trim and ceiling, and replacing the broken light... you know, the minor stuff.

Are you digging my porch transformations so far?