Before & After

A Little off the Sides

This past week I've had to make the mental shift back to full time flipper in preparation for Frankie.  On this project, I'm attempting to do a little less 'hands on' and hire a bit more out so I can focus more on the project management and the schedule.  Not exactly the fun stuff, but certainly the necessary stuff if I don't want to burn out on flipping after only 2 houses- Don't worry, though I can't help but be hands on and I'm excited to get started!!!!  Hopefully the closing will stay on schedule for Wednesday and we can get started right away.  You know what that means?  Weekly  Flip updates will restart this Friday!!! Until then, I'm still trying to get a few things knocked off my to-do list.  Like trimming down my new dining room table!

If you remember, this is where it was a few days ago.  I didn't actually mind the size too much, but I felt that the large overhang on each end made the legs less of a focal point (detail oriented obsessions of the designer mind).  And since those legs are the best part about the table, I devised a plan.

new table before

I feel like I should note- I didn't feel too bad about modifying an antique table since it had already been modified.  It started it's life as a drop-leaf, gate leg table like this one and was modified in recent history to be fixed.  I just wanted to customize it one step further.

taped table

The plan was to trim down the table on all 4 sides  (so that there was an even 3" overhang on all sides, unlike previously) and rounded the corners.  As with most of my woodworking projects, I enlisted Handy Dad's help to make sure I didn't screw it up.

We used a circular saw to trim the sides, and clamped on a guide that Dad had created to ensure a straight line.  I swear one of these days I'll have him share the tutorial for the guide- its a simple, but very effective tool.

table cutting guide

Taking turns wielding the power tools, Dad and I cut the sides with the circular saw,

table trimming dad

rounded the corners carefully with a jig saw, and router-ed the top edge all around with a simple bullnose.

table routing

And there was sanding.  Lots and lots of sanding the new edge to make it smooth as a baby's bottom.

I still have to refinish or partially refinish the top and unfinished edges, but until then it's back in place in the dining room.

trimmed table after

It's not a drastic change, but it feels right in my opinion.  Before it felt like an oversized top plopped on some really cool legs.  Now it looks like it was always meant to be a table of this size (or at least I think so).  And it's going to look even better once I get the top all refinished!

I'd love to hear what you think- would you have trimmed down the table or left it as is?


Getting Shady

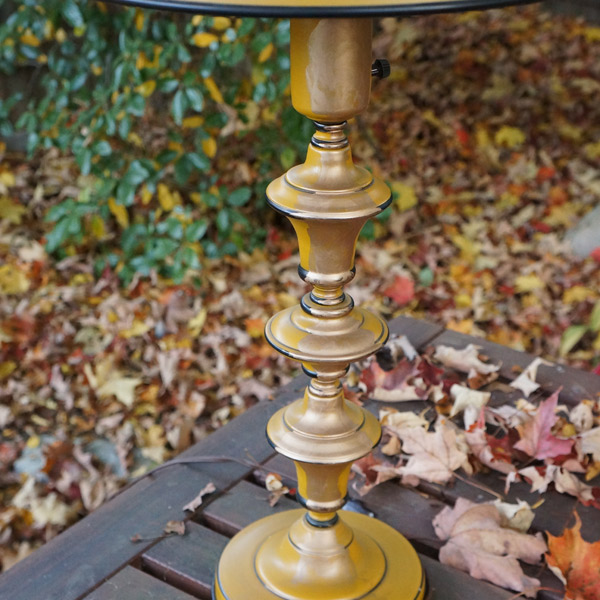
Once upon a time I bought a fun lamp at an estate sale.  (Yes, I'm going with a fairy-tale theme today, go with it.  It'll end up being a choose-your-own-adventure...) yellow lamp before

Since "bumble bee" really didn't go with my current decor, I knew it needed to be painted.  At first I was thinking of rub-n-buffing it gold, but after a trial it just wasn't feeling right.  It's actually reading better in the pic than it did in person.  To stick with the fairy-tale thing I apparently started, the slipper didn't fit.

yellow lamp gold

So I tried another color.  And it fit!

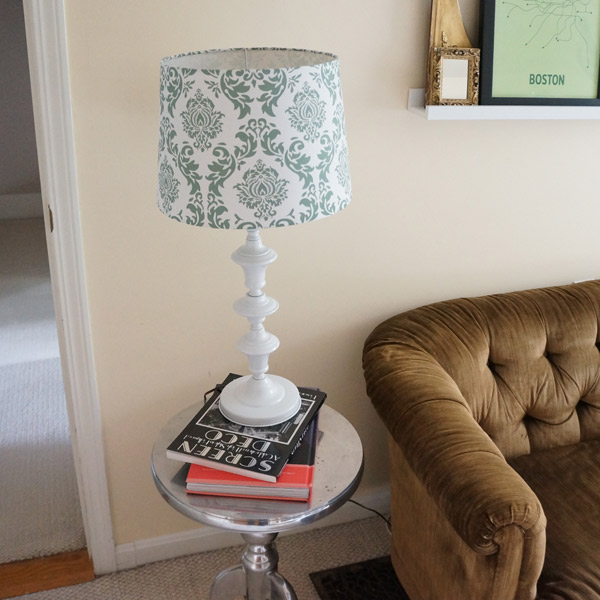
yellow lamp white

I really do love the simple white with the fun shape of the lamp base.  Now to figure out the shade.  Here's where you guys come in hopefully, because I can't decide!  I got a cute shade at Lowe's on clearance for $5.  I'm not in love with the pattern, but figured for the price, it was perfect to paint.

Here's where I'm a little stuck and would love your take on it.

Should I paint the shade a solid punch of color? (not necessarily bright green)

shade option 1

Go with a 2-tone?

shade option 2

Or paint the original metal shade a new color to modernize it and banish the rest of the bumble bee effect?

yellow lamp original shade

I'm trying something new here and would love you guys to weigh in with the embedded poll (if you're reading this via e-mail or RSS and the poll isn't showing up, please click through and vote!)

What shade should I go with?
Solid, bright color
2-tone with white band
Paint original shade
Other
Please Specify:

free polls


60 Minutes

Ugly sweater to cozy pillow in 60 minutes or less. I love me a quick project, and a quick, cheap project is even better!  I found this delightfully dated sweater at the thrift store for a whopping $3.99.

ugly sweater

The style may have been screaming "Cosby Show", but the pattern was screaming "make me a pillow!"  At least that's what I heard.

So I did.

I started with a 12 x 16 pillow form, and since I like my pillows overstuffed (no karate chopping in this house!)  I cut my fabric slightly smaller.

sweater pillow pieces

With the "right" sides together, I sewed 3 and a half sides, leaving an opening on one end to flip and stuff my pillow.

sweater pillow side progress

I then sewed the opening together by hand (and since both of my hands were occupied, I wasn't able to get a picture... I tried... it wasn't pretty)

And a cozy sweater pillow was born!

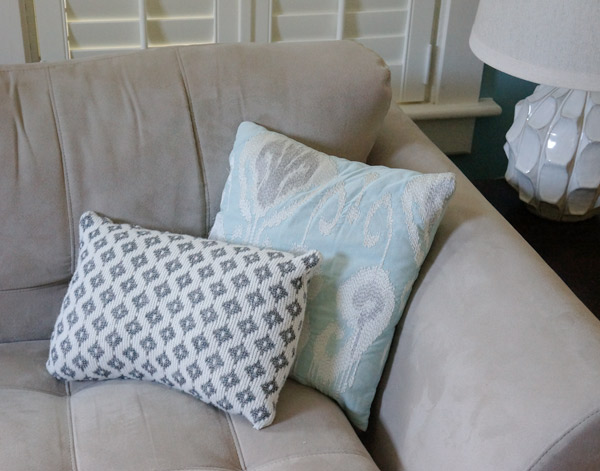
sweater pillow

And the cats rejoiced.

sweater pillow kitty model

Just kidding.  They were indifferent at best.  I'm just happy I was happy to bribe a cooperative model with a treat.

And there you have it- an ugly sweater- turned-cozy pillow in under an hour.

Have you tackled any speedy-but-gratifying diys lately?