Decor

How Humidifying

While I promised you a post today, it's actually less of a post and more of the ramblings of an aesthetics-obsessed designer. I like pretty things.  Shocking, I know.  I fully acknowledge that not everything can be pretty, sometimes they need to be functional.  Why, pray tell, can't they be both?

*this is not sponsored, just a weird designer excited about a silly little product*

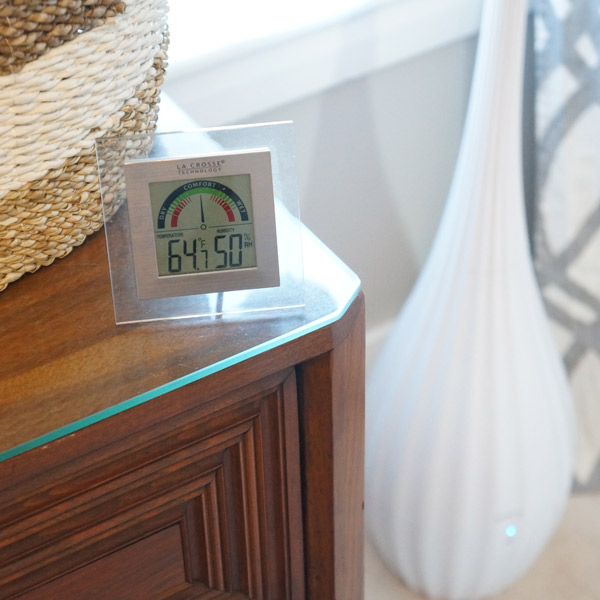
As those living in New England in the winter months know, humidifiers are a necessity if you don't want to wake up with a scratchy, dry throat every morning.  Our 2 year old cool mist humidifier decided not to work when we took it out of the box this year and it was a blessing in disguise.  While I didn't feel like spending the money on a new humidifier, I took this as an opportunity to upgrade to one that would hopefully last longer than 2 winters.  I bought this Luma Comfort Cool Mist Vase Humidifier from Wayfair, and even though we've only had the new guy for a few days, I. am. in. love.

Luma-Comfort-Cool-Mist-Vase-Humidifier

Do you see it?

lumacomfort-bedroom-1

How about now?

lumacomfort-bedroom-2

A humidifier that looks like a vase, can sit on the floor (as to not clutter up furniture surfaces), and works like a champ without being loud and obnoxious? SOLD!

luma-bedroom-2

Whoever the product designer for Luma Comfort and this humidifier is is my new favorite person.  Same reason I'm an Apple gal.  Function doesn't have to be an eyesore!

Gettin' Figgy Wit' It

Sometimes bandwagons are a fun place to be.  Especially when they include visually pleasing plants that look almost fake (in the best way possible).  That's right, I've jumped on the fiddle leaf fig plant bandwagon and it's a great place to be!  That makes me an official design blogger now, right? I decided to be an overachiever and try and not kill TWO fiddle leaf fig plants.  Yes, TWO!  There's a story here- isn't there always with me?  Months ago when I was shopping for Millie's kitchen, I happened to be at IKEA when they actually had a small stock of their $13 fiddle leaf figs.  Since I figured I'd never buck up the money for a real sized plant, I went for the 2 foot tall man-handled IKEA plant.  When I left, I called my mom to see if she wanted me to pick her up one the next time I was at IKEA (the answer was yes, btw) and she started laughing.  Well, I might not have plans to buck up the money for a bigger plant, but she and my sister had already ordered me one for Christmas.  Way to ruin the surprise, Karen.

So first came Hector and he likes to hang out on the dresser in the bedroom.

fiddle-leaf-fig-2

He's my IKEA dude and, admittedly, not doing so hot.  I over-watered him pretty badly right after getting him and he got mad and started throwing all his leaves at me.  Now he's slightly bald, but repotted in a new self-watering pot and much happier.  He even has a new leaf!

fiddle-leaf-fig-1

This was a good lesson to learn on a cheap IKEA plant instead of the nicer, bigger, nursery plant that I got for Christmas.

His name is Victor.  He's a little fancier and started out healthier than Hector (that's what I'm going with.... It's clearly IKEA's fault that I almost killed Hector already)

fiddle-leaf-fig-3

Look at those big, sexy leaves.  He's a gentleman and likes to hang out near Hubby's whiskey bar in the dining room.

fiddle-leaf-fig-4

Victor isn't as tall as we were all hoping- apparently nurseries around the state of Massachusetts just can't get their hands on a 4 foot tall fiddle leaf fig (if you only knew how Mom tried).  Now I just need to NOT kill him so he can grow big and tall.

fiddle-leaf-fig-5

He also got transplanted into a self-watering pot.  Over-watering is a mistake I plan on making only once.  I figure in this type of pot, I can water it regularly and if (when) I over water, the pots will have my back.  Side note: the not so pretty self-watering pots are sitting in much much prettier baskets from HomeGoods.  Not sure if these will be their permanent vessels, but I'm happy looking at them for now.

I've done a ton of research on how not to kill these guys (aka read lots of blogs with what worked and didn't work for other bloggers) but I would love any additional advice!  I'm not exactly known for having a green thumb......................... so I'll need all the help I can get!


Holiday Baubles and a Speedy DIY

The stockings are hung by the mantle with care..... I lie, we don't have stockings OR a mantle, but the holiday decorations are officially up!  Before I give you the full festive tour, I wanted to show you a quick and easy DIY that keeps putting a smile on my face. merry-bright-2

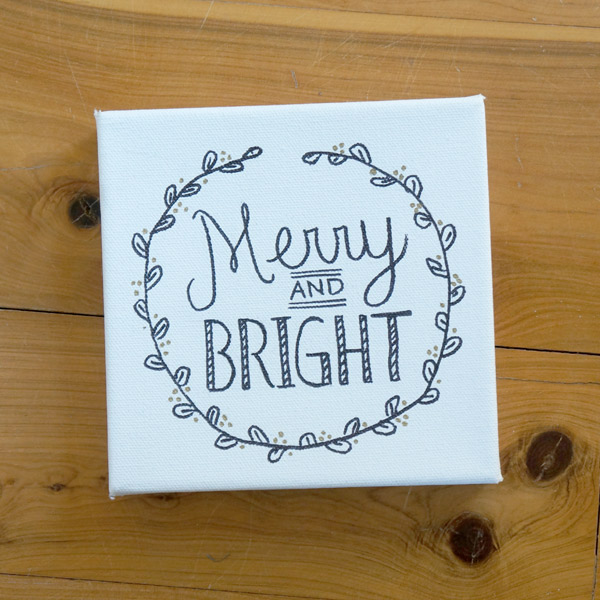
This adorable little "Merry and Bright" canvas was seriously simple guys- the most time-consuming part of this process was scouring pinterest for inspiration.

The lengthy list of supplies includes:

  • a sketch pad to practice lettering and plan out the design
  • a pencil
  • a 6x6" canvas
  • a black sharpie and (optional) a gold sharpie
  • an eraser

Since I already had all these supplies chillin' around my house, this project was essentially free.

First, I took to my sketch pad.  I traced the outline of the canvas and started playing around a bit.  I'm not a calligrapher or hand-letterer, so I needed a little practice and prep before hitting my canvas.

merry-bright-sketchbook

Once I was set on the design and style of lettering, I took my pencil lightly to the canvas (so that erasing the pencil marks would be no problem later).  After a little trial and error, I was able to get the spacing just right and move on to my sharpie.

merry-bright-canvas-sketch

The key here is to try and do everything in smooth strokes and not to think too much.  Who cares if that one line isn't bone straight, that's the beauty of hand lettering.  Once you've sharpie'd the whole design, go back and gently erase all of your pencil.

merry-bright

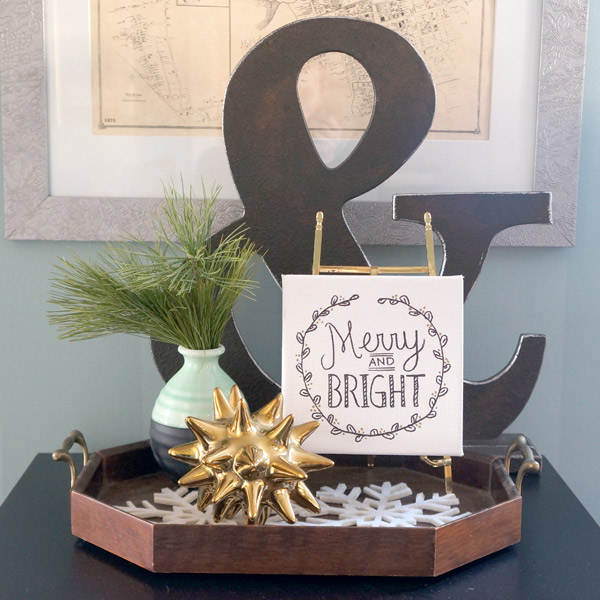
Aside from my one wavy letter (I'm looking at you, Mr. T) I'm over the moon with how simple and chic it came out.  Just as I had pictured it- festive, graphic, and not too kitschy.

merry-bright-3

It compliments the rest of my holiday decor nicely.

2014-holiday-decor-2

2014-holiday-decor-3


2014-holiday-decor-5

2014-holiday-decor-9

Looked a little different last year without the bookshelf, no?

holiday-decor-1

And one more reminder of the cute and festive DIY.

merry-bright-3

I hope your holiday season is "Merry and Bright"!!!

This project is linked up over at Newly Woodwards Dare to DIY link-up.  Go check it out!