Flipping

Dori the Flip House: week 7

I hope you enjoy these weekly updates as I learn to navigate through the business of flipping houses.  My latest flip house, Dori sports the 3 L’s in real estate, but will need more than a bit of creativity to make the house sellable. You can find more about this house and about my 4 previous flip houses here. Aside from installing my DIY shutters, which I showed off to you in yesterday's post,

DIY-shutters-house-side

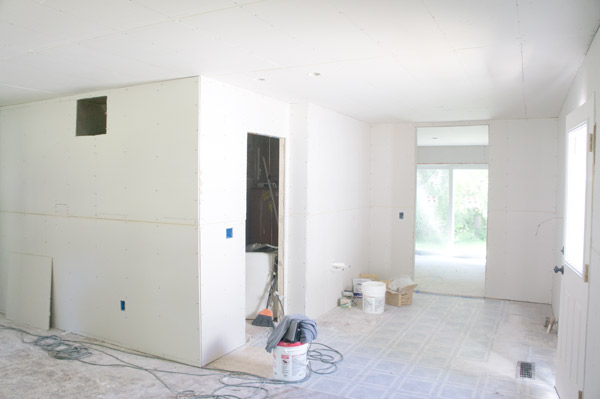
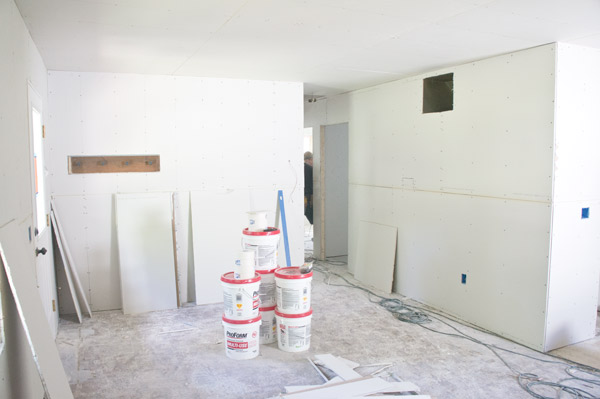
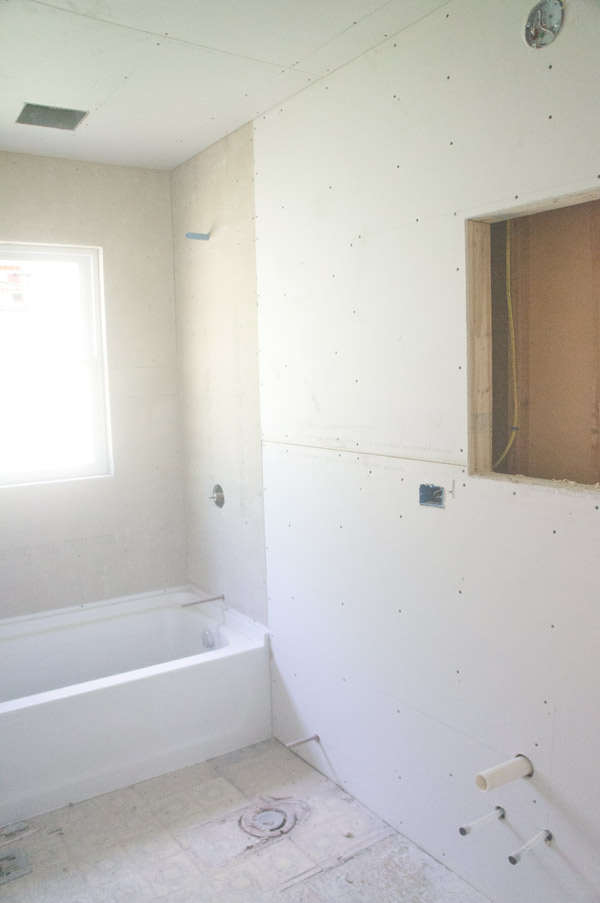
my only job this week at the flip house was to prep for drywall.  I hammered in some nails, got rid of stray screws, and made sure that everything was all set so that drywall could get hung.  Then I pretty much stayed clear so that I wasn't in the way while the drywall hangers did their thing.  Finally this house is starting to look clean and fresh (if you ignore all the hideous flooring still remaining...).

w7-drywalled-kitchen

w7-drywalled-dining

w7-drywalled-livingroom

w7-drywalled-bathroom

w7-drywalled-master

w7-drywalled-bedroom

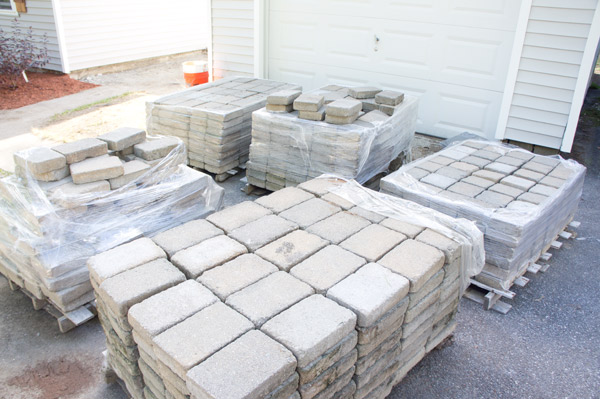
If I was a drywaller, I would bathe in lotion.  After just being in the house with all that dust for a short period of time, my hands were crying out for moisture!  As soon as all the mudding and taping is done and dry, I'll start attacking it all with paint.  Hopefully by the end of next week *fingers crossed.*  One last exciting thing is happening (most likely as I sit here typing) and I'll give you a hint:

w7-patio-stones

Landscaping is getting finished and the patio is going down!  This is going to be the gem of the yard.  My contractor was asking me why I was spending the money on a patio and not just planting grass where the old concrete was removed from.  Flipping's not always about spending the least amount of money, it's about the perception of value.  Aside from the fact that it'll look prettier (although I can't always use that to determine my flip decisions), it will extend the living space out doors.  This house is tiny.  There's no way around that.  However, if I can make potential buyers see that while the bedrooms are small, the space they have to live and function in feels open and spacious, then the patio will be worth every penny.

Have a stellar weekend!

DIY Wood Shutters

I was hoping to post these DIY shutters yesterday, but one of the downfalls of blogging in real time is that mother nature doesn't always follow my schedule. dori-ext-rain

BUT yesterday was gorgeous and I was able to install the shutters and take after pics to complete this DIY.  So let's start from the very beginning (a very good place to start).

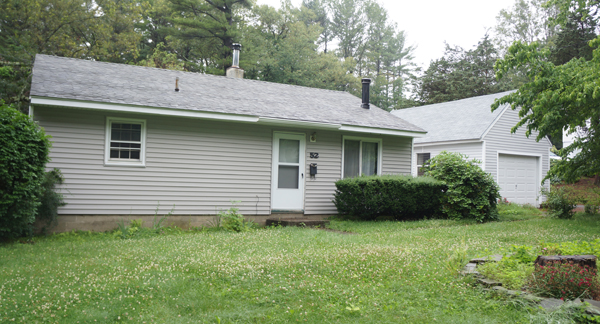
This house NEEDED curb appeal.  It had curb unappeal before.  It was so bland that I knew I needed to throw some personality in somehow and adding something generic and store bought just wasn't going to cut it.  Enter: DIY shutters.

DIY shutters via Year of Serendipity

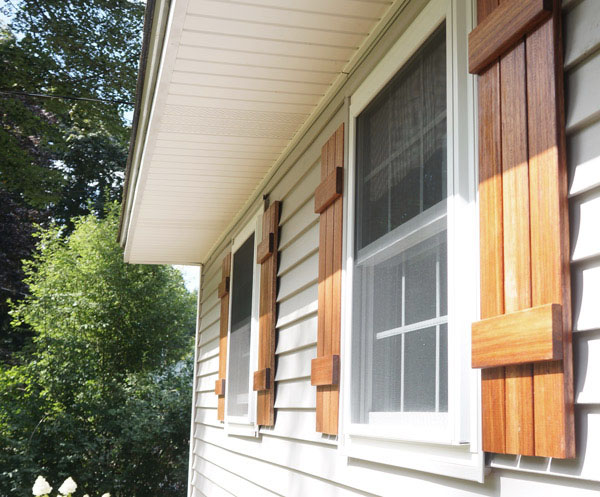
My original intention was to make the shutters out of cedar, but when shopping, the gorgeous Meranti Mahogany one bay over in the lumber isle screamed to me.  The graining was dreamy and they wouldn't need to be stained- SOLD.  Let me tell you- this is probably one of the simplest ways to make a big impact.  If you can cut a few pieces of wood and screw them together, you're gold.

Step 1:

Cut your pieces to size (and try not to swoon over the pretty mahogany...) and lightly sand off any rough edges or splintering.  I opted to cut my shutters to the height of the windows as opposed to the height of the trim and the horizontals slightly wider than the 3 boards side to side so there would be a slight space in between.  You'll need 3-verticals, 2-horizontals, and one spacer.  Make sure you have exterior screws to put everything together!

DIY shutters- pieces via Year of Serendipity

Step 2:

You'll be screwing the shutters together from the back side, so face nicer side of the wood (if there is one) down.  The horizontals go on the bottom and verticals on top, using the spacer to 'measure' the placement of the horizontal.  Screw the 2 outside vertical pieces to first one horizontal than the other.

DIY shutters- progress via Year of Serendipity


DIY shutters- progress via Year of Serendipity

Step 3:

Double check to see that your shutter looks square before installing the middle piece.  Since I cut my horizontals slightly wider than the 3 boards, I centered the last board in the gap, eyeballing it, before screwing it down.  Once all the pieces were together, I added a few more screws for stability, but you can put your power tools down for now (until we get to install)

DIY shutters- progress via Year of Serendipity

Step 4:

Flip them over and feel the pride of what you just made.  Gorgeous!

DIY shutters via Year of Serendipity

Step 5:

Seal them!  I had teak oil on hand, so that's what I chose to use.  A natural sealant will... well, seal the wood, bring out the natural color and graining, and highlight the richness of the wood.  Basically it seals it from the elements and makes it even prettier.  Apply several coats according to your desired finish and the directions of the product you're using.

DIY shutters- progress via Year of Serendipity

Step 6:

Install!!!  You'll only need your screw gun for this, and some more outdoor screws (I used decking screws that were already a brown color so they'd blend better)

Pre-screw the top 2 screws before climbing up on a ladder to make the juggling a bit easier.  Dropping screws while you're up on a ladder is fun for no one.

DIY shutters- install via Year of Serendipity

Now just line up your shutters and screw them to the house!!  note: make sure your screws are long enough to screw through any siding and into the structure behind.  If you have siding, you can use that as a guideline to align your shutters.

DIY shutters- install via Year of Serendipity

Step 7:

Step back and take in the visual awesomeness that your DIY shutters just added to your house.  You're welcome neighbors.

DIY shutters via Year of Serendipity

DIY shutters via Year of Serendipity

Now we just need a pop of color and some finishing touches!

DIY shutters via Year of Serendipity

All totaled for the wood and screws, this project came in at less than $200.  For something with such a huge impact on the curb appeal, I think that's some stellar bang for your buck!

Dori the Flip House: week 6

I hope you enjoy these weekly updates as I learn to navigate through the business of flipping houses.  My latest flip house, Dori sports the 3 L’s in real estate, but will need more than a bit of creativity to make the house sellable. You can find more about this house and about my 4 previous flip houses here. This was a weird week.  I personally didn't do a ton of work at the house, but a TON of work got done.  This is rather foreign to me.  I can wave a magic wand (read: write a check) and get people to do the big stuff?? Who knew?  Somehow, in a week, this flip house went from looking like this:

Dori Ext Before 1

To this:

Dori-ext-w6

It's the same house, I swear!  Landscapers attacked the yard, and the contractors installed the new bathroom window!!!  Can you tell I'm excited?  I cannot wait to get the finishing touches on this curb appeal.  Her new shutters are all made (and you'll see the DIY on Wednesday- yes, you'll get 2 DIYs next week!!), she'll be getting new house numbers, a new light, and a pop of color with a blue door.

In addition to the drastic front yard work, the landscapers also tackled the hideous cracked, sunken, concrete patio... they made it go far far away.

Dori-concrete-w6

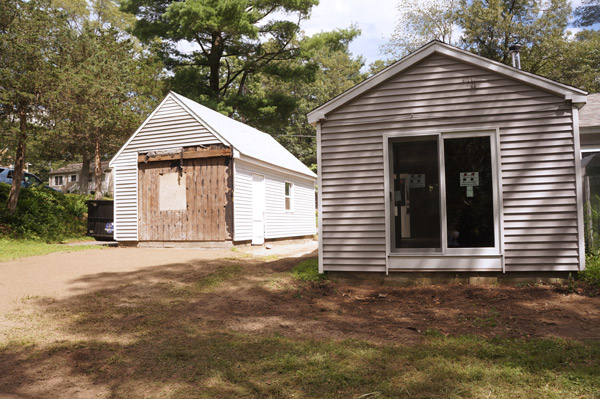
In it's place will be a nice, clean, paver patio.  It'll be rather chic if I do say so myself.  And remember way back (6 weeks ago) when the back yard looked like this?

Dori-Ext-Before-5

A breath of fresh air.  Still some more work to go but leaps and bounds from where it started.

Dori-back-yard-w6

The only transformation inside this week was in the bathroom.  Did you notice that brand new window on the front of the house?

BAM!

Dori-bathroom-w6

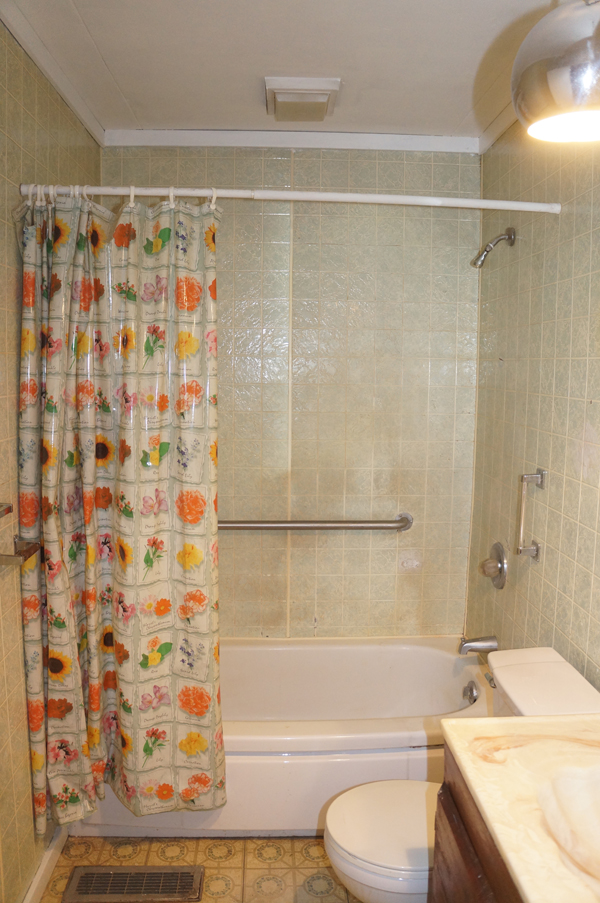
Yes, it's privacy glass.  Sorry neighbors, no free show!  Remember what this cave was before?  *shudders*  It was scary.  There are no words for how different this one window makes the room feel.

Dori-Bath-Before-2

Next week will bring lots and lots and lots of drywall.  Everywhere but the floors.  I'll tackle a few smaller things probably too, but nothing else inside can really happen until the drywall is up.  So now I wait with bated breath until I can start throwing paint everywhere... in probably 2 weeks.... c'est la vie flipping.

Have a wonderful weekend my dears!