Before I jump into the "Afters" of my board and batten, I wanted to share some minor restructuring around here. Hopefully for the better. I'll still be posting Mon/Wed/Friday, but now you'll know what to expect: Mondays will be DIYs, Wednesdays will be a series post (craigslist, house crash, or one of a few new ones I have up my sleeve), and as always, Fridays will be flip days. You may also find a rouge Tuesday or Thursday post in there if I find myself wanting to share off topic. I think this new structure will help me to come up with even greater content! So I promised you Board and Batten part 2: finished board and batten and you got it!
When I left you in part 1 last week, I had all the wood pieces up and it was time to patch/caulk/paint, and generally make it look all polished and pretty.
I started this by patching all of the nail holes and any outside corners that may not have lined up 100% with plaster patch. I know I'm supposed to use wood filler, but for such small, non structural spots, I find the plaster patch so much easier to work with.
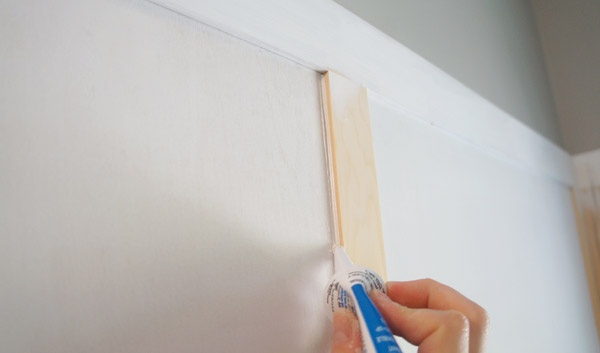
Next, I caulked every seam. And I mean every. single. seam. This is what makes a homeowner project look like a professional install. Admittedly, caulking takes some practice. The first time I tried to caulk my own bathtub, I had to scrape it back out and bribe Handy Dad to fix it for me. Now on my 3rd flip, I think I finally have a handle on it, so I want to share my tricks. I like to use the small squeezable tubes as opposed to a caulk gun- I feel more in control over the amount that comes out that way. I pretty much try to squeeze out as little as possible that will still cover the seam.
After I've squeezed out a bead of caulk, I wet my finger, then press it into the joint and wipe.
The water is crucial since it will help smooth everything and make it easier to clean the caulk off your finger. I actually did this with a bucket of water next to me that I used for rinsing off my hands as I went as well as dunking my fingers to wipe the caulk joints.
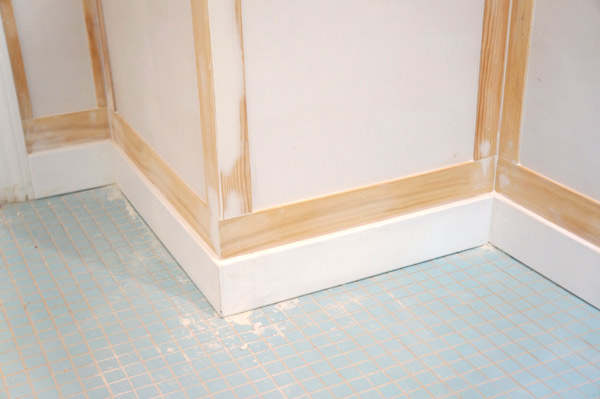
Eventually a corner that used to look like this:
Looked like this:
Next came the fun part, painting. Fun. Or something like that. With all the joints caulked and holes patched, the paint is the icing on the cake.
I'm so pleased with the way this came out!
It's almost hard now to picture what the bathroom looked like when I bought the house. Blue galore, and it felt SO TINY.
and now:
I'm eager to stage it but it will have to wait until the rest of the house is complete and ready for staging. There's dust still flying elsewhere in the house. But trust me when I say that once this room is 100% complete and staged, it will be so pin-worthy! I can't wait!
What do you think of the bathroom transformation?


