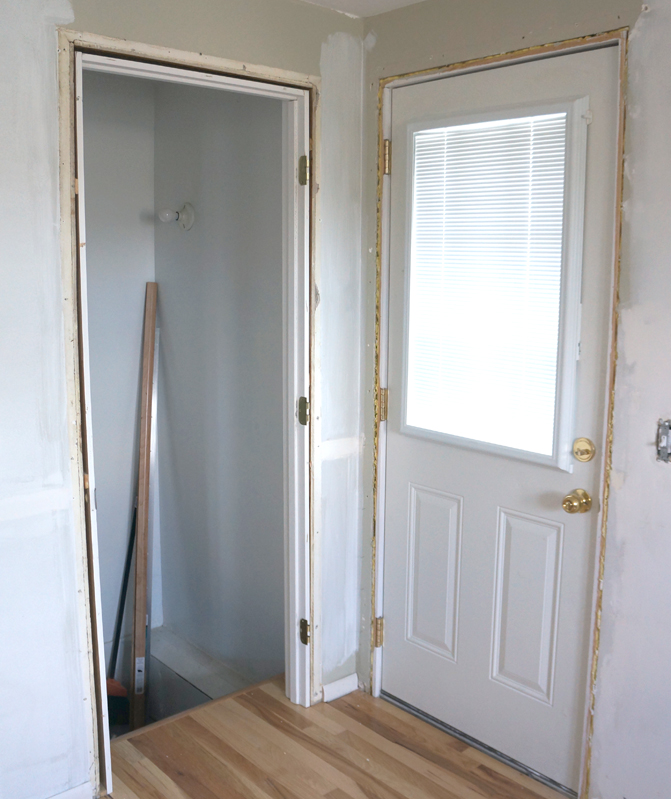
In last weeks Clark update, I showed you the new trim on the basement and side doors. Today I'll show you HOW to add new trim to a door (or window, or anywhere) and and make it look like it's been there forever. First you need to remove the old or offensive molding. I chose to replace the trim on these 2 doors, because they had obviously been replaced by the last owner and didn't match all the other moldings in the house (tip- match other molding when replacing a piece of trim- it'll look seamless and original). I was a little overeager and neglected to take a picture of this step, so just imagine an image here of me using a prybar to get the old moldings free. Can you see it? Great!
Now you have a blank slate.
The tools I used were:
- a compressor
- a brad nailer
- a door trim kit
- a miter saw (not pictured because he's hanging out in the basement)
- white wood filler
- white paintable caulk
If you don't have a compressor and nail gun, you can certainly use finish nails and a hammer, but this girl likes power tools. They're fun. and much quicker. The trim kit was my other way of saving a little bit of time, but you can also buy trim by the foot at any home improvement store.
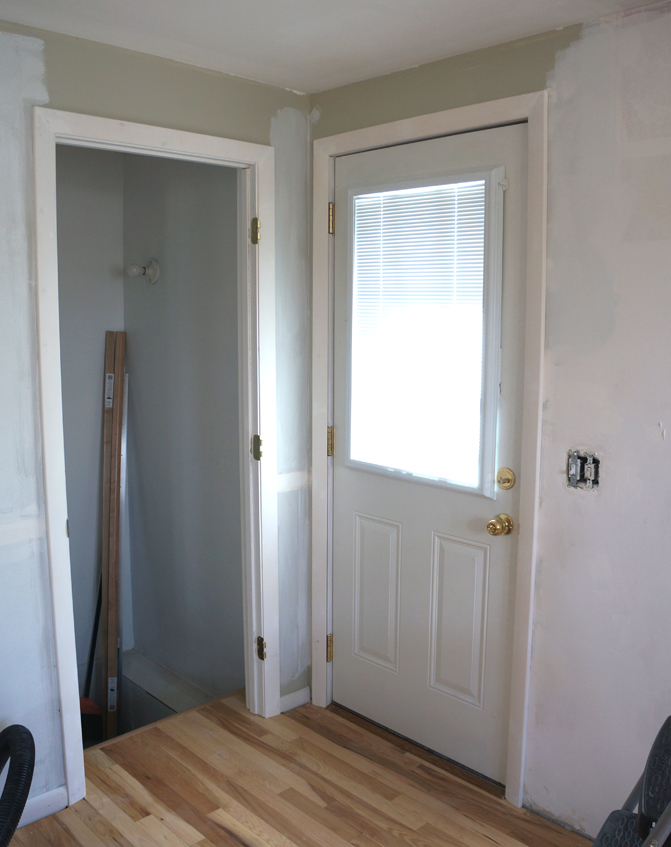
As you can see below, the trim kit was a bit larger than the door, so I still had to make a few cuts. I trimmed a few inches off the bottom of the sides, and used my trusty miter saw to shorten the top piece to the desired length and keep the 45 degree angle. I've been using my brother-in-law's chop saw that can also be used for miters, but a hand saw and miter box work just as well. (if you've been around this blog for a bit, you may remember my miter saw and a similar how-to when I did my dining room's picture rail)
Use your nail gun to securely fasten your new trim into place. Now, unless you're a perfect measurer and builder, you'll probably have a few small gaps. No worries- that's what wood filler and caulk are for! Use wood filler (you can get this in white or whatever wood tone you're using if you plan on staining) to fill the nail holes and the corner joints.
Sand it smooth once it's dry and no one'll know.
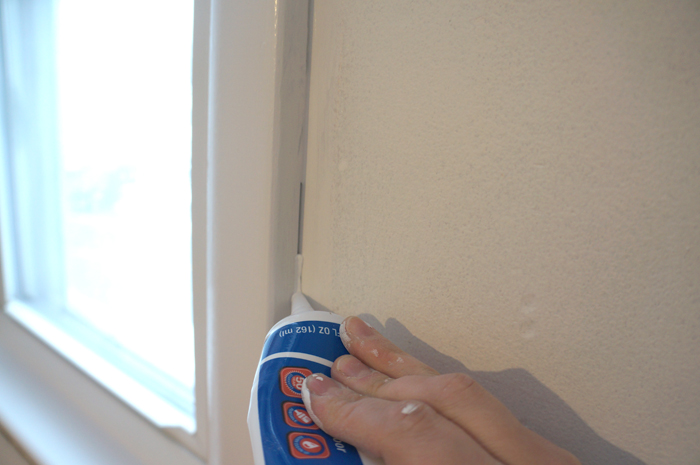
The step a lot of people forget is the caulk. Make sure you get PAINTABLE caulk, because otherwise you're work will look terrible when you try to paint the trim or walls. I again got a little overeager and forgot to take pics as I caulked the doorframe, but luckily I had some window molding to caulk where it had come loose (because the genius who build the old cabinets nailed them to the side of the window trims.... that's not usually how it's done...).
See, gap. (slightly blurry gap apparently, but you get the picture)
With your paintable caulk, add a small bead right in the corner. Please disregard my paint-covered hand. I'm a very neat painter, but somehow my hands get covered.
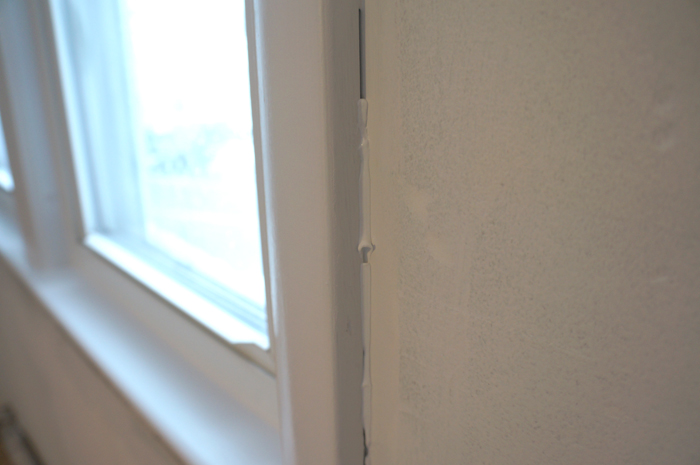
Luckily, your caulk bead doesn't have to be perfect because you'll smooth it all out in the next step.
I've found that my finger is the best tool for the job, but make sure you have a wet paper towel handy to wipe the excess of your finger.
Voila!
When you're all done, no one will be able to tell the molding hasn't been there since day 1.
The same steps can be used to replace almost any trim in a house. I've never attempted crown molding, but I know that's a whole other beast.... but this method can be used for base boards, chair rails, picture rails, etc.
Happy trimming!


