Before & After

You Light up My Office

Happy Monday!  and for once I actually mean it!  I'm so happy that spring is finally making an appearance here in Mass!!!!  As I always say, I'm solar powered, so the long drawn-out winter just drains my energy, momentum, and motivation.  It felt so good to get outside yesterday and go for a run (and NOT freeze my patootie off). first spring

I'm also excited about something I got done inside.  Slowly but surely, I've been replacing all the boring and/or hideous light fixtures in each room of my house.  I've previously replaced the lights in the living room, dining room, entry way, front porch, and Hubby's office.  The bedroom light is a bit of a larger project since that room still has a plaster ceiling and cast iron electrical box (!).  I'll tackle that sometime with Handy Dad's help, so I focused on my office instead.

The old light was just a snooze.  literally (just ask Charlie)

old office light 1

The only think I had done to this light before was switch around the shade with one I had removed from Hubby's office.

old office light 2

There used to be flowers on the one in here... not really my cup o tea.  Beyond the shade, the fixture itself is old, dingy, completely painted on, and doing nothing to hide the cracks right next to it.  The shade fix just made it bearable for a few months longer, but for the past six months I've been giving this IKEA light googly eyes.

alang-ceiling-lamp

At only $29.99 I'm not sure why I kept resisting the purchase, but at one of my recent IKEA trips for Clark the flip house, I finally broke down.

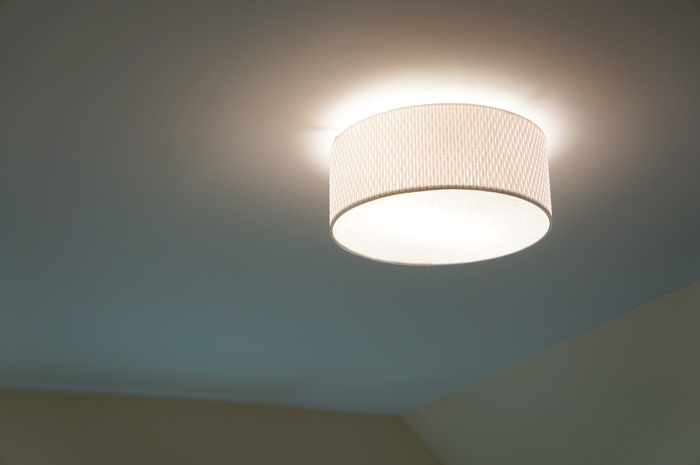
It fits perfectly in my office!  The light is less glaring because the shade really softens it, AND it hides all the ceiling blemishes.

new office light 1

I love the subtle texture of the shade too.  Even Hubby (who normally goes along with my changes just to make me happy) was impressed with the low-cost upgrade.

new office light 2

That's one more thing checked off my office to-do list, but there's still more.  I'd say this room is 75% complete.  The most obvious, of course is that my desk is missing.  My beautiful secretary desk that I'm refinishing got put on hold with the flip.  I'll finish you soon, I promise!

I hope you're enjoying the advent of spring weather as much as I am!  Happy April 1st!

Flip Tip: Trimming

In last weeks Clark update, I showed you the new trim on the basement and side doors.  Today I'll show you HOW to add new trim to a door (or window, or anywhere) and and make it look like it's been there forever. First you need to remove the old or offensive molding.  I chose to replace the trim on these 2 doors, because they had obviously been replaced by the last owner and didn't match all the other moldings in the house  (tip- match other molding when replacing a piece of trim- it'll look seamless and original).  I was a little overeager and neglected to take a picture of this step, so just imagine an image here of me using a prybar to get the old moldings free.  Can you see it?  Great!

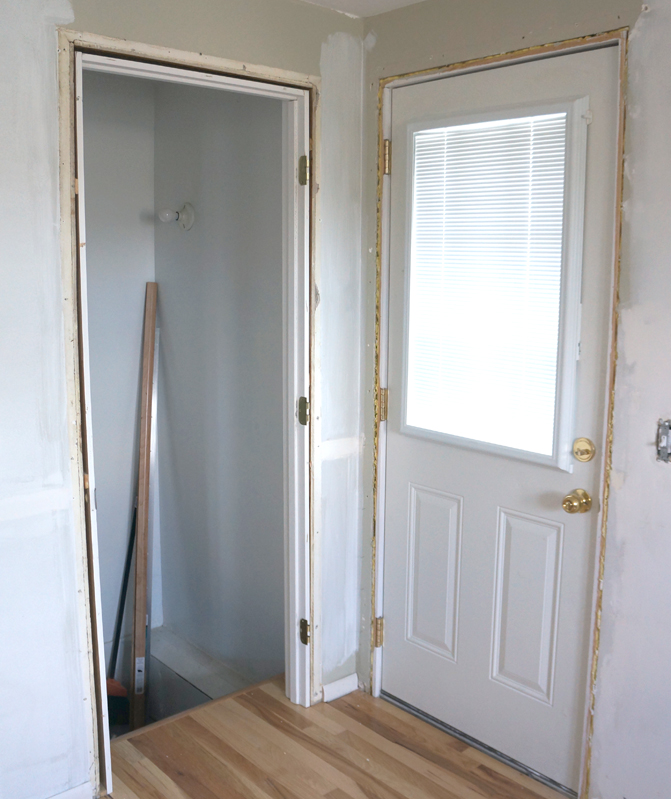
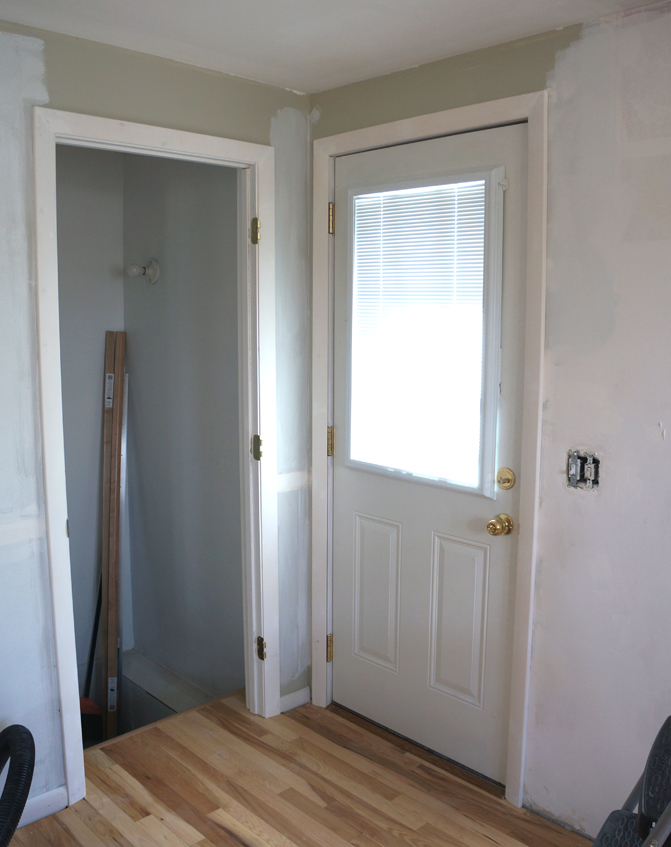
Now you have a blank slate.

trimless doors

The tools I used were:

  • a compressor
  • a brad nailer
  • a door trim kit
  • a miter saw (not pictured because he's hanging out in the basement)
  • white wood filler
  • white paintable caulk

trim tools

If you don't have a compressor and nail gun, you can certainly use finish nails and a hammer, but this girl likes power tools.  They're fun.  and much quicker.  The trim kit was my other way of saving a little bit of time, but you can also buy trim by the foot at any home improvement store.

As you can see below, the trim kit was a bit larger than the door, so I still had to make a few cuts.  I trimmed a few inches off the bottom of the sides, and used my trusty miter saw to shorten the top piece to the desired length and keep the 45 degree angle.  I've been using my brother-in-law's chop saw that can also be used for miters, but a hand saw and miter box work just as well.  (if you've been around this blog for a bit, you may remember my miter saw and a similar how-to when I did my dining room's picture rail)

trim kit size

Use your nail gun to securely fasten your new trim into place.  Now, unless you're a perfect measurer and builder, you'll probably have a few small gaps.  No worries- that's what wood filler and caulk are for!  Use wood filler (you can get this in white or whatever wood tone you're using if you plan on staining) to fill the nail holes and the corner joints.

trim corner

Sand it smooth once it's dry and no one'll know.

filled door trim

The step a lot of people forget is the caulk.  Make sure you get PAINTABLE caulk, because otherwise you're work will look terrible when you try to paint the trim or walls.  I again got a little overeager and forgot to take pics as I caulked the doorframe, but luckily I had some window molding to caulk where it had come loose (because the genius who build the old cabinets nailed them to the side of the window trims.... that's not usually how it's done...).

See, gap. (slightly blurry gap apparently, but you get the picture)

trim gap

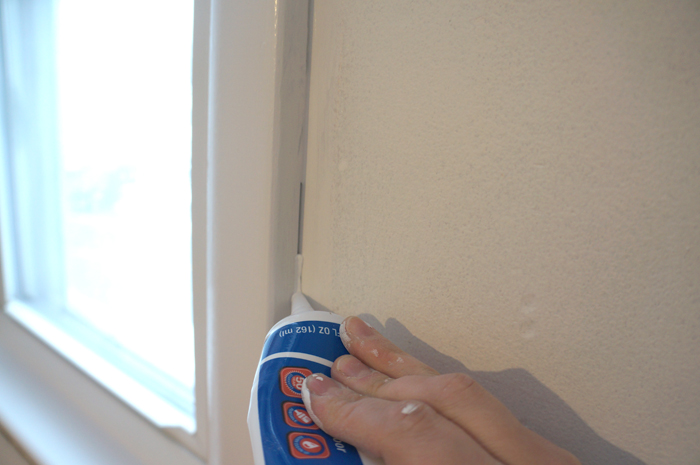
With your paintable caulk, add a small bead right in the corner.  Please disregard my paint-covered hand.  I'm a very neat painter, but somehow my hands get covered.

trim caulk 1

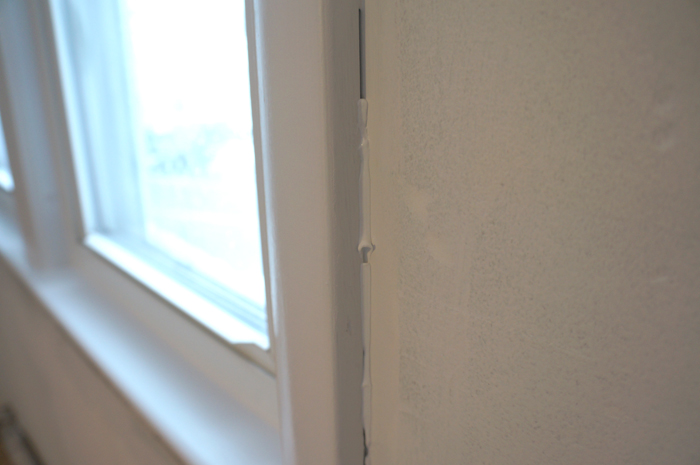
Luckily, your caulk bead doesn't have to be perfect because you'll smooth it all out in the next step.

trim caulk2

I've found that my finger is the best tool for the job, but make sure you have a wet paper towel handy to wipe the excess of your finger.

trim caulk finger

Voila!

trim caulk done

When you're all done, no one will be able to tell the molding hasn't been there since day 1.

door trims

The same steps can be used to replace almost any trim in a house.  I've never attempted crown molding, but I know that's a whole other beast.... but this method can be used for base boards, chair rails, picture rails, etc.

Happy trimming!

Fast Fix: Drab to Fab

This side table before and after is WAY overdue.  It's actually a project from this summer when I went to NYC to help my sister-in-law furnish her apartment, but I was so excited about outcome that I forgot to take an "after" shot and had to wait until I went back to visit last weekend (bad blogger!). The cute little hand-me-down side table started out pretty ho-hum.

table before

It had a great shape and solid construction, so I knew it could be something special.  With a quart of "oops paint" from Home Depot for a whole $2 and spray paint I already had, this may be one of the most fabulous $2 make-overs you'll ever see.

table painted

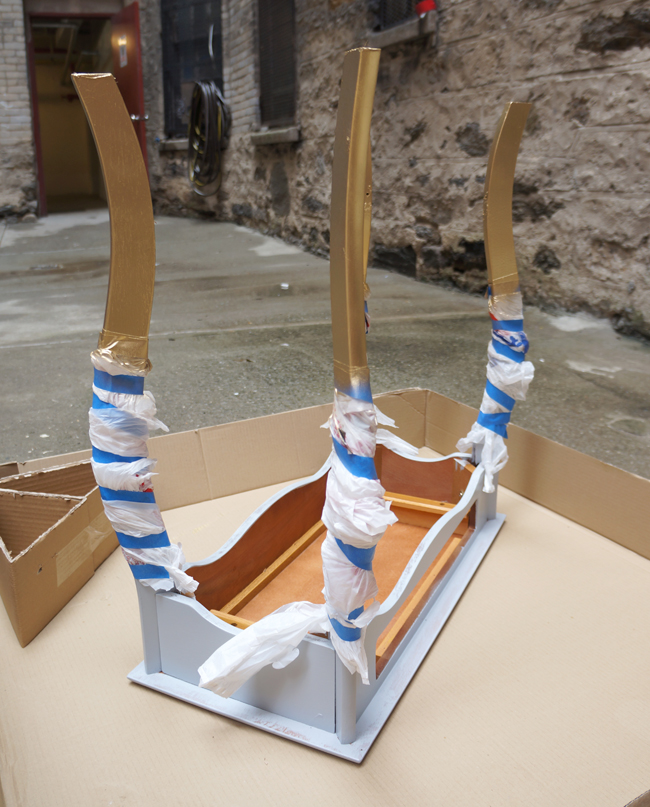
After 2 coats of our blue-gray "oops" paint, it was time to make it shine.  Literally.  The shelf was just held in with a few screws, so I removed it and taped off the legs using painters tape and plastic bags.

gold leg paint

Then I went spray-happy in an NYC alley way.  I'm a rebel like that.  I think gold spray paint is slowly becoming one of my favorite tools.  I might start spraying things just for fun.  You've been warned.  Don't be surprised if you see a sprayed gold kitten or Hubby in the near future.

May I remind you that it only cost TWO DOLLARS!  The finished result makes me completely giddy.  I wish all my projects were this easy!

side table after

Ain't she pretty?