Projects

Fast Fix: Drab to Fab

This side table before and after is WAY overdue.  It's actually a project from this summer when I went to NYC to help my sister-in-law furnish her apartment, but I was so excited about outcome that I forgot to take an "after" shot and had to wait until I went back to visit last weekend (bad blogger!). The cute little hand-me-down side table started out pretty ho-hum.

table before

It had a great shape and solid construction, so I knew it could be something special.  With a quart of "oops paint" from Home Depot for a whole $2 and spray paint I already had, this may be one of the most fabulous $2 make-overs you'll ever see.

table painted

After 2 coats of our blue-gray "oops" paint, it was time to make it shine.  Literally.  The shelf was just held in with a few screws, so I removed it and taped off the legs using painters tape and plastic bags.
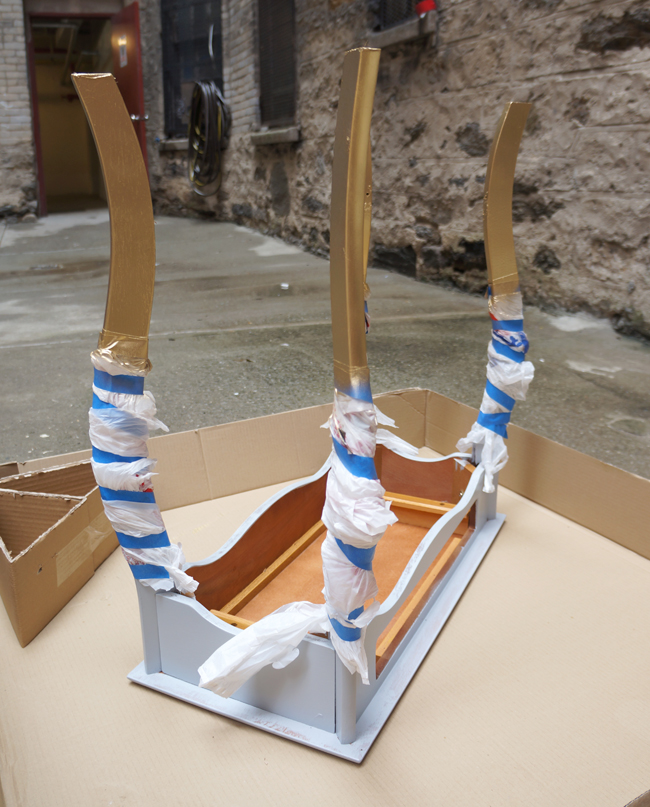
gold leg paint

Then I went spray-happy in an NYC alley way.  I'm a rebel like that.  I think gold spray paint is slowly becoming one of my favorite tools.  I might start spraying things just for fun.  You've been warned.  Don't be surprised if you see a sprayed gold kitten or Hubby in the near future.

May I remind you that it only cost TWO DOLLARS!  The finished result makes me completely giddy.  I wish all my projects were this easy!

side table after

Ain't she pretty?

Silver and Gold

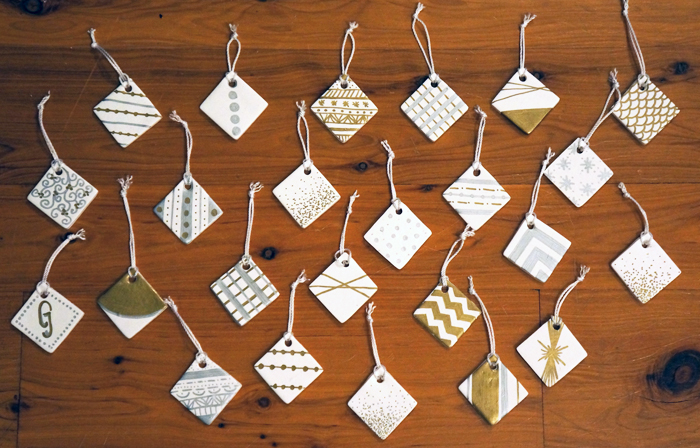
Apparently making clay ornaments is addicting.  24 hand made clay ornaments was enough to cover the tree, although I could have kept going. 24 ornaments via yearofserendipity

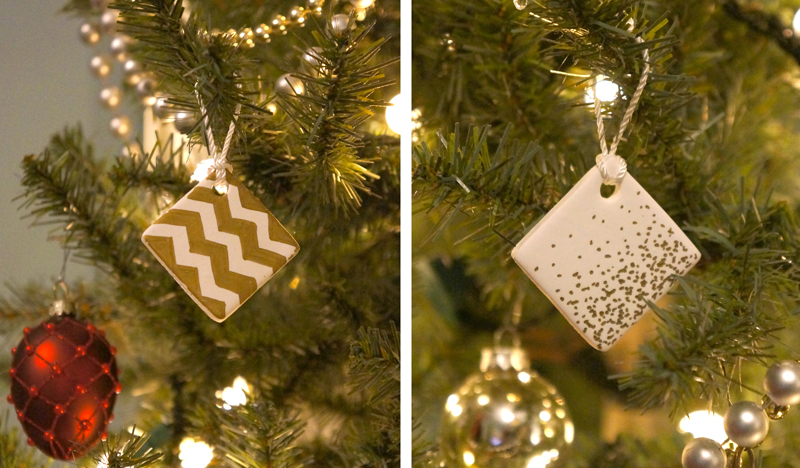
I used A Beautiful Mess' clay ornament tutorial for inspiration and went wild.  This year for our tree, I decided on a silver and gold theme (with a few splashes thrown in, cuz that's how I roll), so once baked, I decorated my ornaments with silver and gold Sharpie paint pens.  It reminded me of doodling on middle school notebooks, but a whole lot more sophisticated.  With no "wrong way" to decorate them, the possibilities are endless.

ornaments closeup via yearofserendipity

diy clay ornaments via yearofserendipity

ornaments closeup via yearofserendipity

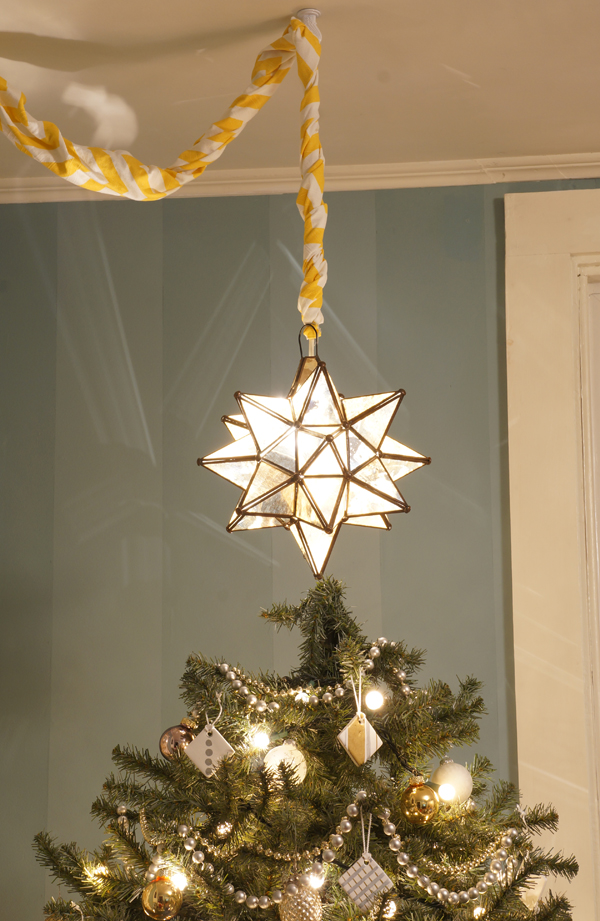
I used extra gray burlap fabric that I already had as a simple tree skirt and swagged my Mexican souvenir antiqued mirror star light as the tree topper.

hanging moroccan christmas star via yearofserendipity

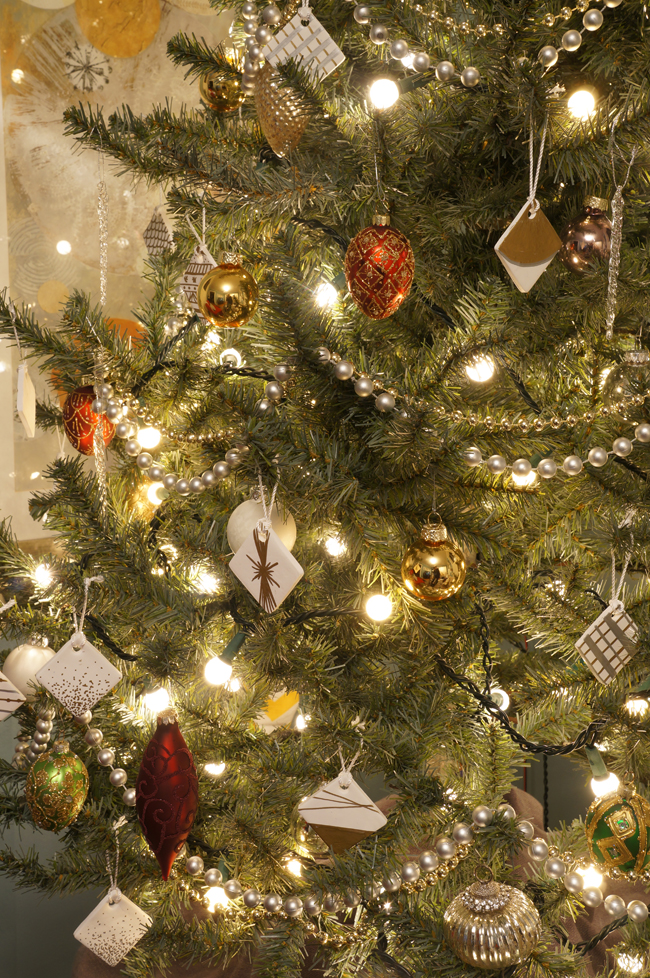
After an initial lack of holiday decorating motivation, I think I found my mojo.  All it took was a little clay and some Sharpies to make my tree really shine.

tree 2012 via yearofserendipity

Clay Time

After being inspired by A Beautiful Mess' DIY Clay ornaments, I played around with a few of my own this weekend. diy clay ornaments via yearofserendipity

The block of clay that I had made 7 ornaments, but I'm so happy with them, I want to fill the tree with them!  I was initially planning to show you the full reveal today, but you just get a sneak peak instead.  I'll wait until I make about a dozen more to show you the full effect.

I think I'm addicted now- they were sooo easy to make and have such a simply chic effect!