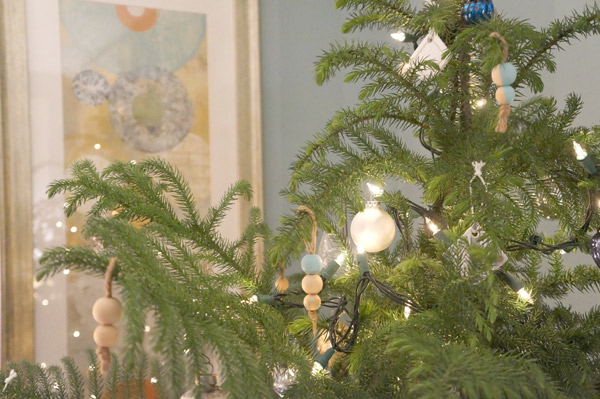
I really love the idea of DIYing new fun ornaments each year. Not only does it keep your tree looking a little different each year, but it also gives you a keepsake from each Christmas. I was really hoping to be able to fill my tree with these beauties,
but after these 2 took me almost an hour, I put them temporarily aside and decided to try something different for today.
These ornaments were super easy and only required 2 different sizes of wooden beads, twine, and paint (optional). We often used wood bead garland on our tree growing up, so I decided to play around with that idea a bit and make ornaments.
I didn't take pictures of each step since it was so easy. Try and follow if you can:
First you make a loop out of twine and knot the end. Then you thread beads on it. Are you still with me? The last step if you chose to do it- paint your new ornaments whatever pattern/color your little heart desires.
I know, expert difficulty, right?
Rather chic for something so simple and rustic, I think. Can't you just see a tree covered head to toe in these (because trees have heads and toes....)? They'd also be pretty cute if they were painted in an ombré effect down the tree. Spell Check is questioning "ombré"... he's clearly not up on his design lingo.
On my second year of doing this myself, I'm totally looking forward to starting this yearly ornament-making tradition with future children. Maybe next year I'll get Cutest-Nephew-Ever-Eli to start the tradition with me.


