Let's start at the very beginning- a very good place to start. When you read you begin with A B C, when you DIY you begin with... recovering a dining chair.
I know I often do more involved DIY's but sometimes I forget to share the basics. So I figured let's start with DIY 101.
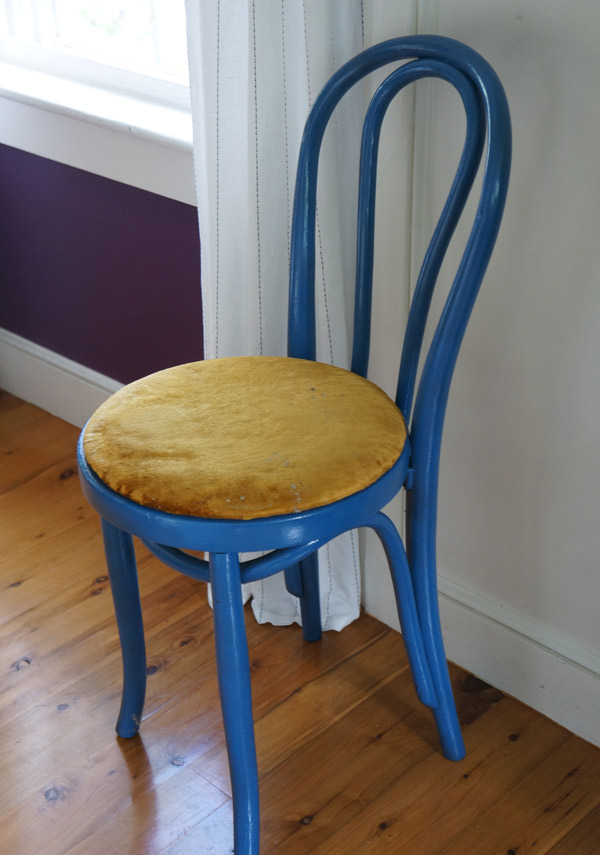
Recovering a chair can seem intimidating to start off, but once you realize how easy it is to recover the seat, you'll want to keep doing it! Maybe that's the root of my chair addiction. As you can probably guess with this chair, I've already attacked it with a vibrant blue spray paint. No matter what color the frame, however, that orange velour seat would need to go. Far away.
First you need to remove the seat. Normally it's held on with a few screws from under the chair.
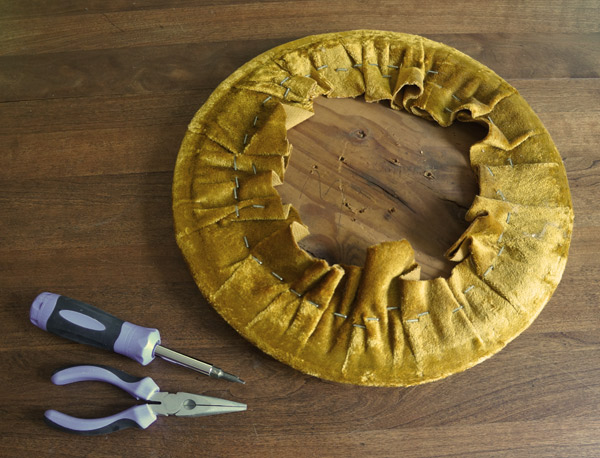
Once your seat is free, go ahead and grab pliers and a flat-head screwdriver and start prying out the old staples. If your seat is in decent condition and the cushion is still adequate, you can always skip this and cover right over the old fabric. If that's the case, skip down to the fabric step.
You'll need to take the staples out to free both the fabric and the underlying foam. I promise, this is the most tedious part, so if you can make it through this- you got it!
Now for the fun part- putting it all back together!
I used 2 layers of dacron batting for my cushion. If you want something squishier, you can use a layer of 1" foam with a layer of batting over it to smooth it.
Start by stapling the top, bottom and 2 sides about 1" in from the edge.
After stapling the 4 sides, go ahead and staple all the way around and trim the excess batting.
Next you'll need to position your cushion on the back of your fabric. Make sure if you have a directional pattern like a geometric or stripe, that you have the pattern oriented as you'd like to see it on the chair.
Now, with the fabric, you'll want to first staple the 4 sides as before. Staple in just a bit from where you stapled the foam so that the fabric will cover it.
Once you have the sides stapled, work inward from each staple. You want to make sure not to pull the fabric tight otherwise you'll see the stretching. Instead, use your full hand to smooth the fabric tight like so.
Create pleats in your fabric as necessary as you go. You won't see these on the finished product, but it will help your pattern sit properly.
Continue this all the way around until your entire seat is stapled.
Once the stapling is set, trim your fabric at least a half inch from the staples- any closer and your fabric may fray.
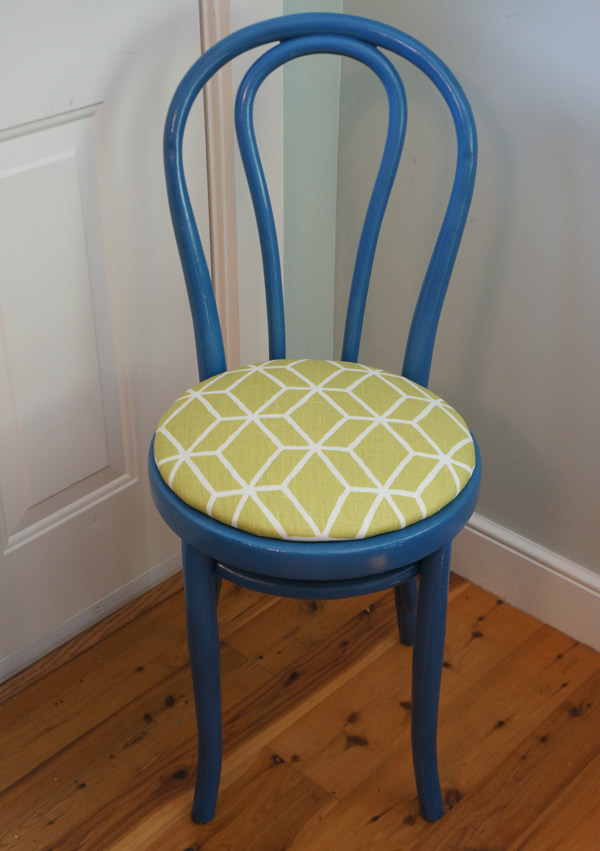
Once trimmed, you get to turn the cushion back over an admire your handy-work.
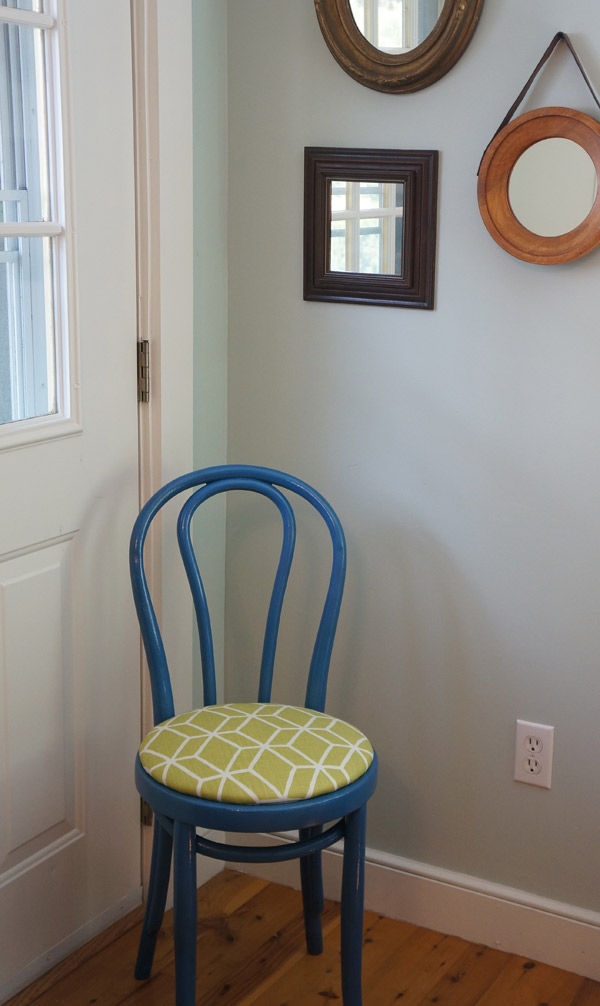
Reattach it to the chair and enjoy the fruits of your labor!
See, that wasn't so hard, was it?
Now you're ready to give your dining room a whole new look!


