On Monday I showed you the "before" a beaut of a luggage rack that was mid-makeover. I was planning to fix it up to put out for sale at our tag sale this weekend, but a friend offered to adopt this little guy instead. I hope she loves how he came out as much as I do!

I rescued it from an estate sale several years ago- I think it was $15. I loved the shape and the potential history, I just couldn't let it end up in the trash. But it did need some love.
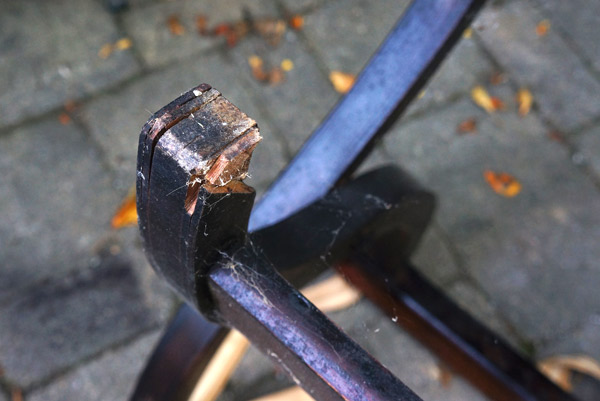
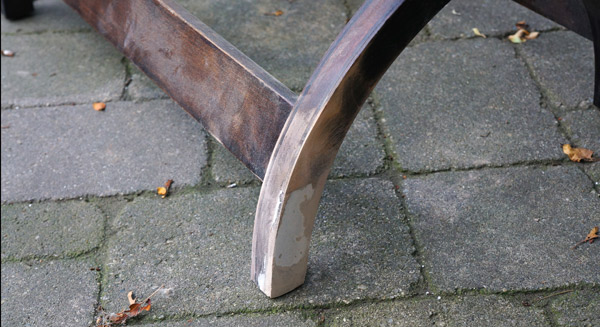
In addition to obviously needing new ribbon and refreshed stain, the bottoms of the legs were coming apart and had some severe chipping.
Using wood glue, clamps, and wood filler, the legs were all patched up.
*tip* I prefer using Dap Plastic Wood to fill blemishes on stained pieces. I tried both that and Minwax's Wood Filler (since I ran out of Plastic Wood mid-project) on this and I confirmed my previous ideas that the Dap is easier to work with and takes stain better. It'll never act like real wood, but I've found this to be the closest. Not sponsored, just wanted to share my experience.

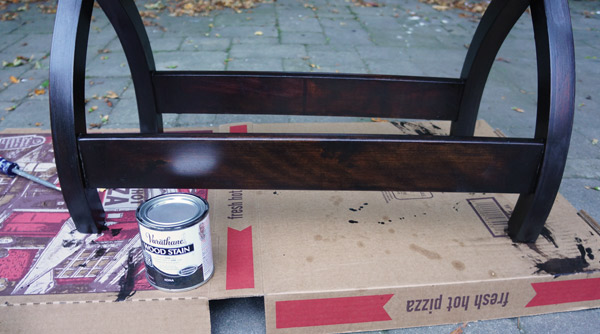
Once everything was patched, I stained just the parts that had been patched so they'd blend more once I applied the final coat.
For the final coat I decided to try a new stain- Varithane Wood Stain. There was mixed reviews online, but I found it to be exactly what I was hoping- thicker than regular stain, but not as annoying to work with as Polyshades (which acts more like a translucent paint).

Now for the fun part- putting the new ribbon on.
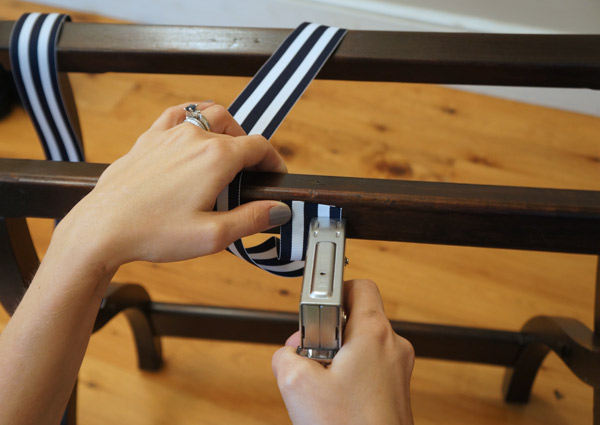
I used staples to secure the ribbon, knowing they'd be hidden when I folded the ribbon over and put on decorative brass nails.
Because they didn't go in 100%, I hammered them flat so that there would be no bumps when I folded the ribbon over them.
So, a little DIY admission here- this was my first time ever using decorative nails and it wasn't as easy as it looks. With the hardness of the wood I was working with, they did want to go in without bending. After much trial and error, I ended up creating the holes with an awl first, then hammering in the nails the rest of the way.
I'm glad I made it work, because look at him now. All nautical and sexy.
Just look at him in action!
Fun fact: the blue case is actually an accordion. My dad's from when he was little that was rediscovered when cleaning out his Aunt's house a few years ago. Priceless.


